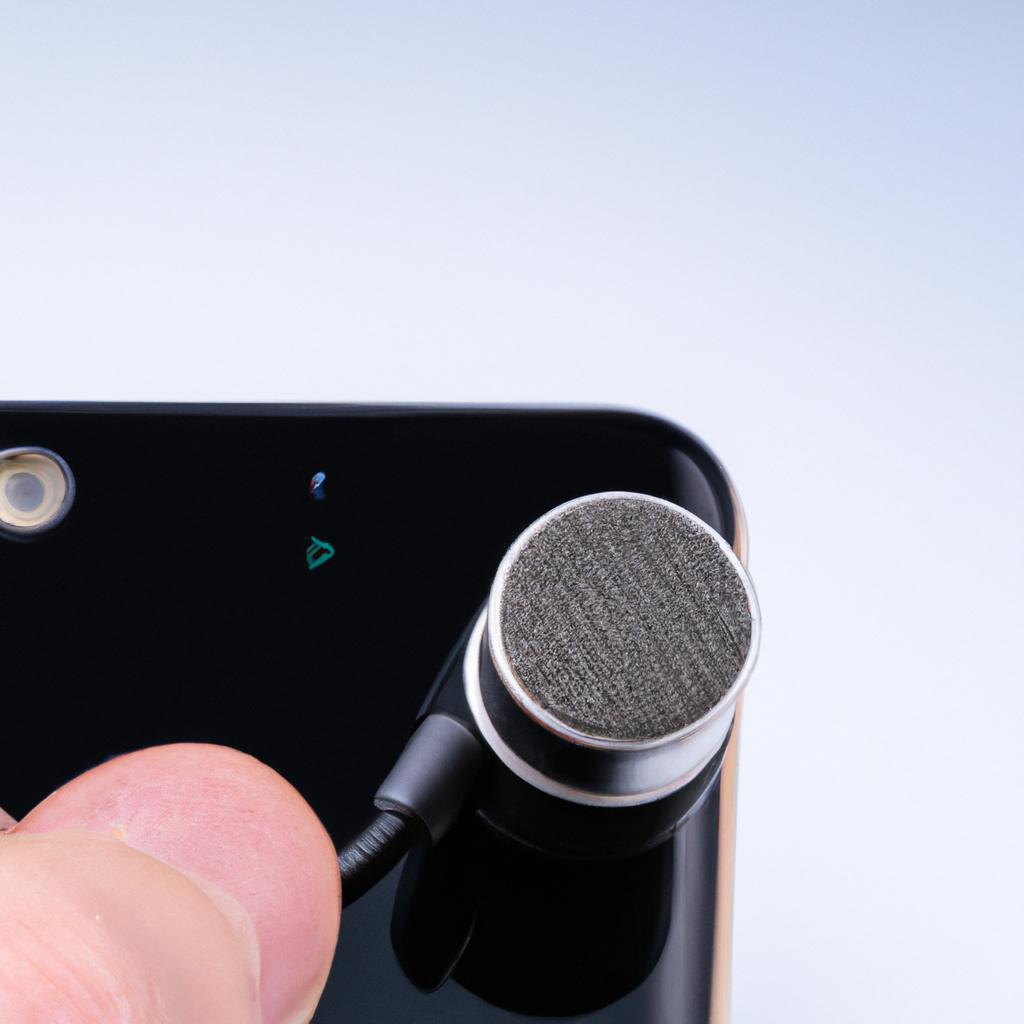
Unleashing the true potential of your iPhone’s audio capabilities is nothing short of a sonic adventure. We live in an era where immersive podcasting, vlogging, or creating high-quality videos for social media has become an art form, and the demand for crystal-clear sound has never been greater. Luckily, you don’t have to settle for the limitations of the built-in microphone anymore. With the power of external microphones, your iPhone can now capture audio that resonates with every subtle nuance, elevating your content to new heights. In this article, we’ll delve into the magical realm of using external microphones on your iPhone, uncovering the secrets that will make your audio stand out in the crowd. So, grab your headphones and prepare to be amazed as we embark on a journey to unlock the hidden potential of your iPhone’s audio prowess.
Table of Contents
- Choosing the Right External Microphone for Your iPhone
- Understanding the Compatibility of External Microphones with iPhones
- Connecting the External Microphone to Your iPhone: Step-by-Step Guide
- Optimizing Audio Settings on Your iPhone for External Mic Recording
- Recording High-Quality Audio with an External Microphone: Tips and Tricks
- Q&A
- Wrapping Up
Choosing the Right External Microphone for Your iPhone
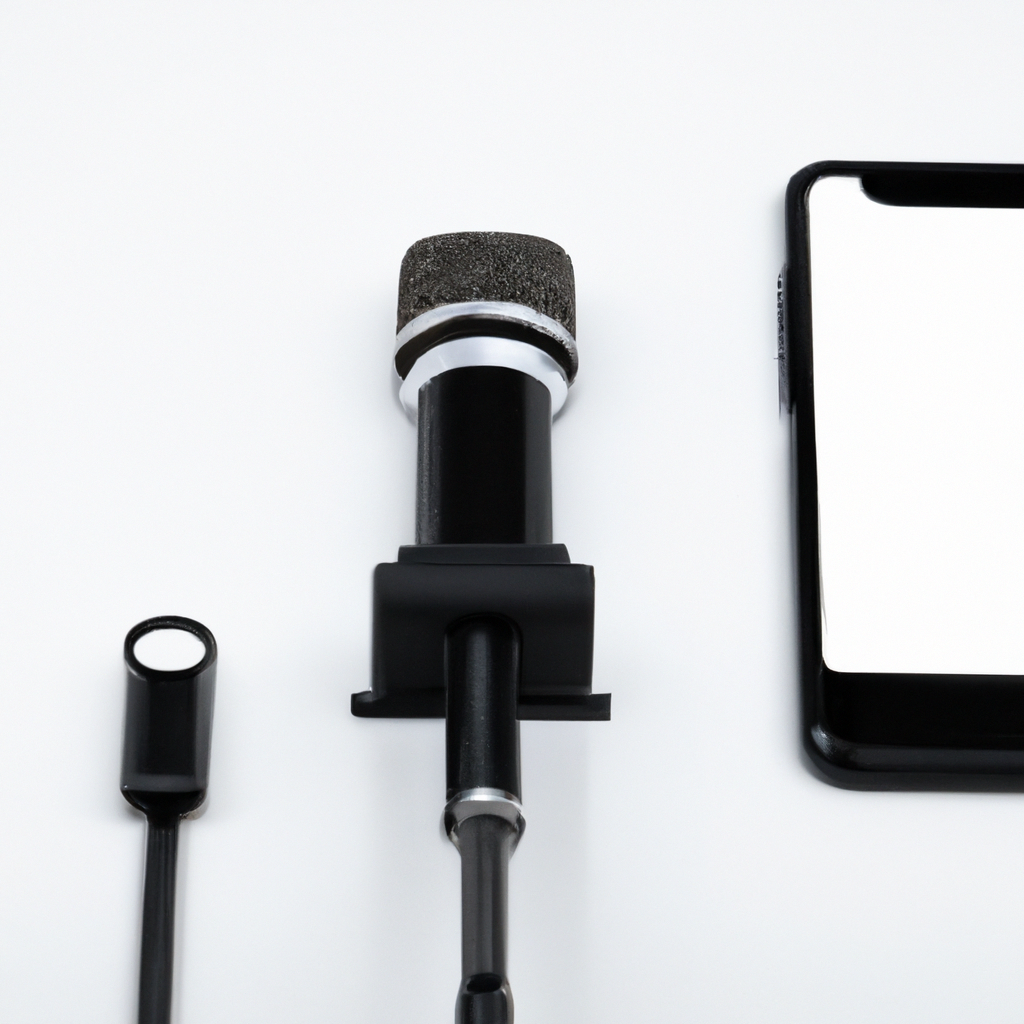
Enhance your iPhone audio with the perfect external microphone to take your recordings to the next level. With the multitude of options available, it can be overwhelming to find the right one for your needs. But fear not, we’ve narrowed down the choices to help you in your quest for the ideal external microphone.
First, consider the type of microphone that suits your purpose:
- Shotgun Microphones: Perfect for recording sound in specific directions, ideal for interviews or capturing audio in noisy environments.
- Lavalier Microphones: Small and discreet, these are perfect for recording speeches, presentations, or any scenario requiring hands-free audio.
- Condenser Microphones: Ideal for studio-quality recordings, they are great for podcasting, music, and other professional applications.
Next, it’s essential to consider compatibility, convenience, and features:
- Compatibility: Ensure the microphone is compatible with your iPhone model.
- Portability: If you’re always on the go, look for compact and lightweight options that won’t hinder your mobility.
- Connectivity: Consider whether you prefer lightning, USB, or wireless connections for seamless integration with your device.
- Functionality: Some microphones offer additional features like built-in windshields, adjustable gain, or monitoring capabilities. Determine which features are valuable to you.
Understanding the Compatibility of External Microphones with iPhones
Exploring the Harmony Between External Microphones and iPhones
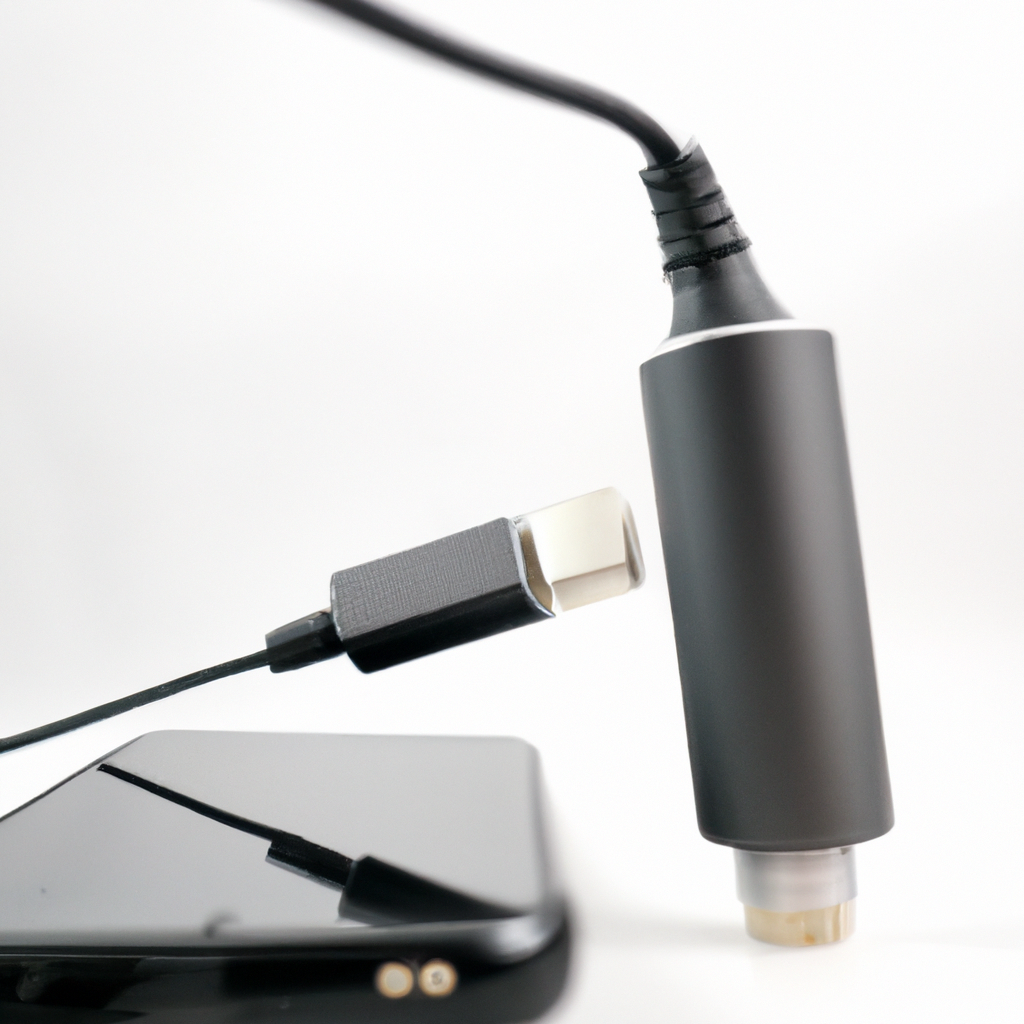
Gone are the days when iPhone’s built-in microphone limited our audio capturing capabilities. Thanks to advancing technology, we now have the option to connect external microphones to our beloved iPhones, broadening the horizons of audio recording. Understanding the compatibility of these mics with iPhones is key to enhancing your audio game.
When it comes to using external microphones with iPhones, it’s essential to know the different types available and how they work together. Here’s a brief rundown of the most common external microphones compatible with iPhones:
- Lavalier Microphones: These small and discreet microphones commonly clip onto clothing, making them perfect for interviews or presentations on the go.
- Shotgun Microphones: With their long and narrow design, shotgun microphones excel at capturing audio from a distance while minimizing unwanted ambient noises.
- USB Microphones: While primarily designed for computers, many USB microphones can also connect to iPhones with the help of a compatible adapter.
Now that you know the basics, it’s essential to ensure that your iPhone supports the connection of external microphones. For newer iPhone models, you can easily attach a microphone using the lightning-to-audio adapter. Alternatively, if you’re using an older iPhone model, make sure it has a headphone jack or consider using a lightning-to-audio jack adapter for compatibility.

Connecting the External Microphone to Your iPhone: Step-by-Step Guide
Connecting an External Microphone to Your iPhone
Are you looking to enhance the audio quality of your iPhone recordings? Look no further! With just a few simple steps, you can connect an external microphone to your iPhone and experience professional-level sound. Say goodbye to muffled voices and background noise, and say hello to crystal-clear audio!
Step 1: Check your iPhone model
- Ensure that you have a compatible iPhone model that supports an external microphone. The newer iPhone models, such as the iPhone 7 and above, generally have this capability.
- If you’re unsure about your iPhone’s compatibility, refer to the user manual or check Apple’s official website for a list of supported devices.
Step 2: Gather the necessary equipment
- Obtain an external microphone that is compatible with your iPhone model. There are various options available, including lavalier microphones, shotgun microphones, and even wireless options.
- Additionally, make sure you have any necessary adapters or cables that are required to connect the microphone to your iPhone.
By following these simple steps, you’ll be on your way to capturing the highest quality audio on your iPhone. So whether you’re recording a podcast, vlogging, or just want better sound for your videos, connecting an external microphone will make a world of difference. Say goodbye to subpar audio and hello to professional-level recordings!
Optimizing Audio Settings on Your iPhone for External Mic Recording
If you’re looking to take your iPhone recordings to the next level, optimizing the audio settings for external mic recording is crucial. With the right adjustments, you can capture crystal-clear sound, enhance your videos, and impress your audience. Here are some tips to help you optimize your audio settings:
1. Match the input level: To ensure the best audio quality, it’s essential to find the perfect balance between your external mic and the iPhone’s input level. Use a third-party recording app that allows you to adjust the input gain manually. Start by setting the input level midway and make adjustments as necessary, aiming for a strong but not distorted sound.
2. Choose the right microphone: Selecting the appropriate external microphone for your needs can greatly impact the audio quality. Consider your recording environment and purpose. For recording interviews or podcasts, go for a lavalier (clip-on) microphone for clear voice capture. If you’re into vlogging or recording live performances, a shotgun microphone might be ideal to focus on specific sounds while minimizing background noise.
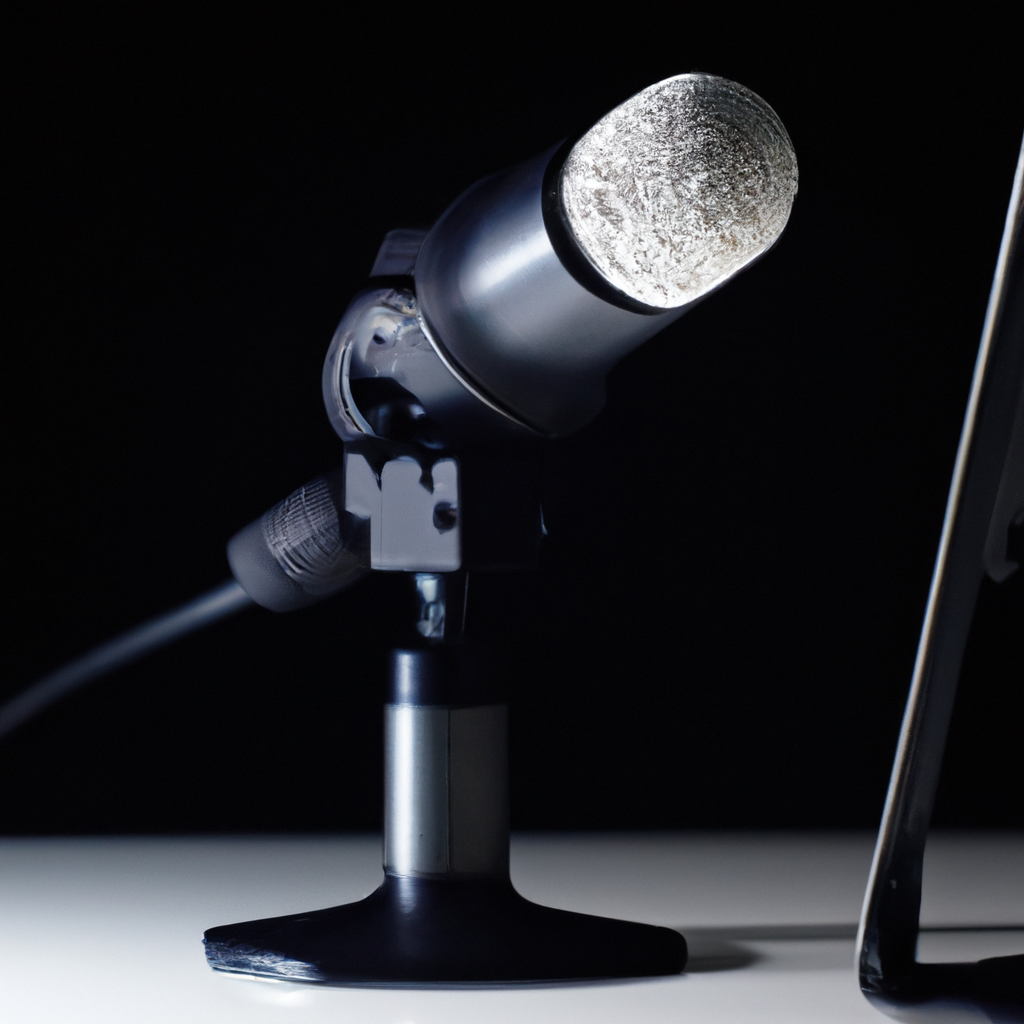
Recording High-Quality Audio with an External Microphone: Tips and Tricks
When it comes to capturing crystal-clear audio, using an external microphone can make all the difference. Follow these tips and tricks to take your recordings to the next level:
- Choose the right microphone: Before starting your recording journey, it’s important to select the right external microphone for your specific needs. Consider factors such as microphone type (condenser, dynamic, ribbon), polar pattern (omnidirectional, cardioid, supercardioid), and connectivity (USB, XLR). Understanding these aspects will ensure you invest in a microphone that suits your recording environment and desired outcome.
- Find the perfect placement: Proper microphone placement is essential for optimal audio quality. Depending on what you are recording, experiment with different positions to find the sweet spot. For vocals, position the microphone at mouth level, angled slightly downward. When recording instruments, place the microphone close to the sound source to capture its richness and detail. Remember that each recording scenario may require its own unique placement technique.
- Mind the environment: Ambient noise can greatly affect the quality of your audio recordings. Eliminate or minimize background noise by recording in a quiet room or using soundproofing materials. Additionally, be cautious of potential sources of interference such as air conditioning units, electrical appliances, or even phone notifications. Ensuring a controlled recording environment will result in cleaner and more professional audio.
- Check audio levels and settings: Before hitting the record button, take a moment to check your audio levels and settings. Adjust the microphone gain to set an appropriate input level, avoiding distortion caused by clipping. If possible, use headphones to monitor your audio during recording to catch any irregularities immediately. Additionally, ensure that your recording software settings match the microphone’s specifications, guaranteeing accurate capture of your desired sound.
By following these tips and tricks, you’ll be well on your way to recording high-quality audio that will impress your audience. Remember, the key to capturing great sound lies in selecting the right microphone, finding the perfect placement, creating a controlled environment, and checking your audio levels and settings. So, go ahead and elevate your recordings from ordinary to extraordinary with the help of an external microphone!
Q&A
Q: Are you tired of the poor audio quality when recording videos on your iPhone?
A: Yes, we’ve got you covered! In this article, we’ll show you how to effectively use an external microphone with your iPhone to improve your audio recording game.
Q: Can I really use an external microphone on my iPhone?
A: Absolutely! Apple has made it possible to connect a wide range of external microphones to your iPhone, giving you the ability to capture professional-grade audio.
Q: What type of external microphones can I use?
A: There are various types of microphones available that can be used with your iPhone. You can choose from lavalier (lapel) microphones, shotgun microphones, or even handheld microphones, depending on your specific needs.
Q: How do I connect an external microphone to my iPhone?
A A: Connecting an external microphone is a breeze! Simply plug the microphone into the headphone jack (for older iPhones) or the lightning port (for newer models). Your iPhone should automatically recognize the microphone, and you’ll be ready to record.
Q: What if my iPhone doesn’t have a headphone jack?
A: If you have a newer iPhone model without a headphone jack, fear not! You can still use an external microphone. Just get yourself a lightning to 3.5mm headphone adapter, which enables you to connect the microphone through the lightning port.
Q: Are there any additional settings I need to adjust?
A: Generally, your iPhone will automatically detect the external microphone and use it as the default audio input. However, if you encounter any issues, you can go to “Settings,” select “Camera,” and then choose the external microphone as your preferred audio source.
Q: Are there any specific apps I should use for recording with an external microphone?
A: While the built-in camera app on your iPhone works perfectly fine with external microphones, there are also third-party apps available that offer more advanced audio recording features. Apps like FiLMiC Pro, ProCamera, or Voice Record Pro can provide enhanced control over your audio settings.
Q: Are there any tips to maximize the audio quality when using an external microphone?
A: Absolutely! To get the best results, make sure to position the microphone close to the audio source you want to capture. Use a windscreen or a furry cover to minimize wind noise if recording outdoors. Additionally, take some time to adjust the microphone levels through the app you’re using, ensuring optimal audio quality.
Q: Are there any limitations to using an external microphone with an iPhone?
A: While using an external microphone greatly improves audio quality, keep in mind that the portability of an iPhone might still result in some handling noise. Therefore, it’s advisable to use a stabilizing rig or a tripod to minimize vibrations and unwanted sounds during recording.
Q: Can I use wireless Bluetooth microphones instead of wired ones?
A: Yes, certainly! Bluetooth microphones are also compatible with iPhones. However, keep in mind that they might introduce a slight delay in the audio signal, so it’s wise to do a quick test before any important recording.
Q: Now that I know how to use an external microphone with my iPhone, how can I take my audio recordings to the next level?
A: Great question! Experiment with different microphone placements and techniques, learn about audio editing apps, and consider investing in additional audio accessories like boom poles or audio recorders for professional-level results.
Remember, having quality audio dramatically enhances your overall video production. With the help of an external microphone and the tips provided here, you’ll be on your way to capturing crystal-clear sound with your iPhone!
Closing Remarks
As we come to the end of this article on how to use an external microphone on your iPhone, let’s take a moment to embrace the creative possibilities that lie at your fingertips. Connecting an external mic to your iPhone opens up a world of sonic exploration, allowing you to capture crystal-clear audio and elevate your recordings to new heights.
By following the simple steps outlined earlier, you can bypass the limitations of the built-in microphone and unlock a whole new level of professional-quality sound. Whether you’re a podcaster, filmmaker, musician, or simply someone who loves capturing audio in stunning detail, a well-chosen external microphone can be your greatest ally.
Remember, it’s always essential to select the right microphone for your needs, be it a lavalier mic for interviews, a shotgun mic for video recording, or a handheld dynamic mic for recording music. Don’t be afraid to experiment and find the perfect match that complements your creative vision.
Embrace the power of fine-tuned audio quality and let it enhance your storytelling. Whether you’re recording heartfelt interviews, mesmerizing musical performances, or captivating videos, the addition of an external microphone can make all the difference. Let your sound be as captivating as your visuals, and watch as your audience becomes fully immersed in your world.
So go forth, armed with your newfound knowledge and iPhone in hand, and delve into the realms of professional audio capture. Unleash your creativity, as the possibilities are endless when you harness the power of an external microphone with your iPhone. Happy recording!

