If you have a peep twist that needs to be fixed, this guide will help. Peep twists are an easy problem to fix, and the process is simple. All you need is a few tools and some patience. With this guide, you’ll be able to fix your peep twist quickly and easily.To fix a peep twist, first identify the type of peep twist you have. If it is a single peep twist, use pliers to hold the twisted portion and use your fingers to carefully untwist it. If it is a double peep twist, use your fingers to carefully open up the twists until they separate. Once the twists have been separated, use pliers to hold each strand and twist them in opposite directions until they become untwisted. Then, use your fingers to carefully re-twist each strand into a new peep twist.
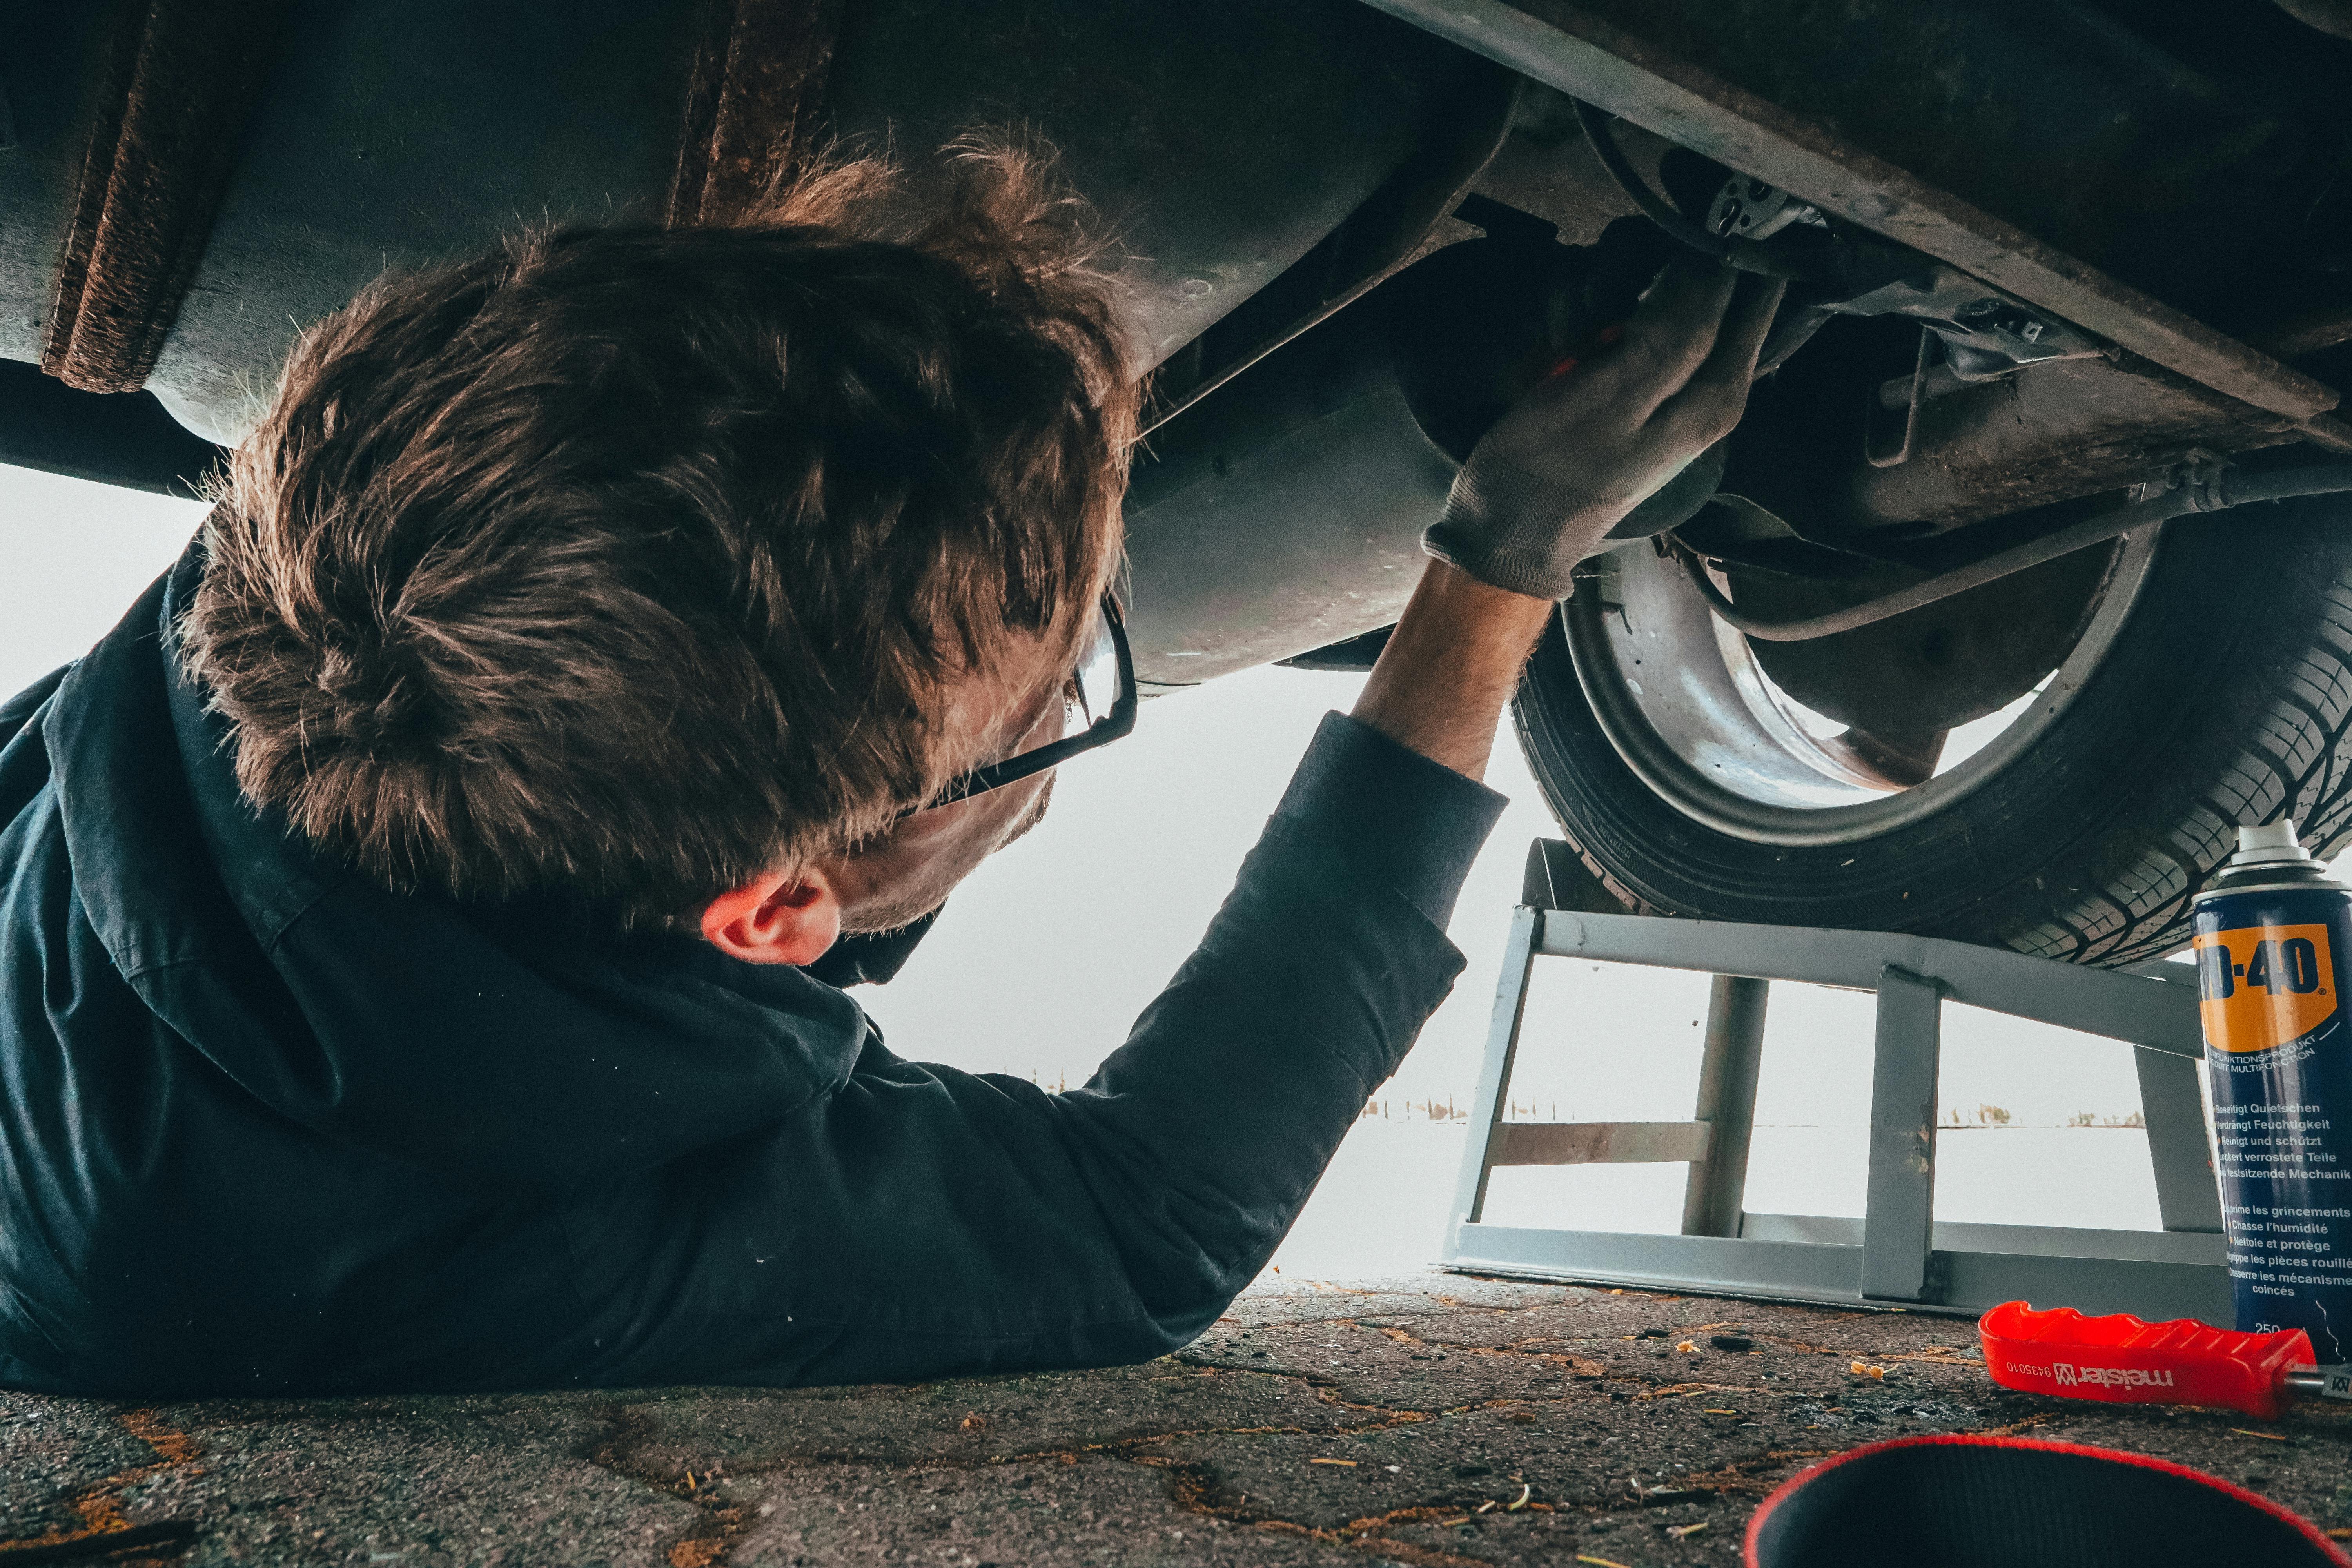
Tools Needed for a Peep Twist Repair
Performing a peep twist repair on your bow can be an easy and straightforward process—as long as you have the right tools. The most important tool you will need is a peep twist tool, which is specially designed for this type of repair. You will also need some basic archery tools such as arrow nocks, fletching jigs, and bow square. Additionally, you will need a few other items such as strong scissors, glue, and thread to complete the job.
To begin the repair process, you must first remove the old peep from your bowstring. This can be done with a strong pair of scissors or with a peep twist tool. Once the old peep has been removed, it’s time to install the new one. For this step, you will need your peep twist tool again. This tool makes it easy to tie off the new peep in place without having to use any complicated knots.
Once the new peep has been installed, it’s time to check that everything is properly aligned and secured before shooting. To do this, you can use an arrow nock or fletching jig to make sure that everything looks good before shooting arrows with your new setup. Finally, use a bow square to make sure that all of your components are properly aligned before shooting your arrows with your newly repaired setup.
With these essential tools at hand, performing a peep twist repair on your bow should be relatively simple and straightforward. Having all of these tools on hand will help ensure that you get the best results possible from your repair job and keep you shooting safely for many years to come.
Step 1: Gather the Necessary Supplies
Gather all of the necessary supplies to fix a peep twist. This includes a flathead screwdriver, a pair of needle-nose pliers, and an adjustable wrench. You’ll also need some lint-free cloths or towels, preferably in white or light colors. Have these items handy before you begin the repair process.
Step 2: Remove the Peep Twist
With your flathead screwdriver, remove the small screws that hold the peep twist in place. Carefully remove the peep twist and set it aside. Make sure you don’t lose any of the small screws as they will be needed to put everything back together.
Step 3: Clean the Peep Twist
Using a clean lint-free cloth or towel, gently wipe down the peep twist to remove any dirt or debris that may have accumulated on it. Be careful not to damage any of its components while cleaning it.
Step 4: Adjust and Tighten Components
Using your adjustable wrench and needle-nose pliers, adjust and tighten any loose components on the peep twist. Make sure everything is secure before continuing with the repair process.
Step 5: Reinstall Peep Twist
Once all of its components have been adjusted and tightened, carefully reinstall the peep twist by lining up its holes with those on the frame and replacing its screws with those that were removed earlier. Make sure everything is secured firmly before testing it out.
Why a Peep Twist May Need To Be Repaired
A peep twist is a necessary part of the archery bow setup. It is used to help the archer align the sight pin with the target. Over time, a peep twist may become damaged or worn out and need to be replaced or repaired. There are several reasons why this may occur and here are some of them:
The most common reason why a peep twist may need to be repaired is due to normal wear and tear. The peep twist is exposed to the elements, as well as being pulled tight when the bowstring is drawn back, causing it to experience fatigue over time. If it is not maintained properly, it can become weak or worn out and cease to work correctly.
Another reason why a peep twist may need to be repaired is if it has been exposed to moisture or water damage. Water can cause the material used for the peep twist to weaken and degrade, resulting in it needing to be replaced or repaired.
Finally, improper installation of the peep twist can also result in it needing repairs. If the peep twist is not installed correctly, it can lead to premature wear and tear, as well as potentially dangerous situations such as breakage or failure during use. It is important that any archer who installs their own peep twist does so properly in order to ensure its longevity and proper operation.
Checking the String and Cable Attachment to the Peep Twist
It is important to check the string and cable attachment to the peep twist of your bow for safety reasons. You should inspect the peep twist for any signs of damage or wear that may indicate a weakened connection. If you find any signs of damage, replace the peep twist with a new one immediately. After replacing the peep twist, check that it is properly connected to both the string and cable before shooting again.
The connection between the peep twist and string should be secure but not overly tight, as this can cause excess friction which will weaken the connection over time. The connection should also be free from debris such as dirt, dust, or debris from other arrows in order to ensure a smooth operation. It is important to keep in mind that any slippage or weakening in this connection can cause serious injury if not corrected before use.
Once you are sure that the peep twist is properly attached to both the string and cable, you should fire a few practice shots with your bow to make sure everything is functioning correctly. Check for any unusual noises or vibrations coming from either the bow itself or from near where you anchored your hand while shooting. If anything seems off, stop shooting immediately and re-check your connections before continuing again.
Inspecting and maintaining your bow’s components on a regular basis is an important part of ensuring safety when archery hunting or participating in target practice. Making sure that all parts are securely attached prevents potential accidents from occurring due to loose connections or weak points on your bow’s setup. Checking your peep twist attachment each time before shooting can help ensure that you are always prepared when it comes time to take aim at game or targets alike!

Adjusting the Nock Point of Your Bowstring
Adjusting the nock point of your bowstring is an important step in ensuring that your arrows fly accurately and consistently. The nock point is the location on the bowstring where you attach the arrow’s nock, or notch. It should be adjusted so that the arrow is pointed in the same direction as your target when you draw the bow. Properly adjusting your nock point will help you to achieve maximum accuracy and consistency in your shooting.
The first step in adjusting your nock point is to determine where it should be placed. This will depend on several factors, such as your draw length, arrow length, and bow type. Generally speaking, it should be placed about 1/8 inch above your arrow rest, but this may vary depending on your individual setup. Once you have determined where to place your nock point, attach a sight marker or some other reference point to help you locate it accurately each time you draw the bow.
Once you have marked the correct location for your nock point, it’s time to adjust it. You will need a few tools for this process: a bow stringer, a pair of pliers or adjustable wrenches, and scissors or wire cutters. Start by threading one end of your bow stringer through one loop of the string; then do the same with the other end of the stringer through one of the other loops. Next, hold both ends of the string firmly against each loop and pull downward until both loops are tight.
After that, use either pliers or adjustable wrenches to loosen one end of each loop until there is enough slack to slide them up or down on either side of the string. Move them up until they are at approximately 1/8 inch above your arrow rest; then tighten them back down with either pliers or adjustable wrenches again. Finally, trim off any excess string with scissors or wire cutters.
Now that you have adjusted your nock point correctly, make sure to check it regularly before shooting to ensure that it hasn’t shifted out of place. A correctly adjusted nock point will help ensure accuracy and consistency in every shot you take with a bow!
Checking the Length of Your Bowstring and Cable Setup
It is important to check the length of your bowstring and cable setup regularly in order to ensure that it is set up correctly. This ensures that your bow will perform at its best and you will be able to shoot accurately. The length of the bowstring and cables should be adjusted so that they are equal in length from the nocking point to the cams. If they are not equal, it can cause an imbalance in the performance of your bow and affect your accuracy when shooting.
To check the length of your bowstring and cables, you will need a measuring tape or ruler. Start by measuring from the nocking point on the string to each cam. Make sure that both measurements are equal and if not, adjust them until they are. Once you have done this, you can check for any wear or damage on the strings or cables which could affect their performance. If there is any damage, it should be replaced before continuing with further adjustments.
Once you have checked for any damage or wear on the strings and cables, you can then check for any twists or kinks in them which could also affect their performance. If there are any twists or kinks present, make sure to untwist them before continuing with further adjustments. Once all these checks have been made, you can then adjust the length of your string and cable setup until it is set up correctly. This will ensure that your bow performs at its best when shooting.
Remember to check your bowstrings and cable setup regularly to ensure that they are set up correctly for optimum performance. Doing so will help improve your accuracy when shooting and give you peace of mind knowing that everything is setup correctly for a successful hunt!
Replacing Cables or Strings on Your Bow
Replacing the cables and strings on your bow is a great way to maintain its performance. It’s important to make sure your bow is in good condition before you start shooting. Replacing the strings and cables can be an easy process if you have the right tools and follow the instructions carefully. Here are some tips for replacing cables or strings on your bow:
First, inspect the cables and strings for wear and tear. Look for frays, broken strands, twists, or any other damage that might affect performance. If you find any issues, it’s important to replace them as soon as possible.
Next, purchase new cables and strings that are designed for your specific bow. Be sure to buy from a reputable source so you know you’re getting quality parts.
Once you’ve got the new parts, remove the old cables and strings from the bow. This is best done with a pair of pliers or an adjustable wrench. Make sure to safely dispose of the old parts afterwards to avoid potential problems down the line.
Now it’s time to install the new parts. Start by attaching one end of each cable or string to its corresponding anchor point on the bow riser (the middle section between your hands). Then attach each end of each cable or string to its corresponding cams (the round pieces that move when you draw back). Make sure everything is properly aligned before moving on to the next step.
Finally, use a tensioner tool (or an Allen key if no tensioner is available) to tighten each cable or string until it’s at its recommended tension level (usually indicated on a label inside the bow riser). Once everything is properly secured, your new cables and strings should be ready for use!
Conclusion
The Peep Twist problem can be solved in a few easy steps. Firstly, it is important to identify and address the root cause of the problem. This may involve determining the specific issues that are causing the Peep Twist, such as design flaws or assembly errors. Once these have been identified, they can be addressed through appropriate corrective action. Additionally, it is important to ensure that all components are properly aligned and securely attached during the installation process. Finally, regular maintenance and inspections can help to prevent future problems from occurring with Peep Twist. By taking these steps, it is possible to effectively solve this common issue.
In summary, Peep Twist can be fixed by addressing the underlying causes and ensuring proper installation and maintenance practices. With a few simple steps, this problem can be avoided and any existing issues can be resolved quickly and effectively.