If you have taken a photo on your iPhone and noticed that the person’s face is looking too shiny, then you may be wondering how to remove shine from the face in the photo. This can be easily done using an editing app that is available for iOS devices. In this tutorial, we will show you how to quickly and easily remove shine from a face in a photo using an iPhone.To reduce shine on skin in photos taken with an iPhone, start by tapping the “Edit” button at the top of the photo. Then, select the “Light” icon to bring up a range of sliders. Drag the “Highlights” slider to the left to reduce any excessive highlights or shine on the skin. To further reduce any unwanted shine, also adjust the “Brightness” and “Contrast” sliders as needed. When you’re satisfied with your adjustments, tap “Done” to save the changes.
Tips and Tricks to Remove Shine from Face in Photos on iPhone
Having too much shine on your face in photos can be a little embarrassing. Fortunately, there are some tricks you can use to reduce or remove the shine from your face in photos taken with your iPhone. Here are some tips and tricks to help you get the perfect photo every time.
The first step is to adjust the lighting before taking the photo. Make sure that you are not standing directly under any bright lights or light fixtures, as this will create a reflection on your face that will be hard to remove later. Instead, try to stand in an area with softer lighting or use a diffuser if necessary.
The next step is to use a beauty filter on your iPhone camera app when taking the photo. This will help reduce the amount of shine on your face, giving it a more natural appearance. You can also try using different filters such as black and white, vintage, or even cartoonish filters to give your photo a unique look without having too much shine on your face.
After taking the photo, you can further edit it using an editing app such as Adobe Photoshop Express or Lightroom Mobile. Here you can use various editing tools to reduce any shine and reflections on your face, such as dodge and burn tools and color balance adjustments. You can also adjust the brightness and contrast levels of the image and apply different effects such as high-pass filters that will blur out any unwanted reflections or shiny spots on your face.
Finally, if all else fails, you can always use a makeup primer before taking a photo with your iPhone camera. This will help reduce any unwanted shine and reflections from appearing in your photos for a more natural-looking finish every time!
Using a Flash Diffuser
Using a flash diffuser is one of the best ways to diminish shine in photos taken with an iPhone. A flash diffuser is essentially a small, translucent panel that fits over the camera’s built-in flash. It works by softening and dispersing the light emitted by the flash, resulting in a less harsh light source that reduces glare and shine. It also helps to create softer shadows and an overall more balanced lighting effect. Flash diffusers are relatively inexpensive and can be found online or at most camera stores.
Using Manual Settings
Manual settings can also be used to reduce shine in photos taken with an iPhone. By adjusting the exposure time, ISO, and white balance settings, you can control the amount of light entering your camera. Longer exposure times will result in darker images, while higher ISO settings will increase brightness levels. Adjusting the white balance will help you achieve more accurate colors in your photos.
Taking Advantage of Natural Light
Taking advantage of natural light is another great way to reduce shine in photos taken with an iPhone. Natural light tends to be much softer than artificial light sources such as flashes or lamps, making it ideal for photographing subjects without creating too much glare or reflection. When taking photos outdoors, try to shoot during times when the sun is low on the horizon – such as early morning or late afternoon – as this will provide a softer light source that won’t result in too much glare or reflection.
Using Reflectors
Using reflectors is another useful technique for reducing shine in photos taken with an iPhone. Reflectors are essentially flat surfaces that can be used to bounce off light from one direction to another. By positioning a reflector near your subject, you can redirect unwanted reflections away from your camera lens and onto other surfaces such as walls or trees – resulting in less glare and reflection in your photos.
Choosing Different Angles
Finally, choosing different angles when shooting can also help diminish shine in photos taken with an iPhone. When photographing reflective surfaces such as water or glass windows, try shooting from different angles so that the reflections don’t fall directly into your camera lens – this will help reduce glare and shine while still capturing interesting compositions.
How to Edit Out the Shine from Your Face in iPhone Photos
We all know how frustrating it can be when you take a great photo with your iPhone only to find out that your face is too shiny! Thankfully, there are easy ways to edit out the shine from your face in iPhone photos. With just a few simple steps, you can quickly fix this issue and have a beautiful photo that you’ll be proud to share.
The first step to editing out shine from your face in iPhone photos is to use the brightening and softening tool. This tool is found in most photo editing apps and allows you to adjust the brightness and softness of your image. You can adjust the settings until you find the perfect balance that will remove any shine from your face.
Once you have adjusted the settings, it’s time to apply some blur or lighten effects. This will help even out any harsh shadows or highlights on your face, making it look more natural. You can also use these effects to smooth out any blemishes or imperfections on your skin.
Finally, don’t forget about adding some color correction! This will help give your photo an overall more polished look by adding some warmth and depth. Try using small amounts of saturation, hue, and contrast adjustments until you get the desired effect.
With just a few simple steps, you can easily edit out the shine from your face in iPhone photos! Whether it’s for a special event or just a casual selfie, these tips will help ensure that you have beautiful photos that you’ll love showing off!
Effective Ways to Tone Down Shine in iPhone Pictures
One of the most common issues with taking pictures on an iPhone is that it often results in too much shine. The bright light from the flash can wash out the colors in the picture, making it look dull and unappealing. Fortunately, there are a few easy ways to tone down this shine and make your photos look more vibrant and professional.
One of the simplest ways to reduce shine is to adjust the exposure settings on your iPhone. This can be done directly from the Camera app by tapping on the screen and dragging the slider up or down until you get the desired effect. You can also use third-party apps that offer more advanced exposure controls such as ISO, shutter speed, and white balance adjustments.
Another way to reduce shine is to use a diffuser. This is a simple device that sits over your camera lens and softens the light from your flash, reducing glare and creating a softer, more even light for your pictures. Diffusers are relatively inexpensive and can be found at most camera stores or online retailers.
If you don’t have access to a diffuser, you can also use natural light instead of flash. Try taking pictures near an open window or outdoors during cloudy days when there is less direct sunlight hitting your subject. The softer light will help reduce any unwanted reflections or glare in your photos.
Finally, you can also try using post-processing software such as Adobe Lightroom or Photoshop to adjust the brightness levels of your photos after they have been taken. This will give you more control over how much shine is visible in each photo and allow you to create a more professional looking result. With these tips in mind, you should be able to minimize shine in all of your iPhone pictures for beautiful results every time!
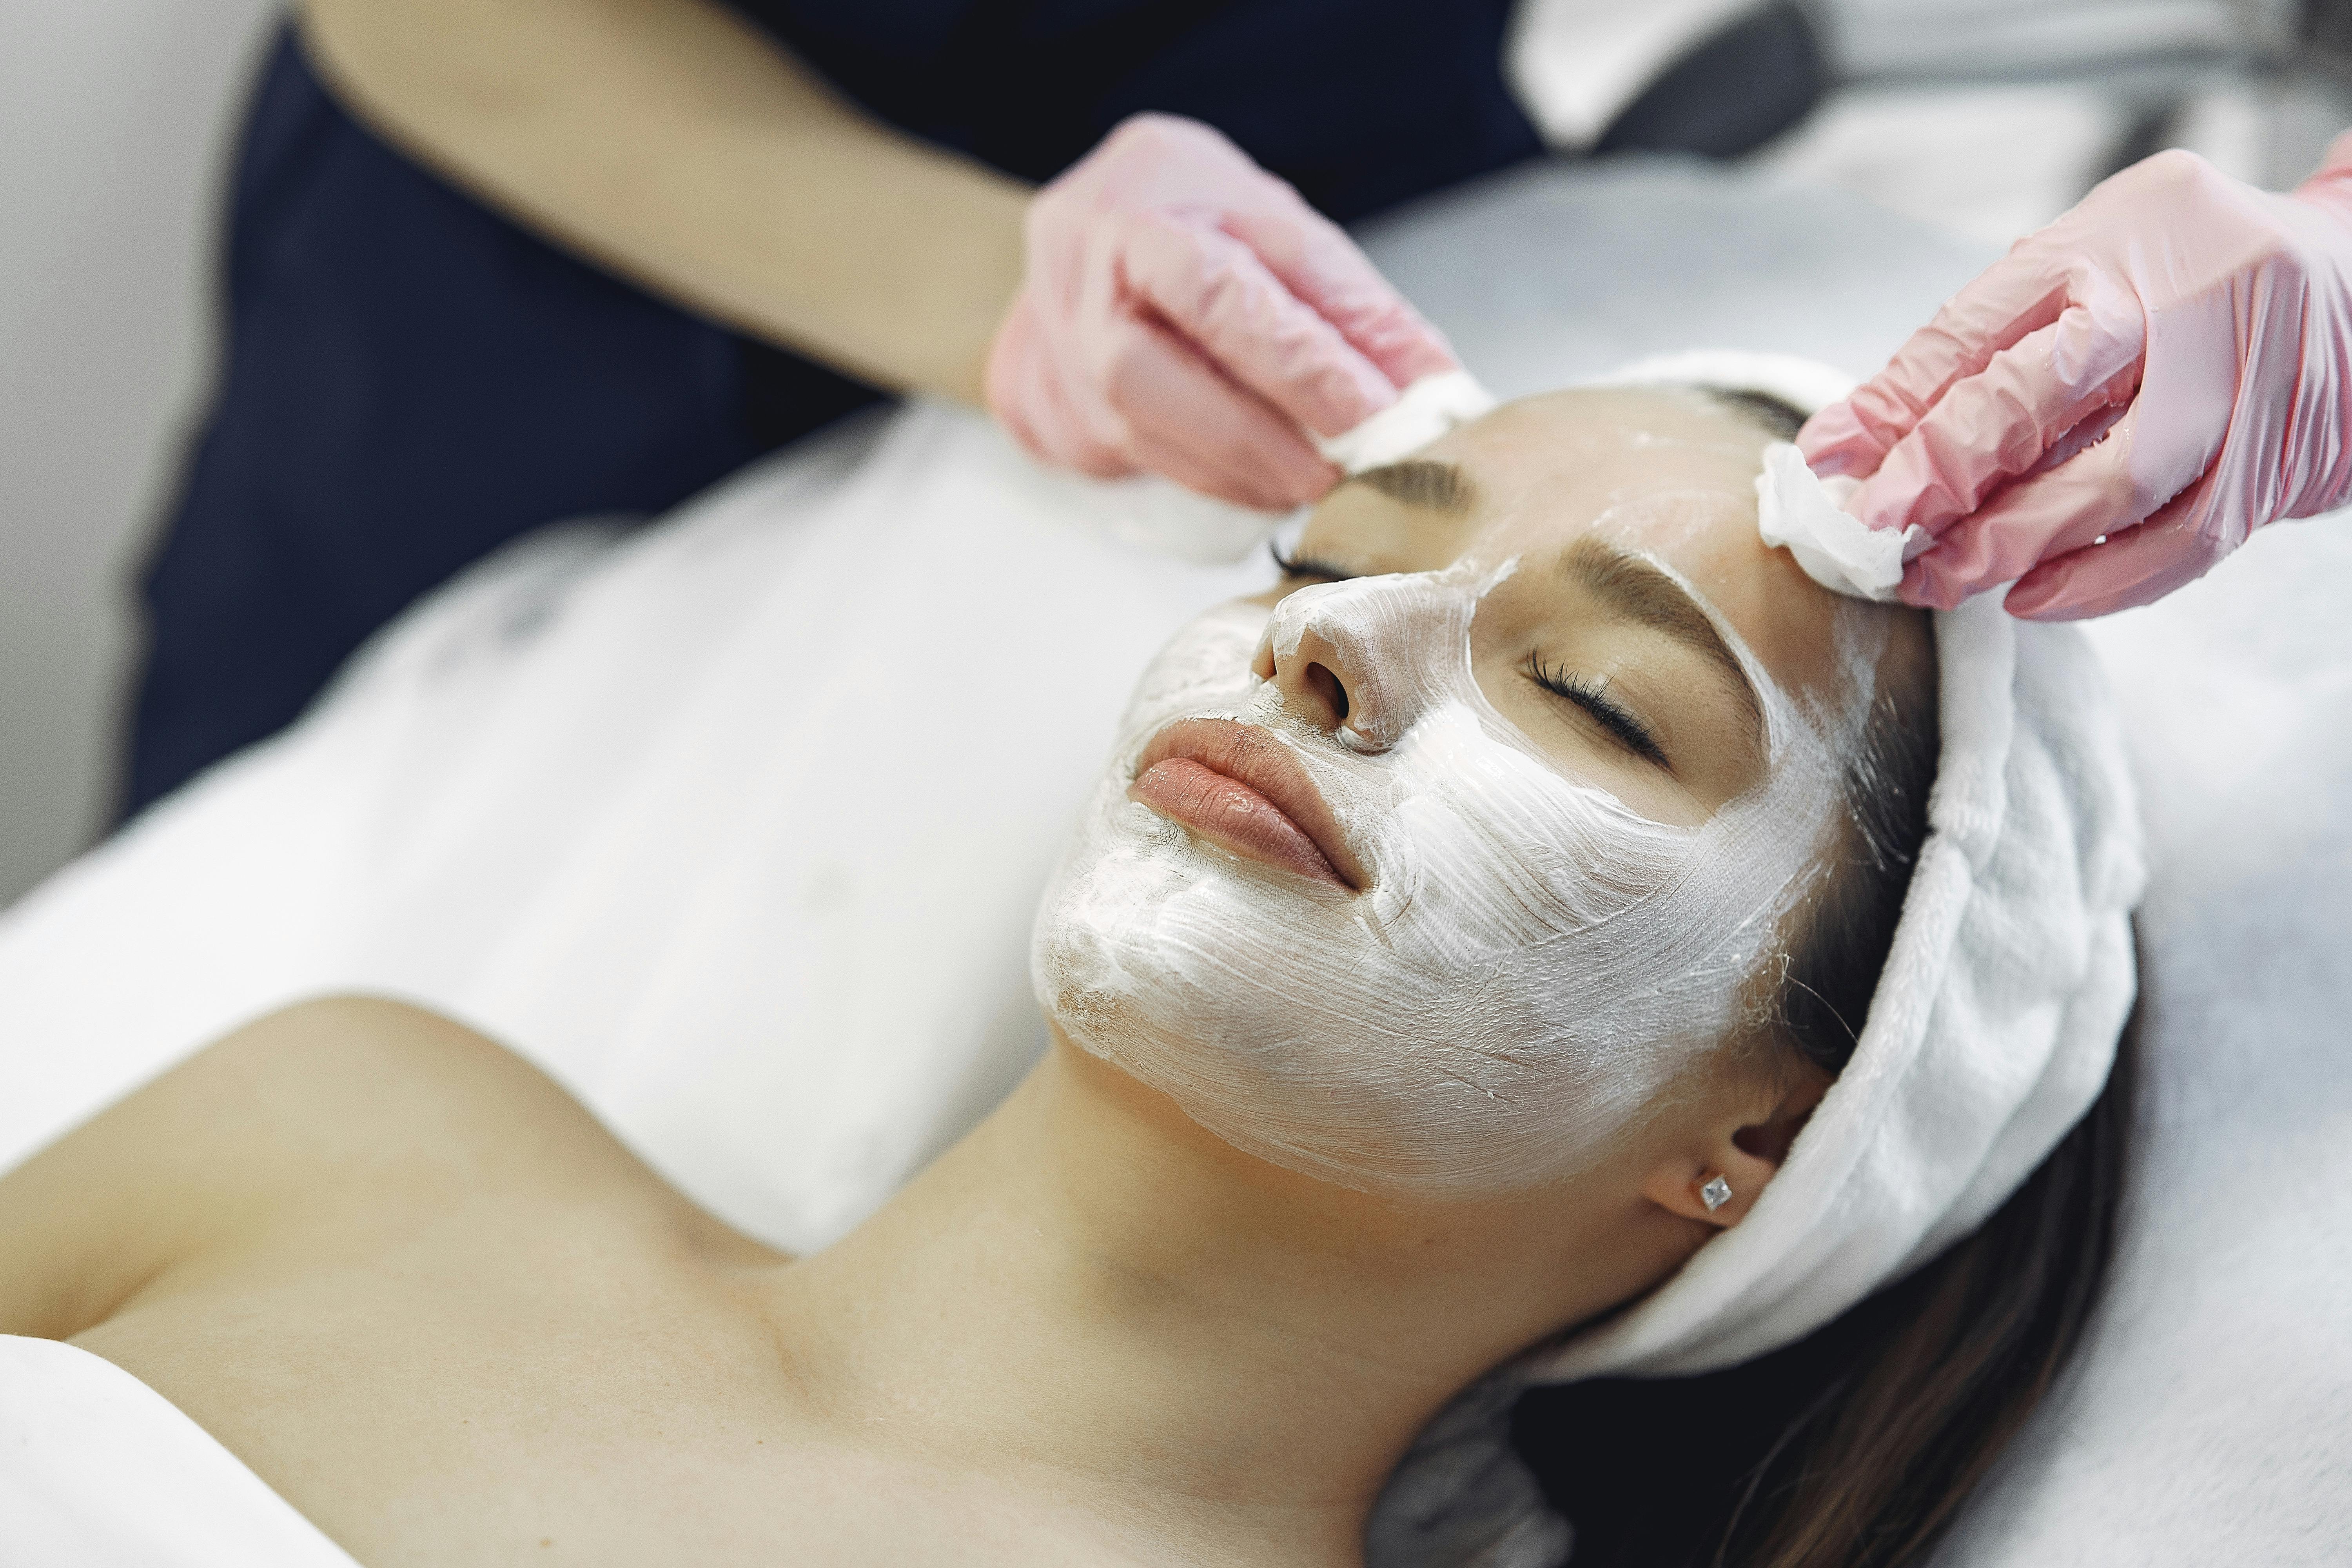
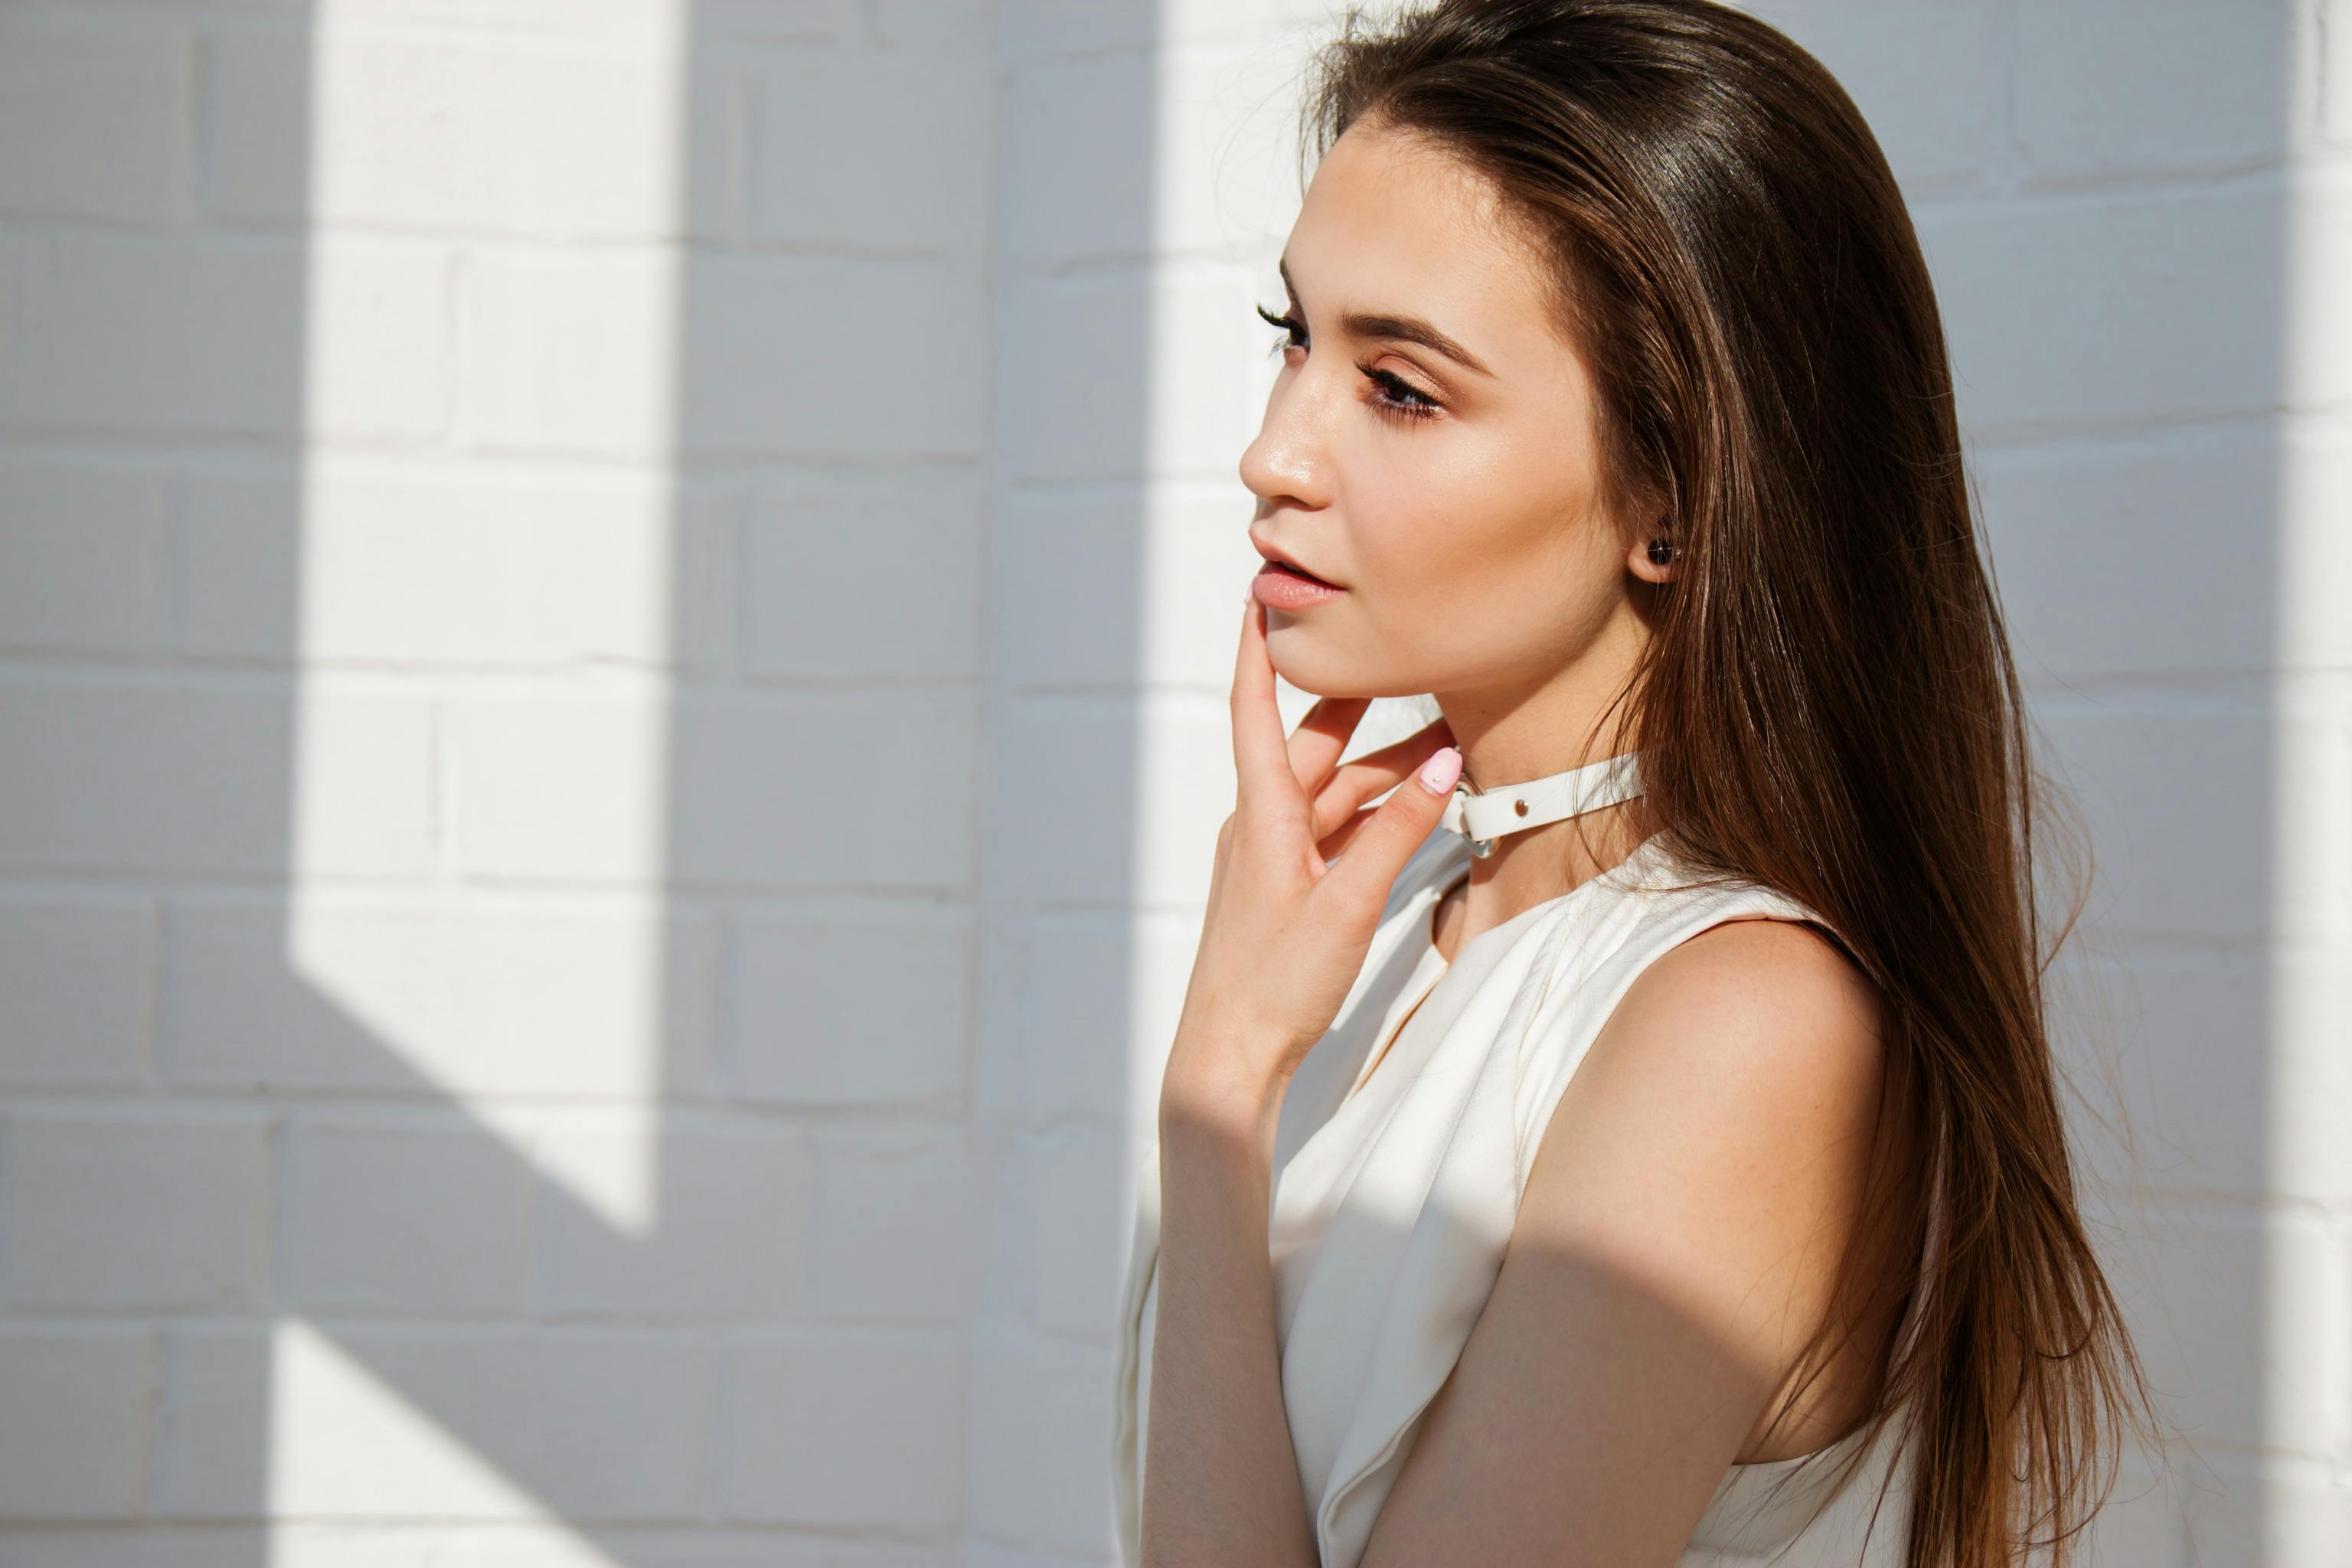
Minimizing Glare and Shine on Skin in a Photo Taken with an iPhone
One of the most common issues when taking photos with an iPhone is glare and shine on the skin. This can be caused by too much light, or from the reflection of light off surfaces such as windows or mirrors. Fortunately, there are a few tips that you can use to minimize glare and shine in your photos.
The first tip is to adjust the angle of the camera. If you take a photo from a different angle, you can reduce the amount of light that reflects directly onto your subject’s face. Try taking the photo from slightly above or below eye level, or even at an angle instead of straight-on.
Another way to reduce glare and shine is to use flash diffusers. These are small pieces of plastic or fabric that attach to your phone’s flash and help to soften and spread out the light. This will help to reduce harsh shadows and create softer lighting for your photos.
Finally, try using a matte finish on your phone case. A matte finish will help to minimize reflections from any bright lights in the environment, which can cause glare in your photos. If you don’t have a matte case, you can also try using tape or other materials to cover any reflective surfaces on your phone when taking pictures.
By following these tips, you can easily minimize glare and shine on skin in a photo taken with an iPhone. With just a few simple adjustments, you can create professional-looking photos that will look great no matter what device they are taken with!
1. Choose the Right Lighting and Angle
When taking photos with an iPhone, it’s important to choose the right lighting and angle to avoid excessive shine on skin. Natural light is best for reducing shine, as it tends to be more diffused than artificial light. Try to avoid direct sunlight, as this can cause harsh shadows and reflections that will make skin look overly shiny. Additionally, shooting from an angle rather than straight on can help reduce the appearance of shine.
2. Use a Diffuser
A diffuser is a great tool for reducing shine in photos taken with an iPhone. A diffuser works by scattering light and creating a more even, soft effect on the skin. Diffusers come in various shapes and sizes and can be used both indoors and outdoors. When using a diffuser outdoors, make sure to position it so it blocks any direct sunlight from hitting your subject’s face.
3. Adjust Exposure Settings
The exposure settings on an iPhone can also be adjusted to reduce shine on skin in photos. To do this, tap the screen where your subject is located and then slide the sun icon up or down until you get the desired effect. This will darken or lighten the image accordingly, which should help reduce the appearance of shine on the skin without compromising the overall quality of your photo.
4. Use Touch Up Tools
In addition to adjusting exposure settings, there are several touch up tools available for use when taking photos with an iPhone that can help reduce shine on skin. One such tool is “blurring” which will soften edges around highlighted areas of skin while still maintaining detail elsewhere in the photo. Other tools such as desaturation and vignetting can also help create a more even tone in photos while reducing overall shine levels in post-processing software like Photoshop or Lightroom Classic CC.
Getting Rid of Unwanted Glow from Your Face in an iPhone Photo
Getting rid of unwanted glow from your face in an iPhone photo can be a tricky task. But with the right tools and techniques, you can achieve a better result. The first step is to adjust the lighting. You can do this by using the exposure slider to reduce or increase the brightness of your photo. This will help balance out the light and dark areas of your image.
You can also use Adobe Photoshop’s curves tool to reduce or increase the clarity of your image. This will help to create a smoother look and reduce any unwanted glare from your face. The curves tool is quite powerful, so it pays to experiment with it until you get the desired result.
Another great way to reduce unwanted glow from your face in an iPhone photo is to use a blur effect. There are many different types of blur effects available, but one of the most effective is Gaussian blur. This type of blur effect helps to soften any harsh edges and give your image a more even and natural look.
You can also add contrast to your photo by using a Levels adjustment layer in Photoshop. This layer helps enhance any shadows or highlights on your photo, making them appear more realistic and natural looking. Finally, you can also use selective color adjustments to enhance certain colors on your image without affecting others, giving you a more even tone overall.
With the right tools and techniques, getting rid of unwanted glow from your face in an iPhone photo is achievable! Just remember that practice makes perfect – so don’t be afraid to experiment until you find the look that’s right for you!
Conclusion
Removing shine from a face in a photo taken with an iPhone can be done relatively easily. The most important thing to remember is to make sure that the light you are using is diffused, and that you use the right tools for editing your photos. Adjusting the exposure, highlights, and shadows can help reduce the shine. Additionally, utilizing the Color Balance tool and other similar features within your editing app can help control any unwanted tones or colors that may be present in the photo. Finally, using a brush tool to selectively apply a blur effect or desaturate certain areas of the photo can help reduce unwanted shine.
With some practice and patience, anyone can learn how to remove shine from a face in photos taken with an iPhone.