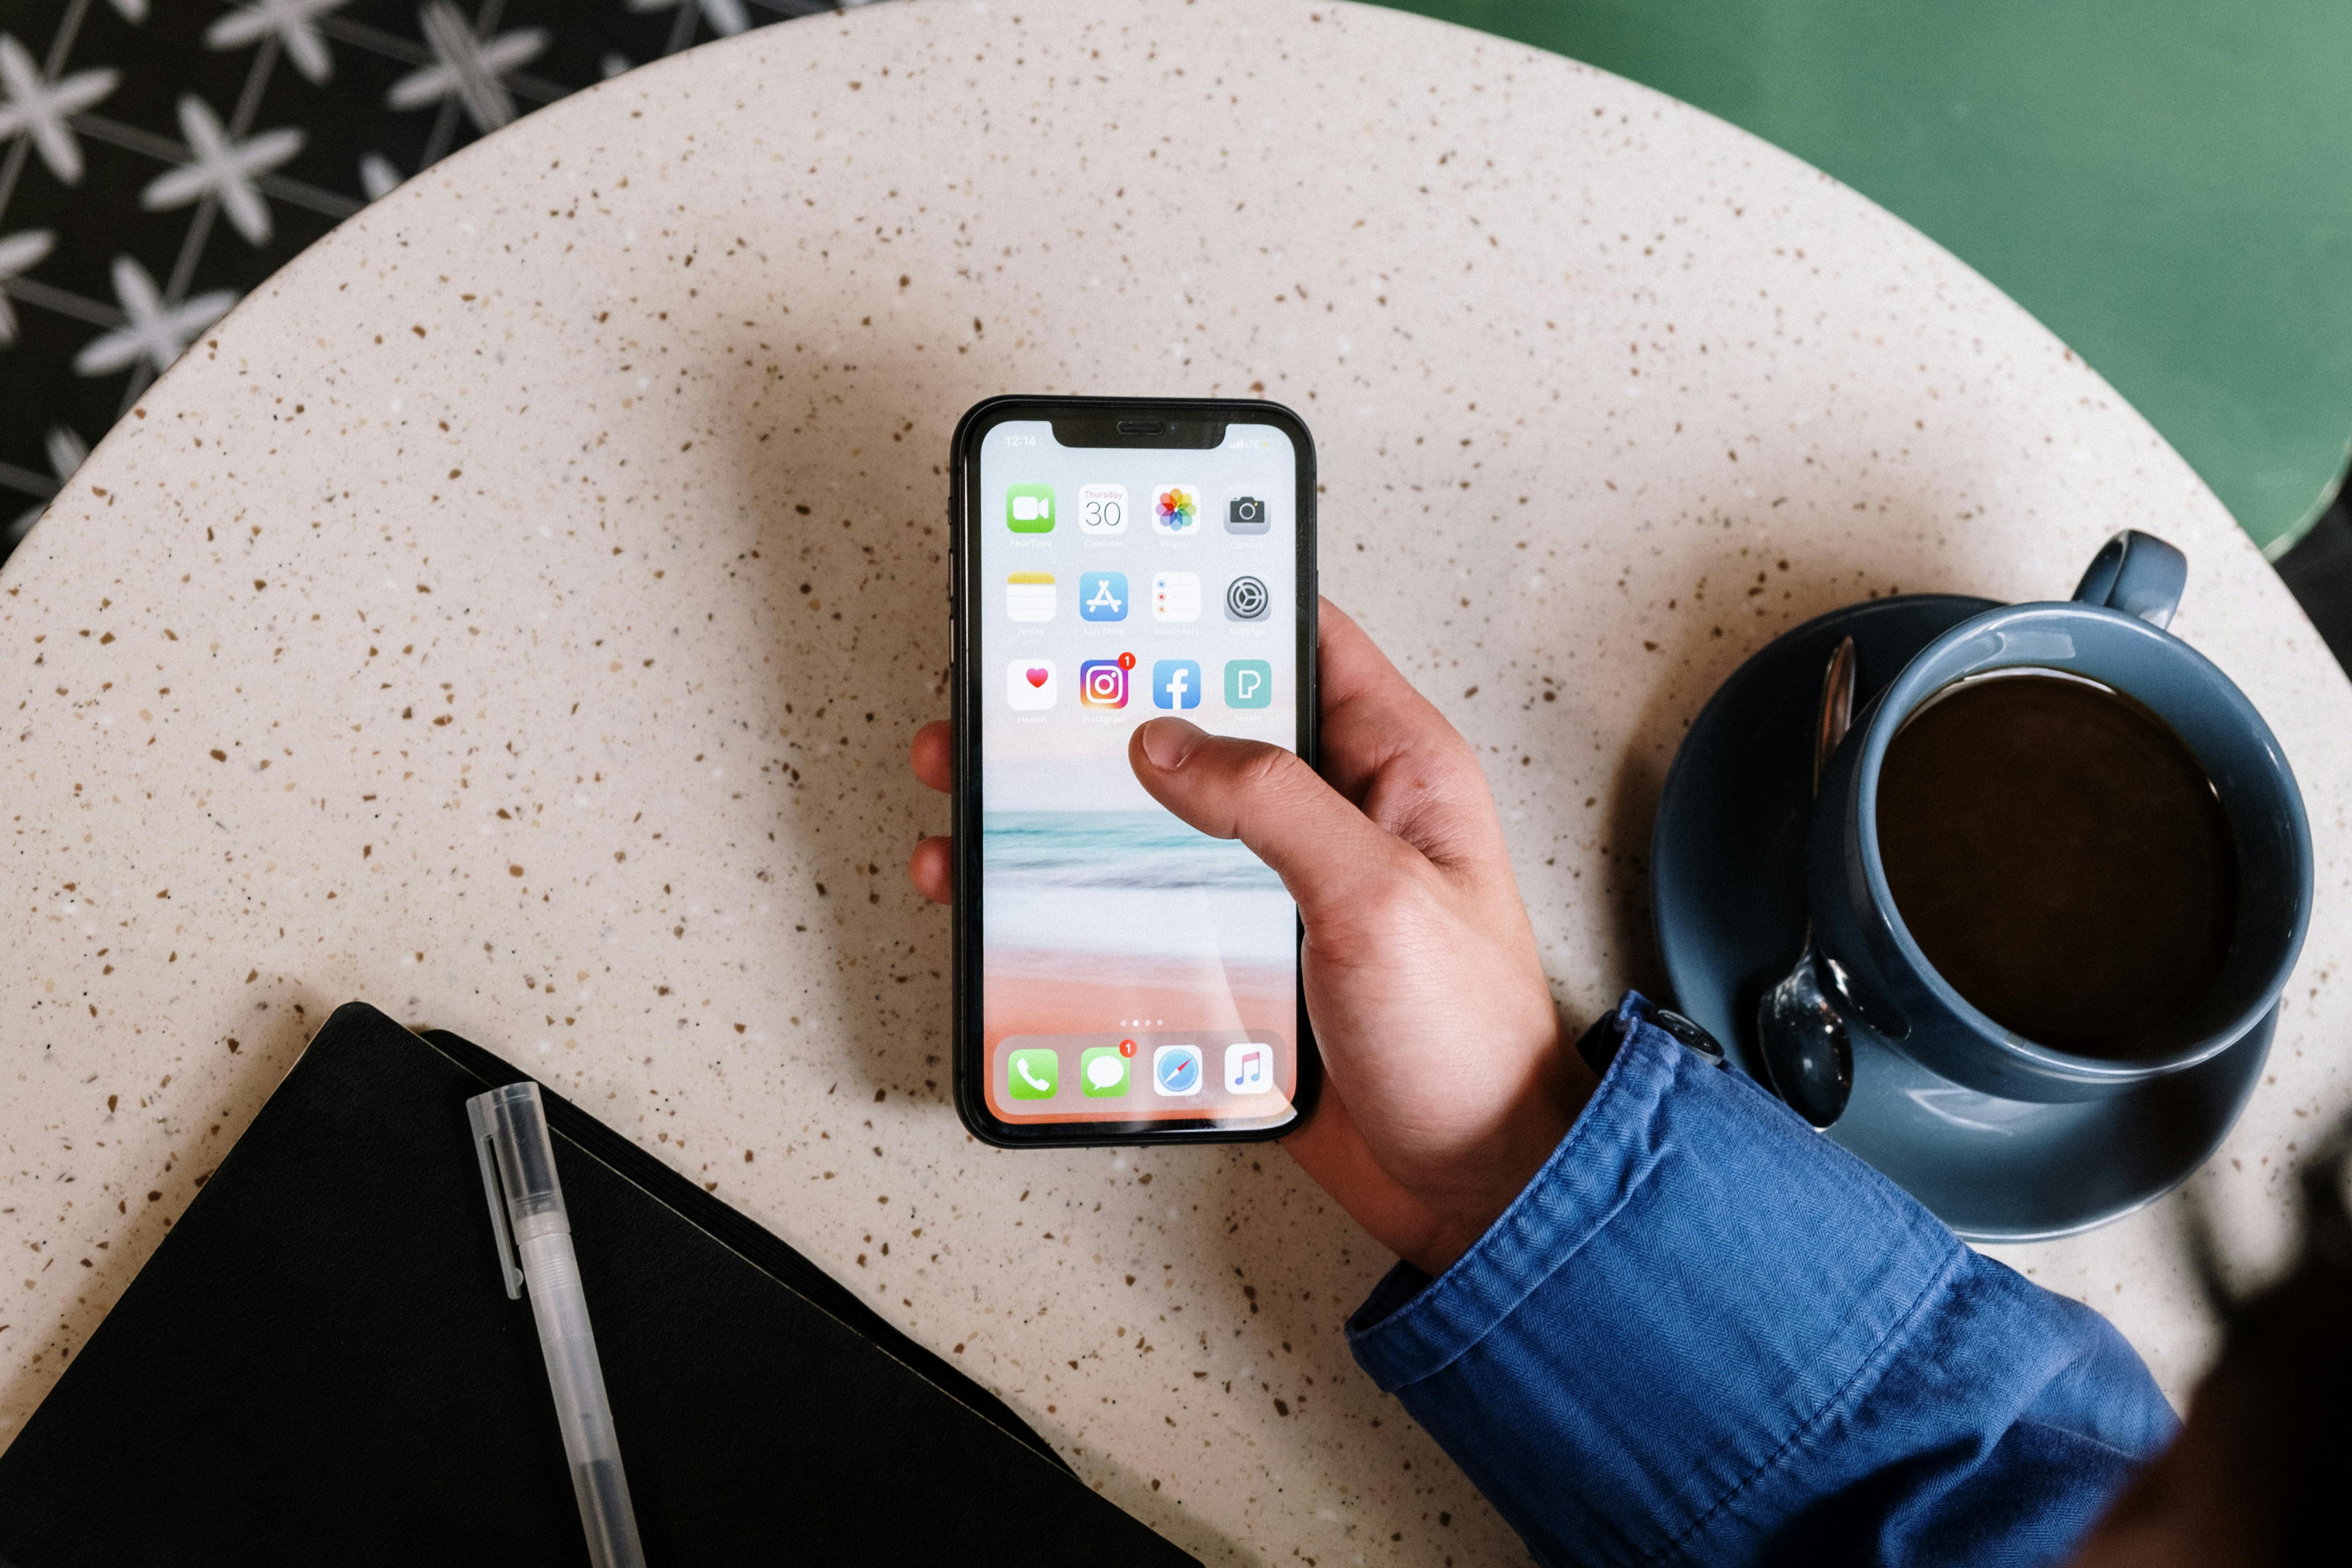
If you’re looking to remove the bark from your iPhone, then you’ve come to the right place! This guide will walk you through the steps of safely removing the bark from your iPhone and restoring it back to its original condition. All you’ll need is a few simple tools and a bit of patience. With that, let’s get started!Removing the bark from an iPhone is a fairly simple process. First, turn off the phone and remove the SIM card. Then, use a small flathead screwdriver to pry open the back of the phone. Once the back has been removed, carefully peel away any remaining pieces of bark with your fingers or a pair of tweezers. Once all of the bark has been removed, you can reassemble your phone and power it on again to make sure it is working properly.
What You Need to Remove Bark from an iPhone
Removing bark from an iPhone can be tricky, especially if you don’t have the right tools. Before attempting to remove bark from your device, it’s important that you have the following items on hand: a heat gun, a soft cloth, an anti-static brush, a plastic pry tool, and a screen protector film. Having these items at your disposal will make removing bark much easier and less time consuming.
The first step in removing bark from an iPhone is to use the heat gun or hairdryer to warm up the area where the bark is located. This will soften the adhesive that holds the bark in place and make it easier to remove. Make sure not to overheat the device as this could cause damage to internal components. Once heated for a few minutes, use a plastic pry tool or other thin instrument to gently lift up one edge of the bark. If necessary, use an anti-static brush to carefully loosen any remaining pieces of bark.
Once all of the bark has been removed, use a soft cloth to clean off any residue left behind. Be gentle with your device during this process as excessive scrubbing can cause damage or scratches on the surface. Finally, apply a screen protector film over any exposed areas of your iPhone for additional protection against dirt and dust build up.
Removing Bark from an iPhone
Removing bark from an iPhone can be a tricky process, but with the right tools and instructions, it can be done quickly and safely. Before starting the process, make sure your iPhone is powered off and unplugged from any charging devices. It’s also important to have protective gloves and safety glasses to avoid any potential injuries.
Once you have all the necessary safety equipment, you’ll need a few basic tools to remove the bark. A flathead screwdriver, a razor blade, and a pair of tweezers are all you will need. Start by using the flathead screwdriver to gently pry off any visible pieces of bark. Be careful not to scratch or damage the iPhone in any way while doing this.
Next, use the razor blade to carefully scrape away any remaining pieces of bark that are stuck on the surface. Again, use caution when scraping with the razor blade so as not to damage your phone. Once you’ve scraped away all visible pieces of bark, use tweezers to pick out any bits that may have been missed during scraping.
Once all of the bark has been removed from your phone, it’s time for a thorough cleaning. Use a damp cloth or cotton swab soaked in warm water and mild soap to wipe down the surface of your phone. Dry off with a clean microfiber cloth and then use rubbing alcohol on a cotton swab to remove any residue left behind by the bark. Finally, give your phone one last inspection before powering it back on again!
Troubleshooting Tips for Removing Bark from an iPhone
Removing bark from an iPhone can be a tricky process. It is important to take the right steps in order to prevent further damage to the device. Here are some troubleshooting tips for removing bark from an iPhone:
The first step is to power off the device and remove any case or protective cover. This will help prevent any further damage from occurring during the removal process. If possible, use a soft cloth or brush to gently remove as much of the bark as possible. Be careful not to scratch or damage the surface of the device in any way.
If the bark does not come off easily, try using a cotton swab or toothpick dipped in rubbing alcohol. Gently rub it over the area until the bark starts to come off. Do not apply too much pressure as this could cause further damage.
If all else fails, it may be necessary to take your iPhone into a repair shop for professional assistance. The technician will be able to use specialized tools and techniques to carefully remove any remaining bark without damaging your device in any way.
These are some troubleshooting tips for removing bark from an iPhone. Remember that it is important to power off your device before attempting any repairs and always use caution when handling delicate electronics like iPhones!
Different Methods to Remove Bark from an iPhone
Removing bark from an iPhone can be a tricky process, but it is possible. There are a few different methods that can be used to successfully remove the bark from an iPhone. The most popular methods are using a vacuum cleaner, tweezers, or a soft brush.
Using a vacuum cleaner is probably the quickest and easiest way to remove the bark. All you need to do is attach the vacuum cleaner to the nozzle of your iPhone and turn it on. The suction power of the vacuum cleaner will draw out the bark and make it easy to remove. This method should only be used if there are no other options available as it can cause damage to some parts of your phone.
Using tweezers is another popular method for removing bark from an iPhone. All you need to do is gently use the tweezers to pinch off small pieces of the bark until all of it has been removed. This method is a bit more time consuming but it will ensure that no damage is done to your phone in the process.
Finally, using a soft brush is another way to get rid of any stubborn bark on an iPhone. This method works best when combined with some type of cleaning solution, such as rubbing alcohol or even water mixed with soap. All you have to do is gently scrub away at any remaining bark until all of it has been removed. This method should only be used as a last resort as it can cause scratches and other damage if not done properly.

Dusting the iPhone
After removing the bark from your iPhone, the first step is to dust it off. Use a soft lint-free cloth to gently wipe away any debris or dust that has accumulated on the device. Avoid using anything abrasive, such as paper towels or rough cloths, as these could potentially damage the delicate surface of your phone. Make sure to avoid getting moisture on your iPhone while cleaning it as this could damage its internal components.
Cleaning with a Soft Cloth
Once you have dusted off your iPhone, use a soft cloth dampened with water or a mild cleaner to gently wipe down the exterior surfaces. Pay special attention to any crevices or small openings that may be difficult to reach with a cloth. Give your device enough time to air dry before applying any further cleaning solutions.
Using Alcohol Cleaners
If you need to use an alcohol-based cleaner when cleaning your iPhone, make sure it is non-abrasive and specifically designed for use on electronics. Apply a small amount of the cleaner onto a soft cloth and wipe down all surfaces of the device. Be sure not to get any liquid into any openings of the device, such as headphone jacks or charging ports.
Using Electronics Cleaners
You can also use electronics cleaners designed specifically for use on electronic devices such as iPhones. These cleaners are typically alcohol-free and non-abrasive, making them safe for use on sensitive electronic devices. Follow the instructions carefully when using electronics cleaners and always allow enough time for the device to air dry before applying any further cleaning solutions.
Polishing Your Device
Once you have finished cleaning your iPhone, you can apply a small amount of polish if desired. This will help provide an extra layer of protection against dirt and dust buildup while also giving your phone’s screen and body an added shine. Be sure not to apply too much polish as this could potentially cause damage to your device’s delicate surfaces.
What to Avoid When Removing Bark from an iPhone
Removing the bark from an iPhone can be a tricky process and there are certain things that you should avoid in order to prevent damaging your device. Here are some tips on what to avoid when removing bark from an iPhone:
Firstly, never attempt to remove the bark using sharp objects, such as knives or scissors. This can easily cause damage to the phone and could result in irreparable damage.
Secondly, never try to forcefully remove the bark with your hands or any other tools. Doing this could cause scratches or dents on the phone’s surface which may not be repairable.
Thirdly, do not use any harsh chemical or abrasive materials when attempting to remove the bark. These types of materials can cause further damage to your device and may even void its warranty.
Finally, do not attempt to use any type of heat source such as a blow dryer or heat gun when trying to remove the bark from your phone. This could melt components inside the phone and cause irreparable damage.
By following these simple tips and avoiding these potential pitfalls, you can successfully remove bark from an iPhone without causing any damage.
Alternative to Removing Bark from an iPhone
If you’re looking for an alternative to removing bark from your iPhone, there are a few options available. The first option is to use a protective case. Protective cases are designed to protect your device from any damage that could occur due to accidental drops, scratches, and other external forces. They also provide an extra layer of protection against dirt and dust, which can accumulate on the back of the phone over time.
Another option is to use a screen protector. Screen protectors are made of plastic or tempered glass and are designed to protect the phone’s display from scratches and dirt. They also provide an extra layer of protection against harmful UV rays and other environmental factors that can damage the phone’s display over time. Screen protectors should be replaced regularly to ensure optimal protection.
Finally, you can also use specialized cleaning products designed specifically for iPhones. These cleaning products are designed to remove dirt, dust, grime, and oils without damaging the device’s delicate components. It is important to follow the instructions carefully when using these products as they can easily cause damage if used incorrectly.
Overall, there are many alternatives available when it comes to protecting your iPhone from dirt and damage caused by bark or other external factors. By using a protective case, a screen protector, or specialized cleaning solutions you can keep your device looking brand new for years to come.
Conclusion
Removing the bark from your iPhone is not a daunting task when you have the right tools and instructions. With a few simple steps and some patience, you can have your device looking like new in no time. Start by carefully prying off the outer shell, then use a spudger to remove any adhesive that may be holding on to the battery or other components. Finally, use a heat gun to heat up and remove remaining adhesive and finish with some isopropyl alcohol to give your phone a proper cleaning.
By taking the time to properly remove the bark from your iPhone, you will be able to keep it in great condition for years to come. Don’t forget that regular cleaning is also important for protecting your device from damage. With these tips in mind, you can easily take on this project and make sure your phone looks as good as new!