Pixelating an image on an iPhone is a great way to add a fun and creative twist to your images. The process is relatively easy and can be done in just a few simple steps. In this guide, we’ll walk you through how to pixelate an image on an iPhone. With the right tools and techniques, you’ll be able to create one-of-a-kind images in no time.Pixelating an image on an iPhone is a great way to make it look more artistic or to blur out sensitive information. It’s easy to do with the Photos app. Here’s how:
1. Open the Photos app and select the image you want to pixelate.
2. Tap the Edit icon at the top right corner of your screen.
3. Select “Adjust” from the list of editing tools, then tap “Filters” beneath it.
4. Scroll down until you find the “Pixelate” option, then tap it to apply it to your photo.
5. Adjust the intensity of the filter by dragging the slider at the bottom of your screen left or right until you get your desired effect, then tap Done at the top right corner of your screen when you’re satisfied with your image.
What Apps Can I Use to Pixelate an Image on iPhone?
Pixelating an image is a great way to add a unique and creative touch to your photos. With the right app, you can easily pixelate images on your iPhone with just a few taps.
There are several apps that can help you pixelate images on your iPhone, each having its own unique features and capabilities. One of the most popular apps is Pixelator. It’s simple to use and comes with lots of options for creating interesting effects. You can choose from various levels of pixelation and blur, as well as adjust the brightness, contrast, and saturation of the image.
Another great app for pixelating images on iPhone is Photomosh. This app offers plenty of options for creating stunning visuals using pixelated effects. You can adjust the intensity of the effect, as well as choose from dozens of different shapes and sizes for your pixels.
In addition to these two apps, there are also other great options out there such as Pixlr Express and Photo Pixelator Pro. They both offer a variety of features for creating amazing pixelated images on your iPhone in just a few taps.
No matter which app you choose, it’s easy to create amazing pixelated images using your iPhone with any one of these apps. With just a few taps you’ll be able to turn your photos into something special!
1. Resize the Image
Pixelating an image on an iPhone is a great way to give it a unique, artistic look. The first step is to resize the image you want to pixelate. To do this, open the image in the Photos app and tap the Edit button in the top right corner. From there, select Adjust, then tap Resize at the bottom of the screen. Choose your desired size and press Done when finished.
2. Use Pixelation Filter
Once your image has been resized, you can add a pixelation filter by tapping Effects at the bottom of the screen. Select Pixelate from the list of options to apply a mosaic-like effect to your image. You can adjust how strong or light this effect is by using the slider next to it. When you’re happy with your changes, press Done at the top right corner of your screen.
3. Change Color Saturation
If you want to further customize your pixelated image, you can adjust its color saturation by tapping Adjust again from within Photos app and then selecting Saturation from near the bottom of that page. You can use a slider here to make your colors more or less intense as desired. Once you’re satisfied with how it looks, press Done at the top right corner.
4. Export Your Image
Finally, if you want to save your pixelated image for later use or share it with someone else, press Done one last time and then select Save As in order to export it as a new file or replace an existing one in your library. You can now use this edited photo however you wish!
Step-by-step Guide on How to Pixelate an Image on iPhone
Pixelating an image on your iPhone offers a great way to blur out certain sections of the image while keeping the other parts of the image intact. This can be extremely helpful when you want to protect someone’s identity or simply want to make your picture look more unique. It can be done easily with a few simple steps.
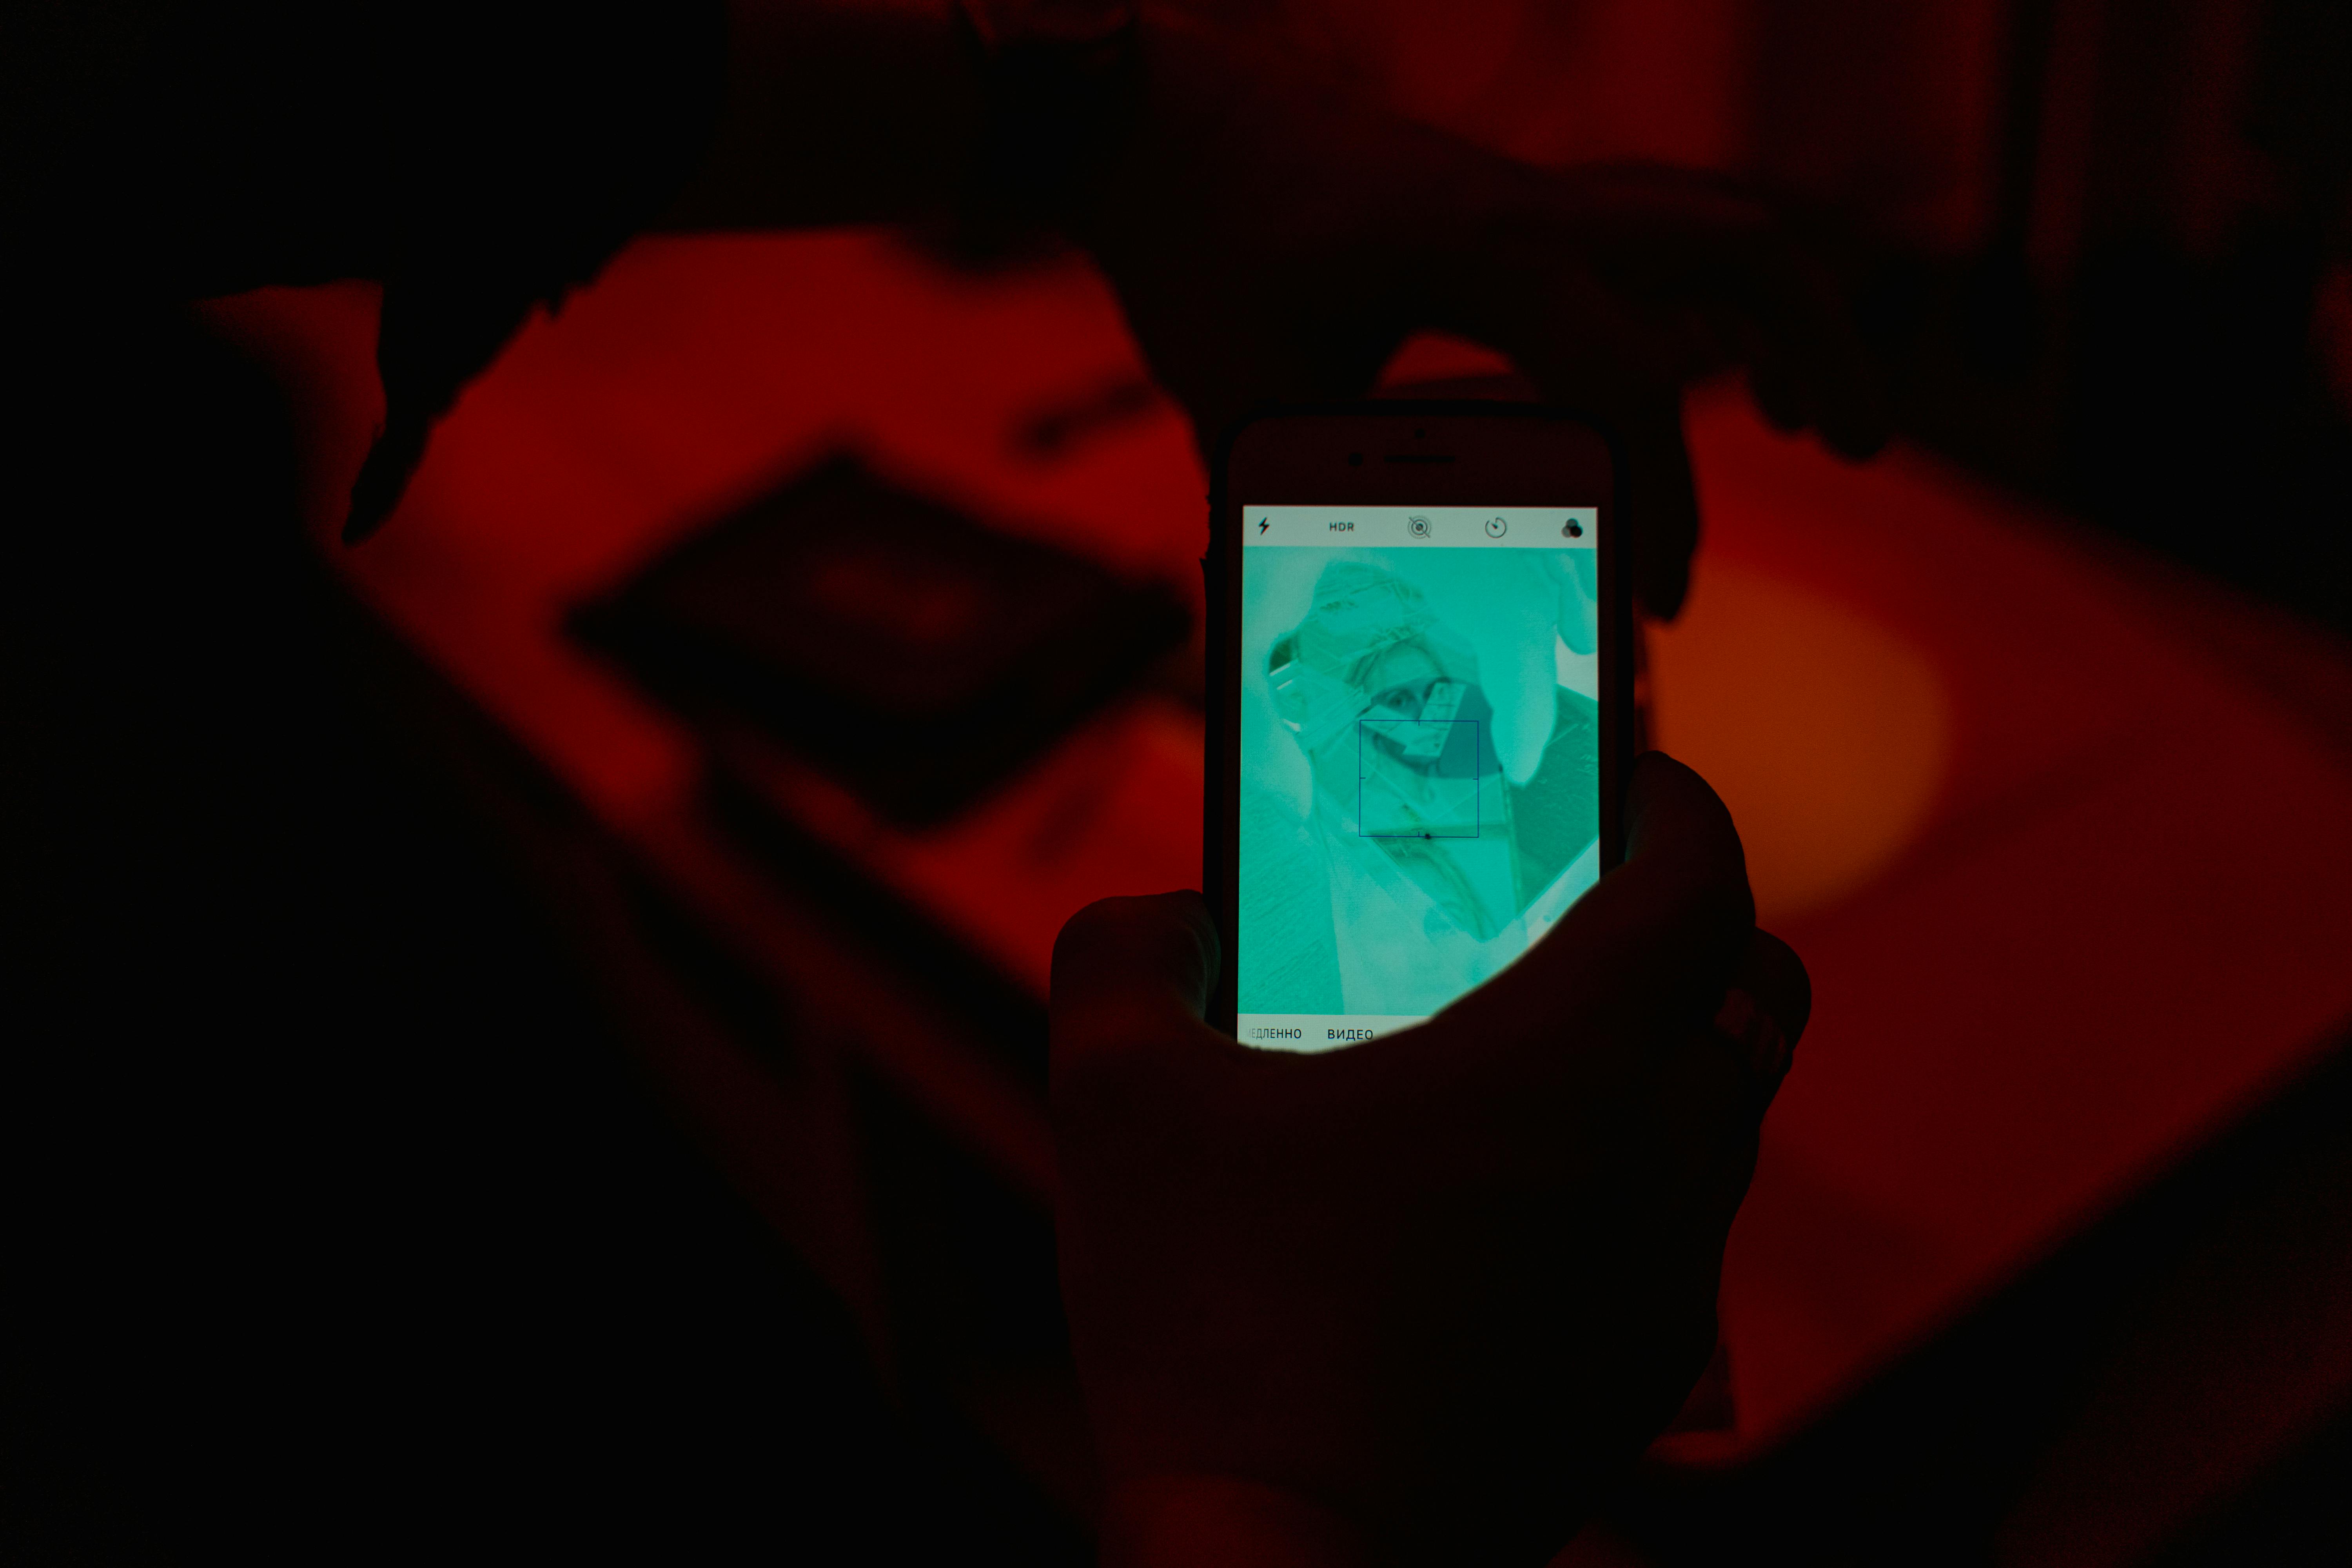
The first step is to open the photo you would like to pixelate in the Photos app. Once you have opened the photo, tap on the ‘Edit’ button at the top right corner of your screen. You will then be taken to a new editing page where you can make various adjustments and edits to your photo.
At the bottom of this editing page, you will find a menu bar with several different options such as ‘Filters’, ‘Light’ and ‘Color’. Tap on the ‘Effects’ option which will bring up some additional options such as ‘Vignette’, ‘Bloom’, and ‘Pixelate’. Tap on ‘Pixelate’ which will open up a slider that allows you to adjust how much of your photo is blurred out.
Once you have adjusted the slider as desired, tap on ‘Done’ at the bottom right corner of your screen which will take you back to your original photo with the pixelated effect applied. You can then save this edited version of your photo or share it directly with friends and family if desired.
By following these simple steps, it is easy to pixelate an image on your iPhone in just a few minutes. This technique offers great flexibility when it comes to blurring out sections of photos while still keeping other parts intact and makes it easy for anyone to add some creativity or privacy protection into their photos!
How to Adjust the Intensity of Pixelation on iPhone
Pixelation is a common issue with iPhones and other devices. It is caused when low-resolution images are displayed on a high-resolution device. Pixelation can make photos and videos look fuzzy or distorted. The good news is that there are ways to adjust the intensity of pixelation on your iPhone. Here’s how you can do it:
The first step is to open the Settings app on your iPhone and navigate to the Display & Brightness section. Once you’re there, you’ll see an option called “Display Zoom”. Tap it and then select “Zoomed” from the menu that appears. This will give you a larger display but will reduce the overall resolution of your screen, which will make pixelation less noticeable.
Another option is to reduce the size of images and videos so they don’t appear too large on your screen. This can be done by using third-party photo editing apps or by adjusting the settings in your Camera app. In either case, reducing the size of images and videos will make them appear less pixelated.
Finally, you can also use apps like Video Enhancer or Photo Resizer to improve image and video quality. These apps use artificial intelligence (AI) to identify and enhance low-resolution images so they look better on high-resolution displays like those found on iPhones.
By following these steps, you should be able to adjust the intensity of pixelation on your iPhone. Doing so will help make sure that your photos and videos look as good as possible when viewed on your device.
What Are the Benefits of Pixelating an Image on iPhone?
Pixelating an image on your iPhone is a great way to reduce noise and give your image a more professional look. It can also help you create a unique effect that stands out from other images you’ve taken. Pixelating an image on an iPhone can also help you save space by reducing the file size. This can be especially useful if you want to post multiple images to social media or send them via email.
Pixelation is achieved by reducing the number of pixels in an image, which results in a less detailed but visually pleasing result. It can be used to blur out parts of an image that are not necessary, or to make certain areas stand out more prominently. Additionally, pixelation can be used for creative effects such as turning part of an image into abstract shapes or patterns.
Pixelation also helps reduce noise in photos taken with low-quality equipment or in low-light conditions. By reducing the number of pixels, any unwanted graininess or imperfections are eliminated and replaced with smoother lines and shapes. This makes it easier to produce higher quality images without needing expensive equipment or complicated editing software.
Finally, pixelation is a great way to save space on your device as it reduces the file size of any given image. Since pixelated images are less detailed than their non-pixelated counterparts, they tend to take up less storage space, allowing you to store more photos without running out of room on your phone’s memory card.
Overall, pixelating an image on your iPhone is a great way to reduce noise and create unique effects while saving precious storage space at the same time. With just a few taps, anyone can produce professional-looking photos that stand out from the crowd!