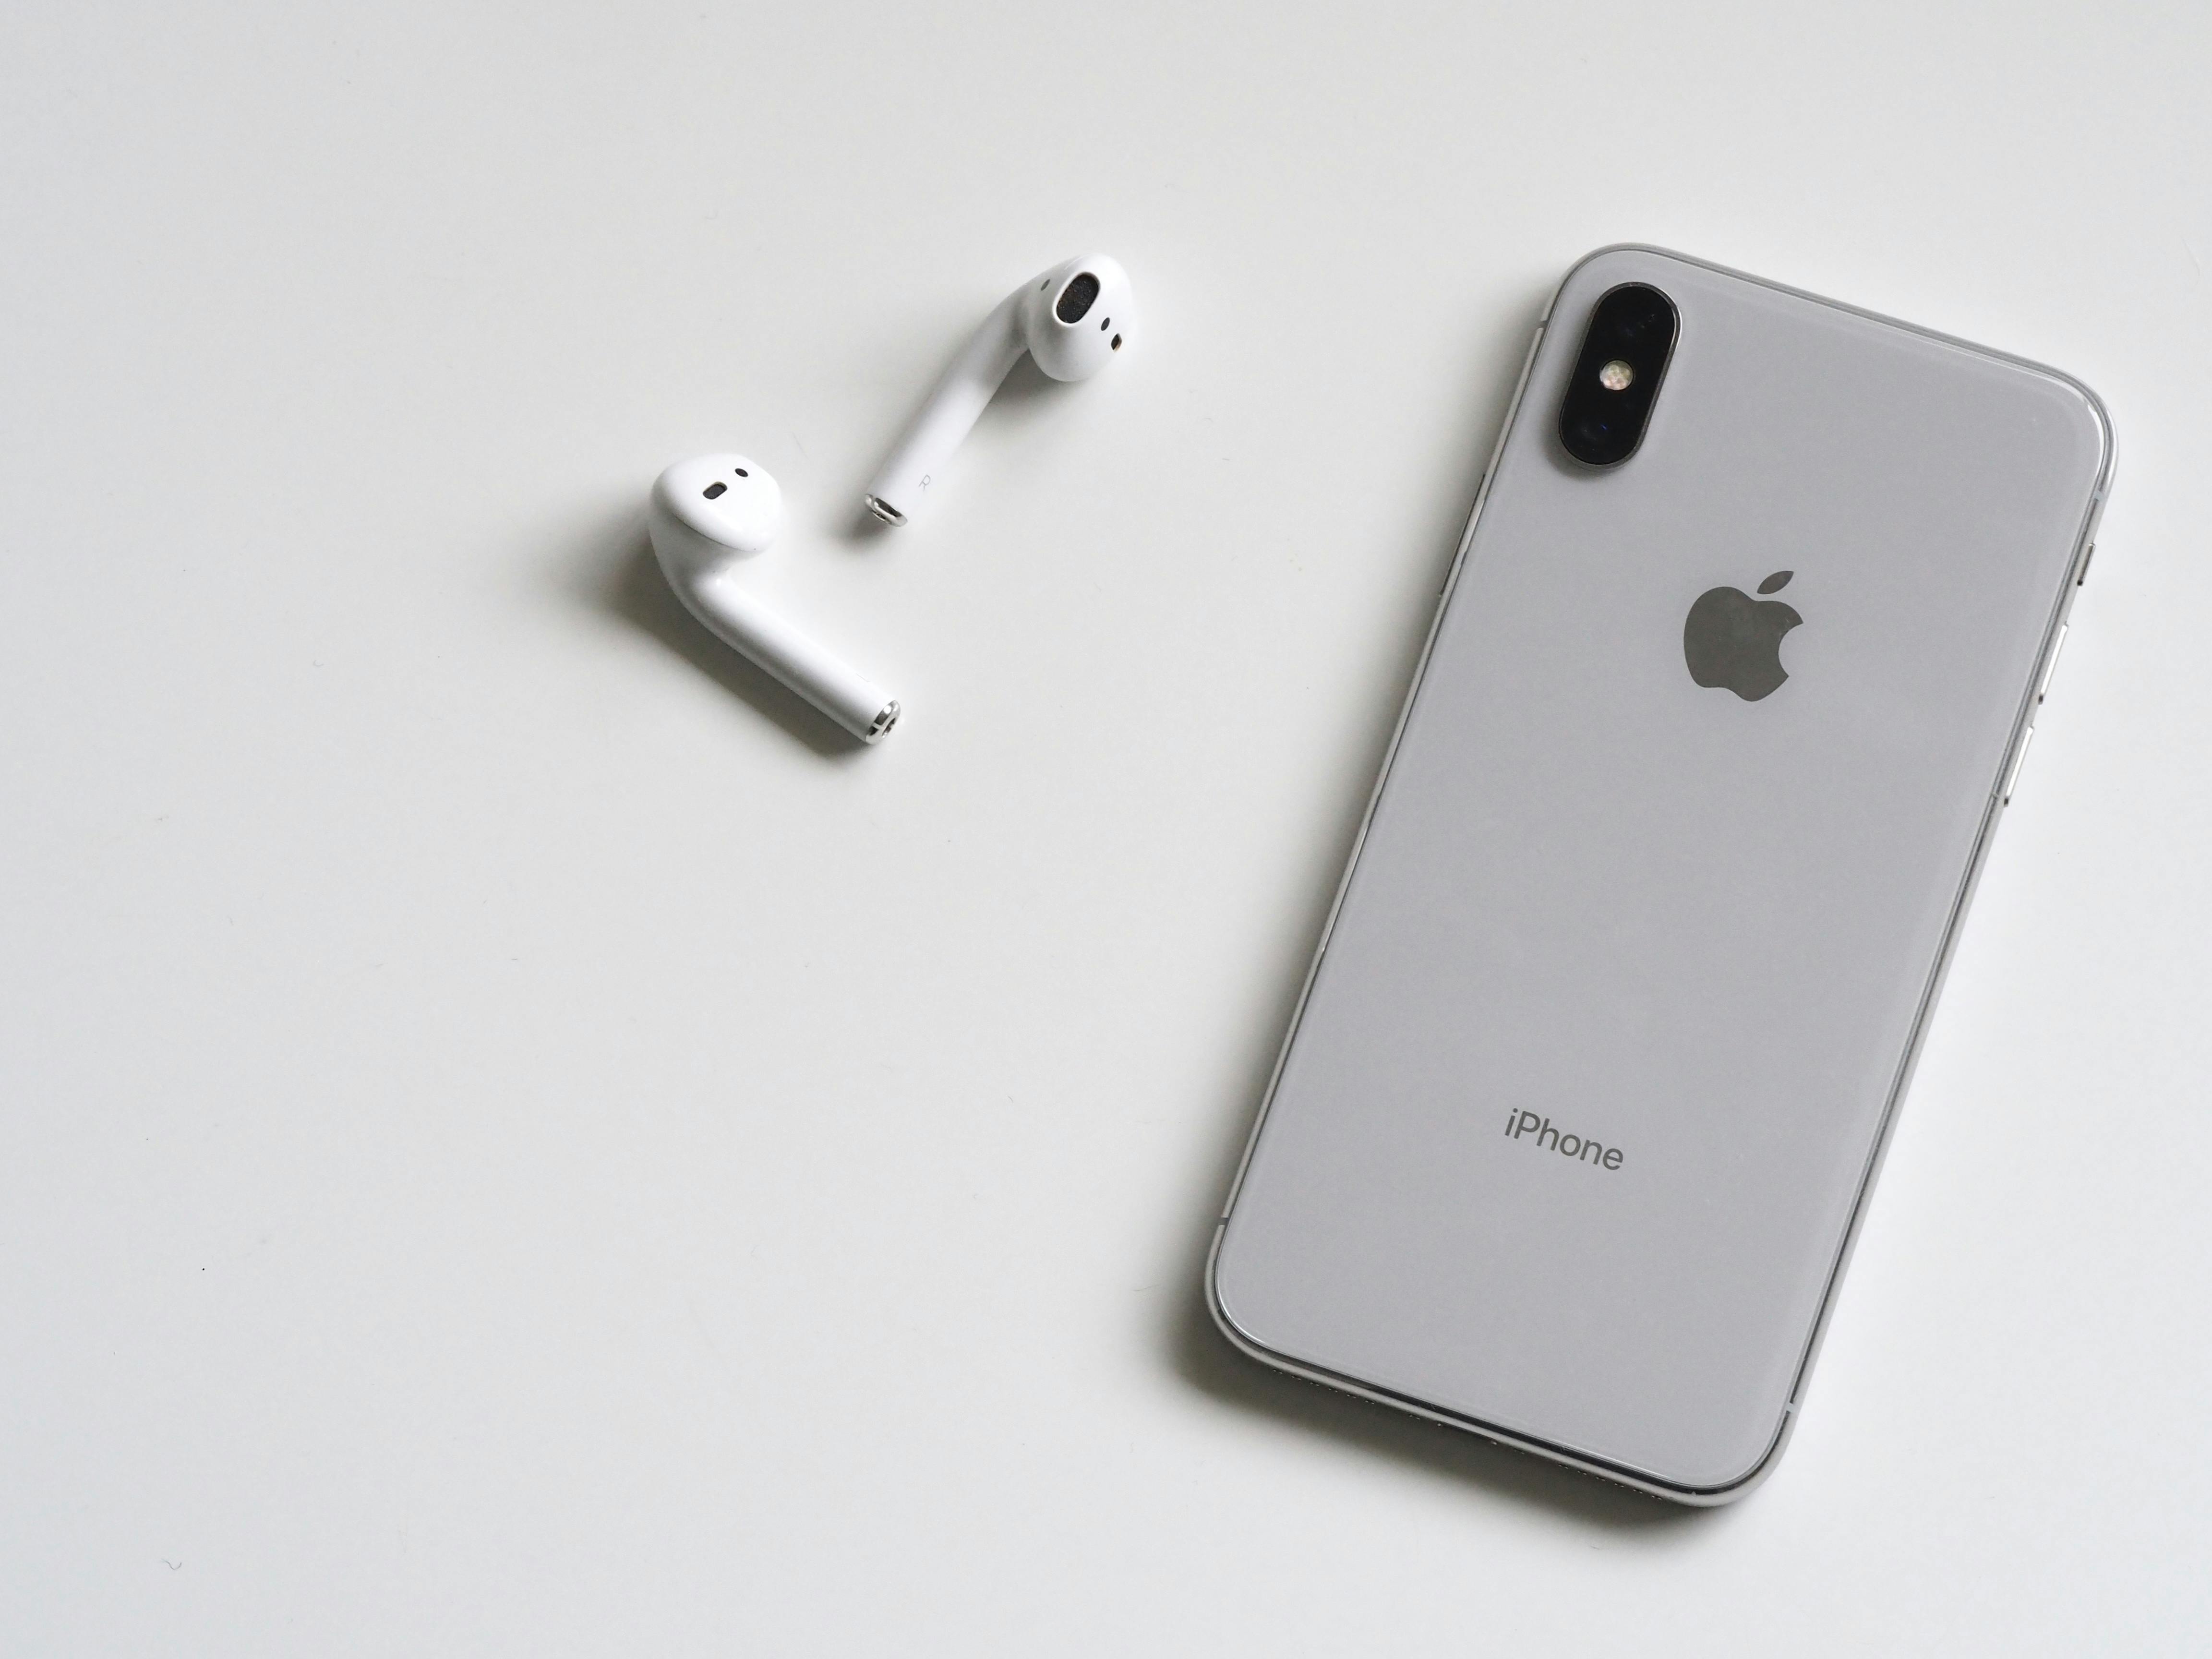
Connecting your i12 AirPods to your iPhone is easy and only takes a few steps. Before you begin, make sure that your AirPods are charged and that you have the latest version of iOS installed on your iPhone. Once that’s done, simply follow these steps and you’ll be connected in no time.To connect i12 AirPods to an iPhone, first open the lid of the charging case and press and hold the setup button on the back until a white light appears. Then open your iPhone’s Settings app and select Bluetooth. Your AirPods will appear in the list of connected devices. Tap on them to pair them with your device.
Check the Requirements for Connecting i12 AirPods
To ensure successful connection of your i12 AirPods, there are some requirements to be met. First, your device must be using an operating system of iOS 10.3, or an updated version. Additionally, all devices must have a Bluetooth 4.2 or higher, which is the standard in most modern smartphones. Lastly, you will need to have your device’s Wi-Fi set up and connected in order to make a successful connection.
Once all requirements are met, you can begin the process of connecting your i12 AirPods. To get started, first open up your device’s Settings and then select “Bluetooth”. Next, select “pair new device” and once that is done your i12 AirPods should appear on the list of available devices. Select them and then follow the prompts to complete the pairing process.
Once the connection is established between your device and the i12 AirPods a notification should appear on-screen confirming that the pairing has been successful. Now you can enjoy using your new headphones with ease!
Putting the AirPods in Pairing Mode
If you’re looking to pair your AirPods with a device, you’ll need to first put them into pairing mode. This is a simple process that can be done quickly. To begin, locate the small button on the back of the AirPods charging case. When you press and hold this button for a few seconds, your AirPods will enter into pairing mode. You should see an LED light on the front of the case blink white, indicating that they are ready to be paired.
Once in pairing mode, you can easily connect them to any compatible device. On an iPhone or iPad, simply open up your Bluetooth settings and select ‘AirPods’ from the list of available devices. If you’re using an Android phone or tablet, open up your Bluetooth menu and look for ‘AirPods’ under the list of nearby devices. Once selected, your AirPods will automatically connect and be ready for use!
Activate Bluetooth on Your iPhone
Bluetooth is a wireless technology that allows you to connect your iPhone to other devices, such as speakers, headphones, and car audio systems. To use Bluetooth, you’ll need to activate it on your device. Here’s how to do it:
Open the Settings app on your iPhone and select “Bluetooth.” This will open the Bluetooth options page. If Bluetooth is off, toggle the switch at the top of the page to turn it on. You will know that Bluetooth has been activated when the switch turns green.
Once you’ve turned on Bluetooth, your device will start searching for nearby compatible devices. When a compatible device is found, it will appear in a list of devices under “My Devices.” Tap the desired device from this list to pair it with your iPhone. Depending on the type of device you’re connecting to, you may be asked for a passcode or code to complete the pairing process.
Once paired successfully, you will be able to use your device with Bluetooth enabled features such as streaming music or making hands-free calls. To disconnect from a device simply tap its name in the list and then tap “Disconnect.” You can also turn off Bluetooth completely by tapping the switch at the top of the page again.
Locate and Select Your AirPods
If you own a pair of Apple’s popular AirPods, you may often find yourself having difficulty locating or selecting them. Fortunately, Apple has made it easy to locate and select your AirPods with just a few simple steps.
The first step is to locate your AirPods. You can do this by opening the Bluetooth settings on your device and selecting the “AirPods” option. If you are using an iPhone, you can also use the “Find My” app to locate your AirPods.
Once you have located your AirPods, the next step is to select them. To do this, simply tap on the “AirPods” option in the Bluetooth settings or in the “Find My” app. This will connect your device to your AirPods and allow you to use them with your device as normal.
Once connected, you can adjust the volume or other settings by tapping on the icon for your AirPods in either the Bluetooth settings or in the “Find My” app. You can also use Siri to control playback if you have enabled that feature on your device.
In summary, locating and selecting your AirPods is a simple process that takes only a few moments of time. By following these steps, you will be able to quickly get back up and running with your favorite pair of headphones!
Verify That Your AirPods Are Connected
It is important to make sure your AirPods are connected and working properly. To verify that your AirPods are connected, you will need to check the connection on your device. To do this, open the Settings app on your device, then select Bluetooth. If you see an icon next to your AirPods in the list of devices, then they are connected.
If you don’t see an icon next to your AirPods in the list of devices, then they are not connected. To connect them, tap on the name of your AirPods under the list of devices and wait for them to connect. Once they have successfully connected, you should see an icon next to their name in the list of devices.
You can also check if your AirPods are connected by playing a song or video from iTunes or another media player on your device. If you hear audio coming out of both earbuds, then that means that they are both successfully connected and working properly.
To make sure that both earbuds are getting equal sound levels, you can adjust the balance settings for each one separately in the Settings app on your device. You can also adjust audio levels and other settings for each earbud individually with certain apps like Apple Music or Spotify.
If you still have trouble connecting your AirPods or making sure they are working properly, you may want to contact Apple Support for more help and information.
Adjust Settings for Your AirPods on Your iPhone
Apple’s AirPods are a great way to stay connected and listen to your favorite music with ease. With the right settings, you can get the most out of your AirPods experience. Here’s how to adjust settings for your AirPods on your iPhone.
First, open the Settings app on your iPhone and locate Bluetooth. Tap it to open the Bluetooth settings page, where you’ll find a list of all devices connected to your iPhone via Bluetooth. Tap “AirPods” to open the AirPods settings page.
On this page, you can adjust a variety of settings for your AirPods including: microphone sensitivity, sound quality, volume limit, noise cancellation, and more. To adjust a setting, simply tap it and select your desired option from the menu that appears. You can also choose to have only one AirPod connected at a time by turning on “Mono Audio” in this menu.
Once you’ve adjusted all of the settings for your AirPods, tap “Done” in the upper-right corner of the screen to save them. Your new settings will now be applied every time you connect your AirPods to your iPhone. Enjoy listening to music with improved sound quality and better control over how loud it gets!
Activate Automatic Ear Detection on Your iPhone
Apple has taken the technology of Airpods to the next level with their Automatic Ear Detection feature. This feature allows you to quickly and easily switch between audio and video without having to manually adjust your Airpods. With this feature enabled, your Airpods will detect when they are in your ears and automatically switch from audio to video or vice versa.
Enabling the Automatic Ear Detection feature on your iPhone is easy. First, open the Settings app and select Bluetooth. On this page, you will see a list of all connected Bluetooth devices, including your AirPods. Tap on them to open up their settings.
Once inside the settings for your AirPods, look for the “Automatic Ear Detection” option at the top of the page and make sure it is enabled. Once it is enabled, you can start using this feature right away – no need to reboot or restart anything!
If you ever need to disable this feature again, simply return to this page in Settings and toggle it off. That’s all there is to it! With Automatic Ear Detection enabled, switching between audio and video has become even easier with Apple’s AirPods – making them even more versatile than ever before!
Now that you know how to enable Automatic Ear Detection on your iPhone, why not give it a try? You’ll be glad you did!
Conclusion
Connecting your AirPods to your iPhone is a simple process that only takes a few steps. Whether you are connecting for the first time or reconnecting, you can easily establish a secure connection between your devices. After the initial setup, you can easily connect and disconnect your AirPods from your iPhone anytime you need.
To connect your AirPods to an iPhone, begin by opening the lid of the charging case. Then, on your iPhone, navigate to Settings > Bluetooth and search for available devices. After selecting the correct AirPods, they should be connected to your phone in just a few seconds. You can also use Siri or the Quick Access Menu to quickly connect and disconnect your AirPods with ease.
In conclusion, connecting AirPods to an iPhone is a straightforward process that only requires a few steps. With this knowledge, you should be able to enjoy connecting and listening with ease anytime you want!