Cleaning your microphone on an iPhone can be a simple process if done properly. It is important to keep your microphone clean in order to ensure optimal sound quality when making calls or recording audio. This guide will explain the steps for cleaning the microphone on an iPhone, so you can make sure your device is always performing at its best.1. Begin by turning off the microphone and disconnecting it from the iPhone.
2. Use a soft, lint-free cloth to gently wipe down the microphone, removing any dust or debris that may be present.
3. Take a cotton swab dampened with isopropyl alcohol and use it to clean the microphone more thoroughly. Be sure to wipe in a circular motion, not up and down, so as not to damage any of the internal components of the microphone.
4. Allow the alcohol to completely dry before re-connecting the microphone to your iPhone and turning it on again.
Gather Necessary Cleaning Supplies
When it comes to cleaning your home, it is important to make sure you have all the necessary cleaning supplies before you start. Before you begin, create a checklist of all the items that you will need. This includes items such as sponges, rags, scrubbing brushes, brooms and mops. Make sure that you also have any cleaning solutions or detergents that are appropriate for the type of surface you are cleaning. You may also need special items such as window squeegees or scouring pads for tougher jobs. Once your checklist is complete, gather all of your supplies and ensure that you have everything before beginning your cleaning tasks.
It’s also a good idea to make sure that you have adequate storage for all of your supplies. You may want to assign each item its own storage area to help keep things organized. This will make it easier to find what you need when needed and also prevent clutter from forming in your home. If possible, create a designated spot in an area where it won’t be in the way but is still accessible when needed.
Turn off Your iPhone
Turning off your iPhone can be a great way to save battery life and keep your device running smoothly. It’s a simple process that only takes a few minutes and can make all the difference in the performance of your device. Here’s how to do it:
First, press and hold the Sleep/Wake button on the top or side of your iPhone. You’ll see a slider appear at the top of your screen. Slide it to the right to turn off your iPhone.
Next, wait for your iPhone to power down completely. You’ll know it’s powered down when you see a black screen with no logo or other indicators on it. If you don’t see this, press and hold the Sleep/Wake button again until you do.
Finally, if you want to turn back on your iPhone, press and hold the Sleep/Wake button until you see the Apple logo appear on the screen. Your phone will then turn back on and be ready for use again.
By turning off your iPhone when not in use, you can help conserve battery life and keep it running smoothly over time. It’s an easy step that takes just a few moments but makes all the difference in how well your device performs.
Using a Soft Cloth to Remove Particles
When it comes to keeping a surface clean and free of dust, dirt, and other particles, using a soft cloth is the best way to go. This is because a soft cloth can easily pick up and remove particles without damaging the surface or leaving behind any residue. The soft cloth can be used wet or dry, depending on what type of particles need to be removed. For example, if there are dried stains or spills on the surface, it is best to use a damp cloth in order to get them off easier. On the other hand, if there are more lightweight particles such as dust or pet hair that need to be removed, then it is best to use a dry cloth for maximum effectiveness.
When using a soft cloth for cleaning purposes, it is important to make sure that you are using one that is lint free and made from breathable material. This will ensure that no lint or residue from the cloth gets left behind on the surface being cleaned. It is also important to not scrub too hard when using a soft cloth as this could potentially damage the surface being cleaned or cause scratches on its surface. Additionally, make sure that you are changing out your cleaning cloth regularly in order to avoid spreading around dirt and other particles.
Using a soft cloth for cleaning surfaces is an effective way of getting rid of dust, dirt, and other particles without damaging the surface. It is important to choose a lint-free and breathable material for your cleaning cloth in order to maximize its effectiveness and avoid leaving any residue behind. Additionally, make sure not to scrub too hard and change out your cleaning cloth regularly for optimal results.
Using a Blower to Remove Dust Particles
Removing dust particles from tight spaces can be a difficult task, but with the help of a blower, it can be made much easier. Blowers are an easy-to-use, cost-effective way to remove dust particles from hard-to-reach areas. A blower is a device that uses air pressure to move dust and debris away. It works by creating a powerful stream of air that blasts away dust particles and dirt, leaving the area clean and free of debris.
Blowers come in many sizes and styles, so it’s important to choose the right one for your needs. If you’re cleaning out tight spaces or small crevices, look for a smaller model with adjustable air pressure settings. For larger areas, like above ceiling tiles or behind large furniture pieces, you may want to opt for a higher capacity blower with more power.
When using a blower to remove dust particles, make sure you take safety precautions such as wearing eye protection and gloves. Blowers can generate high temperatures and strong winds that can cause serious injury if not used properly. Additionally, use caution when blowing out tight spaces as the air pressure may be strong enough to dislodge debris that could fall on you or someone else nearby.
Once you have chosen the right size and style of blower for your needs, it’s time to get started cleaning! Start by running the blower over the area you want to clean at low speeds before gradually increasing the power if needed. Move slowly around tight corners and crevices to ensure all dust particles are removed. After you have finished blowing out the area, use a vacuum cleaner or dry cloth to collect any remaining debris.
Using a blower is an efficient way to remove dust particles from hard-to-reach places in your home or office space. By following these tips and taking safety precautions when using your blower, you can make sure your space stays clean and free of debris!
Using an Air Duster for Deep Cleaning
Using an air duster is a great way to deep clean your home and office. An air duster is an aerosol can filled with compressed air and other cleaning agents. It can be used to clean hard-to-reach places that regular cleaning products may not be able to reach. Air dusters are also safe to use on electronics, so you don’t have to worry about damaging them while cleaning.
When using an air duster, it’s important to read the instructions carefully before use. This will ensure that you’re using the product correctly and safely. Generally, the directions will tell you how far away from the surface you should hold the canister and how long you should spray it for. The canister should be at least a foot away from the surface when spraying, and no longer than 10 seconds per area.
It’s also important to know what surfaces are appropriate for using an air duster on. Most surfaces such as wood, metal, plastic, tile, and glass are safe for use with this product. However, you should avoid using it on fabrics or any other fabric-like materials such as upholstery or carpets as this can cause staining or other damage.
After using the air duster, make sure to wipe down any surfaces that were sprayed with a damp cloth or paper towel so that any residual chemicals are removed from the surface. This will help protect the surface from damage caused by these chemicals over time. Additionally, make sure to store your air duster in a cool dry place after use in order to keep it functioning properly and safely in the future.
Using an air duster is a great way to deep clean your home and office without having to worry about damaging delicate surfaces or fabrics. Just make sure you follow all directions carefully when using this product and always store it in a cool dry place after use for maximum safety and effectiveness!
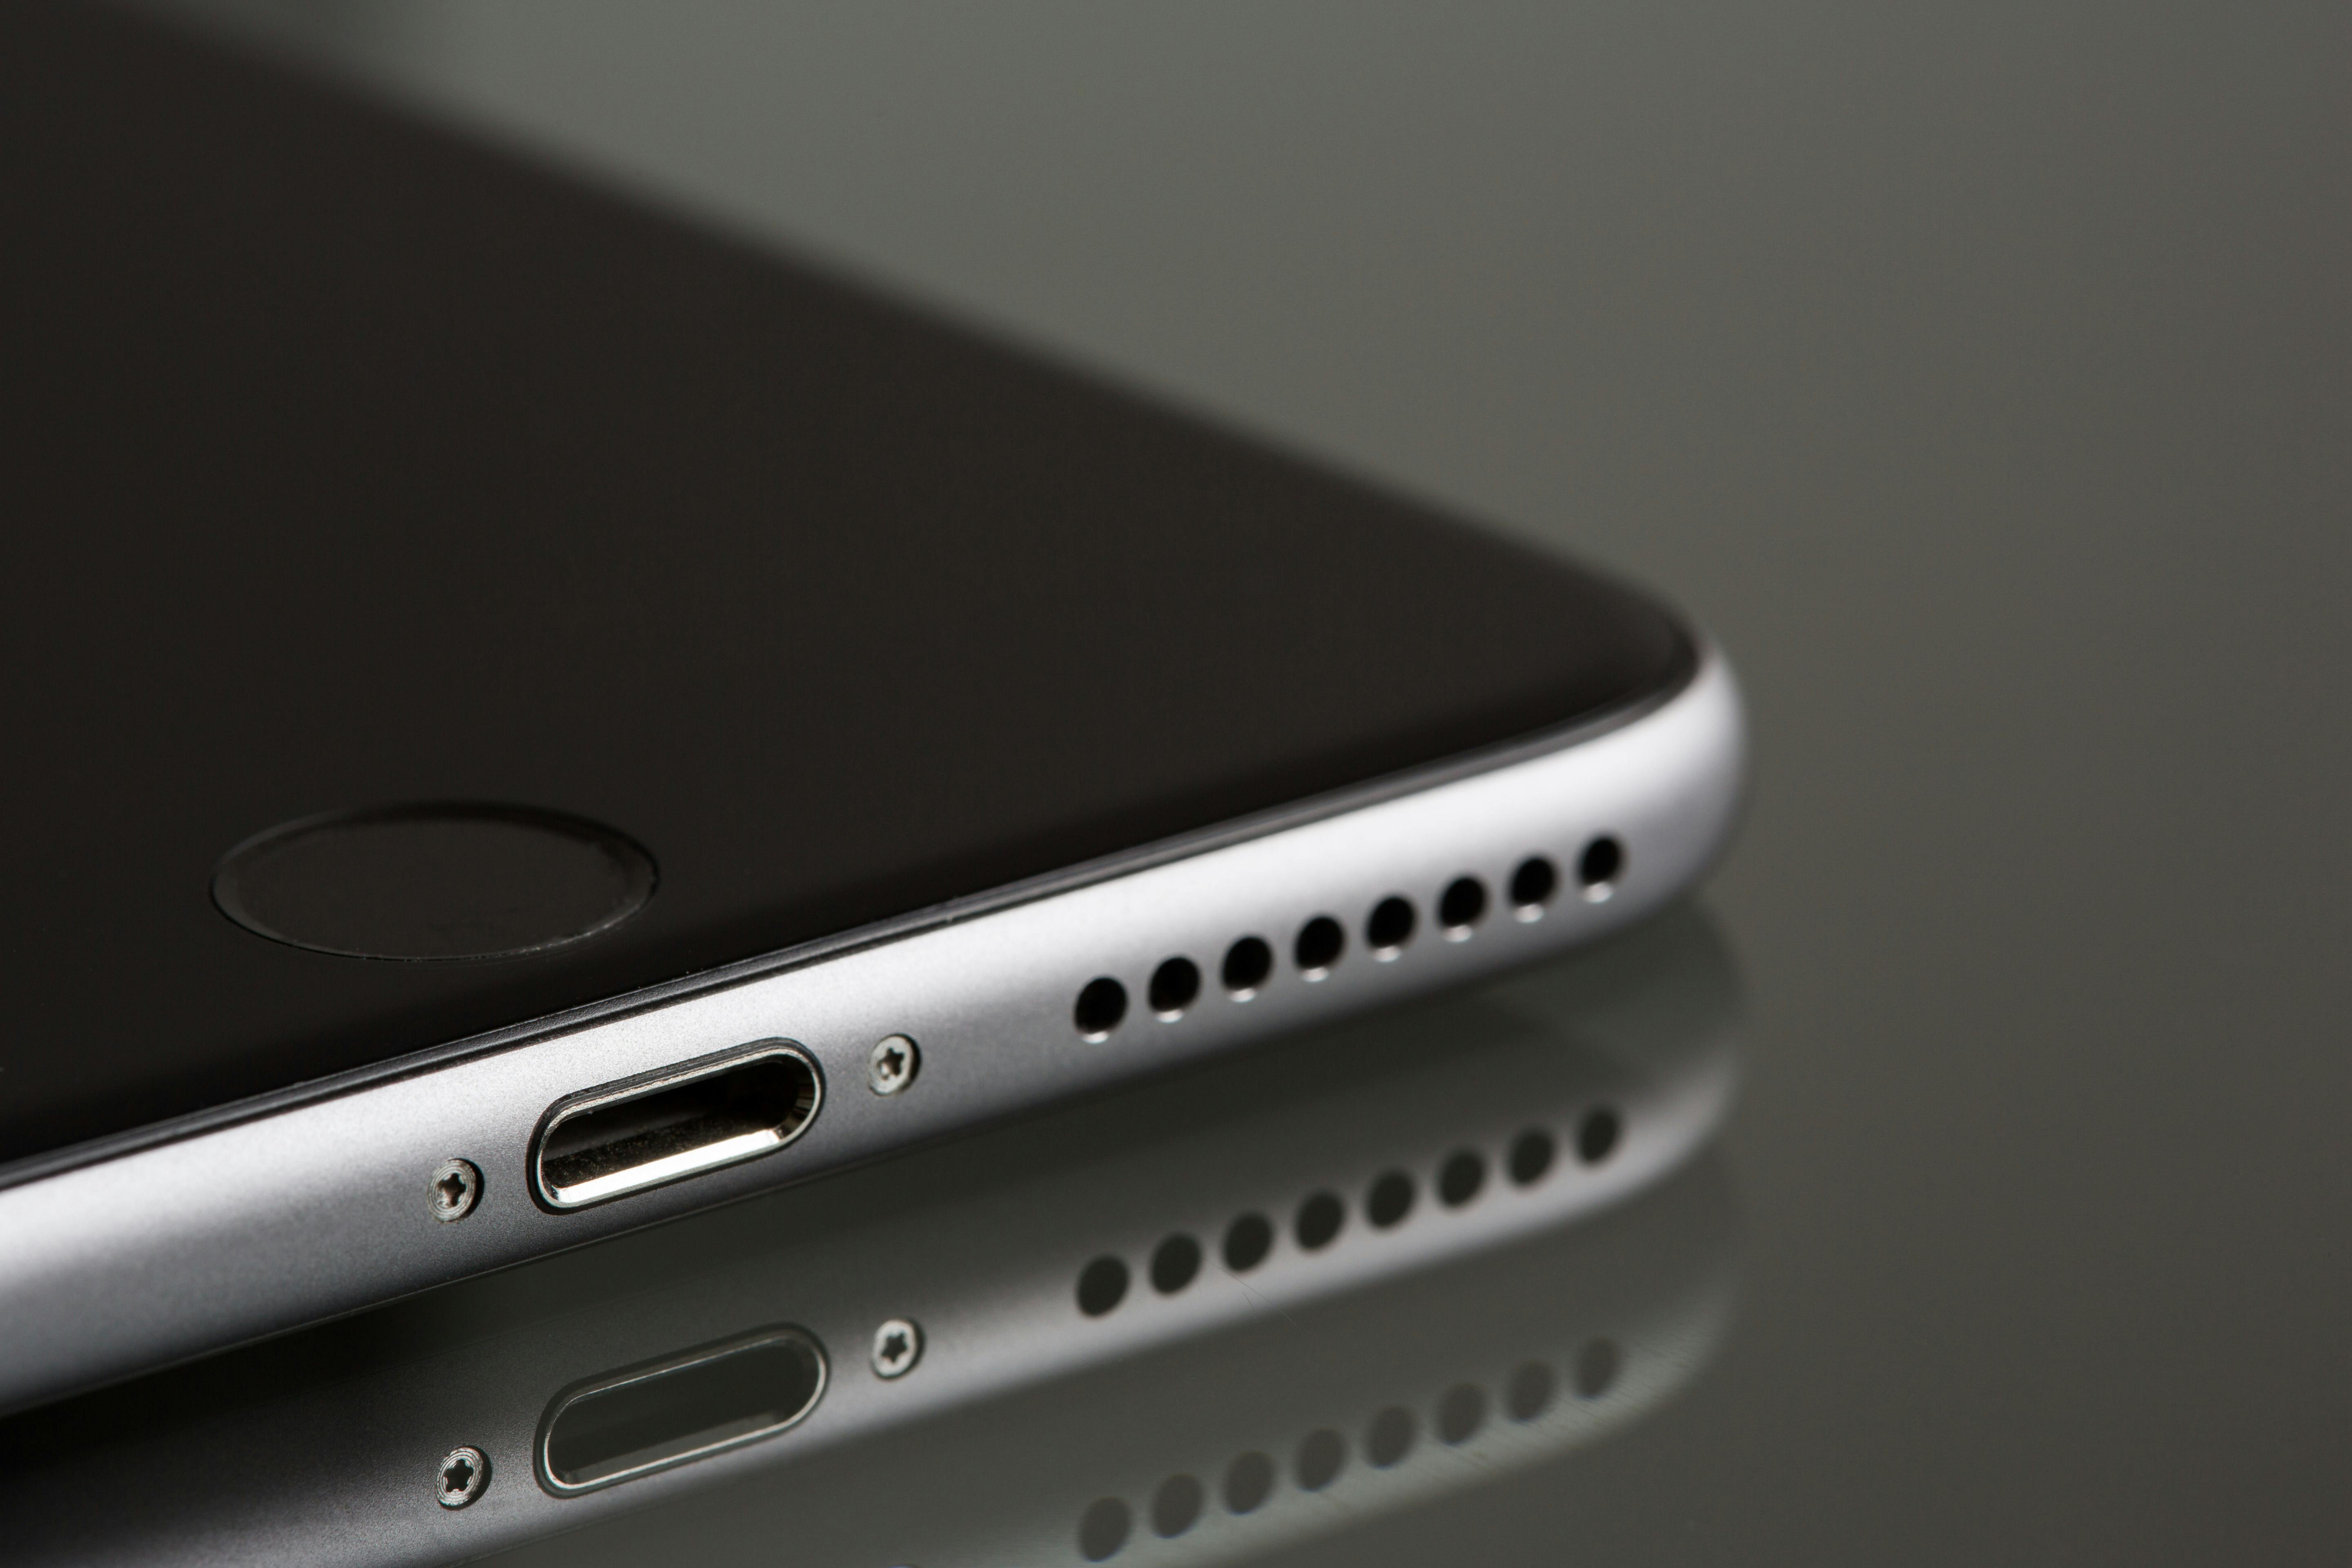
Clean the Microphone Port with a Toothpick
Cleaning the microphone port on your device can help to improve sound quality and reduce static. A toothpick is a great tool for cleaning out any debris that may be lodged in the port. It’s important to use extreme caution when using a toothpick as you don’t want to damage the internal components of your device.
To start, gently insert the pointed end of the toothpick into the microphone port. Gently scrape away any debris that may be present. Be sure to only scrape away from yourself as you don’t want to accidentally push anything further inside. Once you have removed any visible debris, turn the toothpick around and use the flat end to gently wipe away any remaining residue.
After you have finished cleaning, make sure to remove any pieces of debris that may be stuck on the toothpick before discarding it. It’s also important to remember not to insert anything other than a toothpick into your device’s microphone port as this could cause permanent damage. With proper care and maintenance, you can keep your device’s microphone port clean and working properly for years to come!
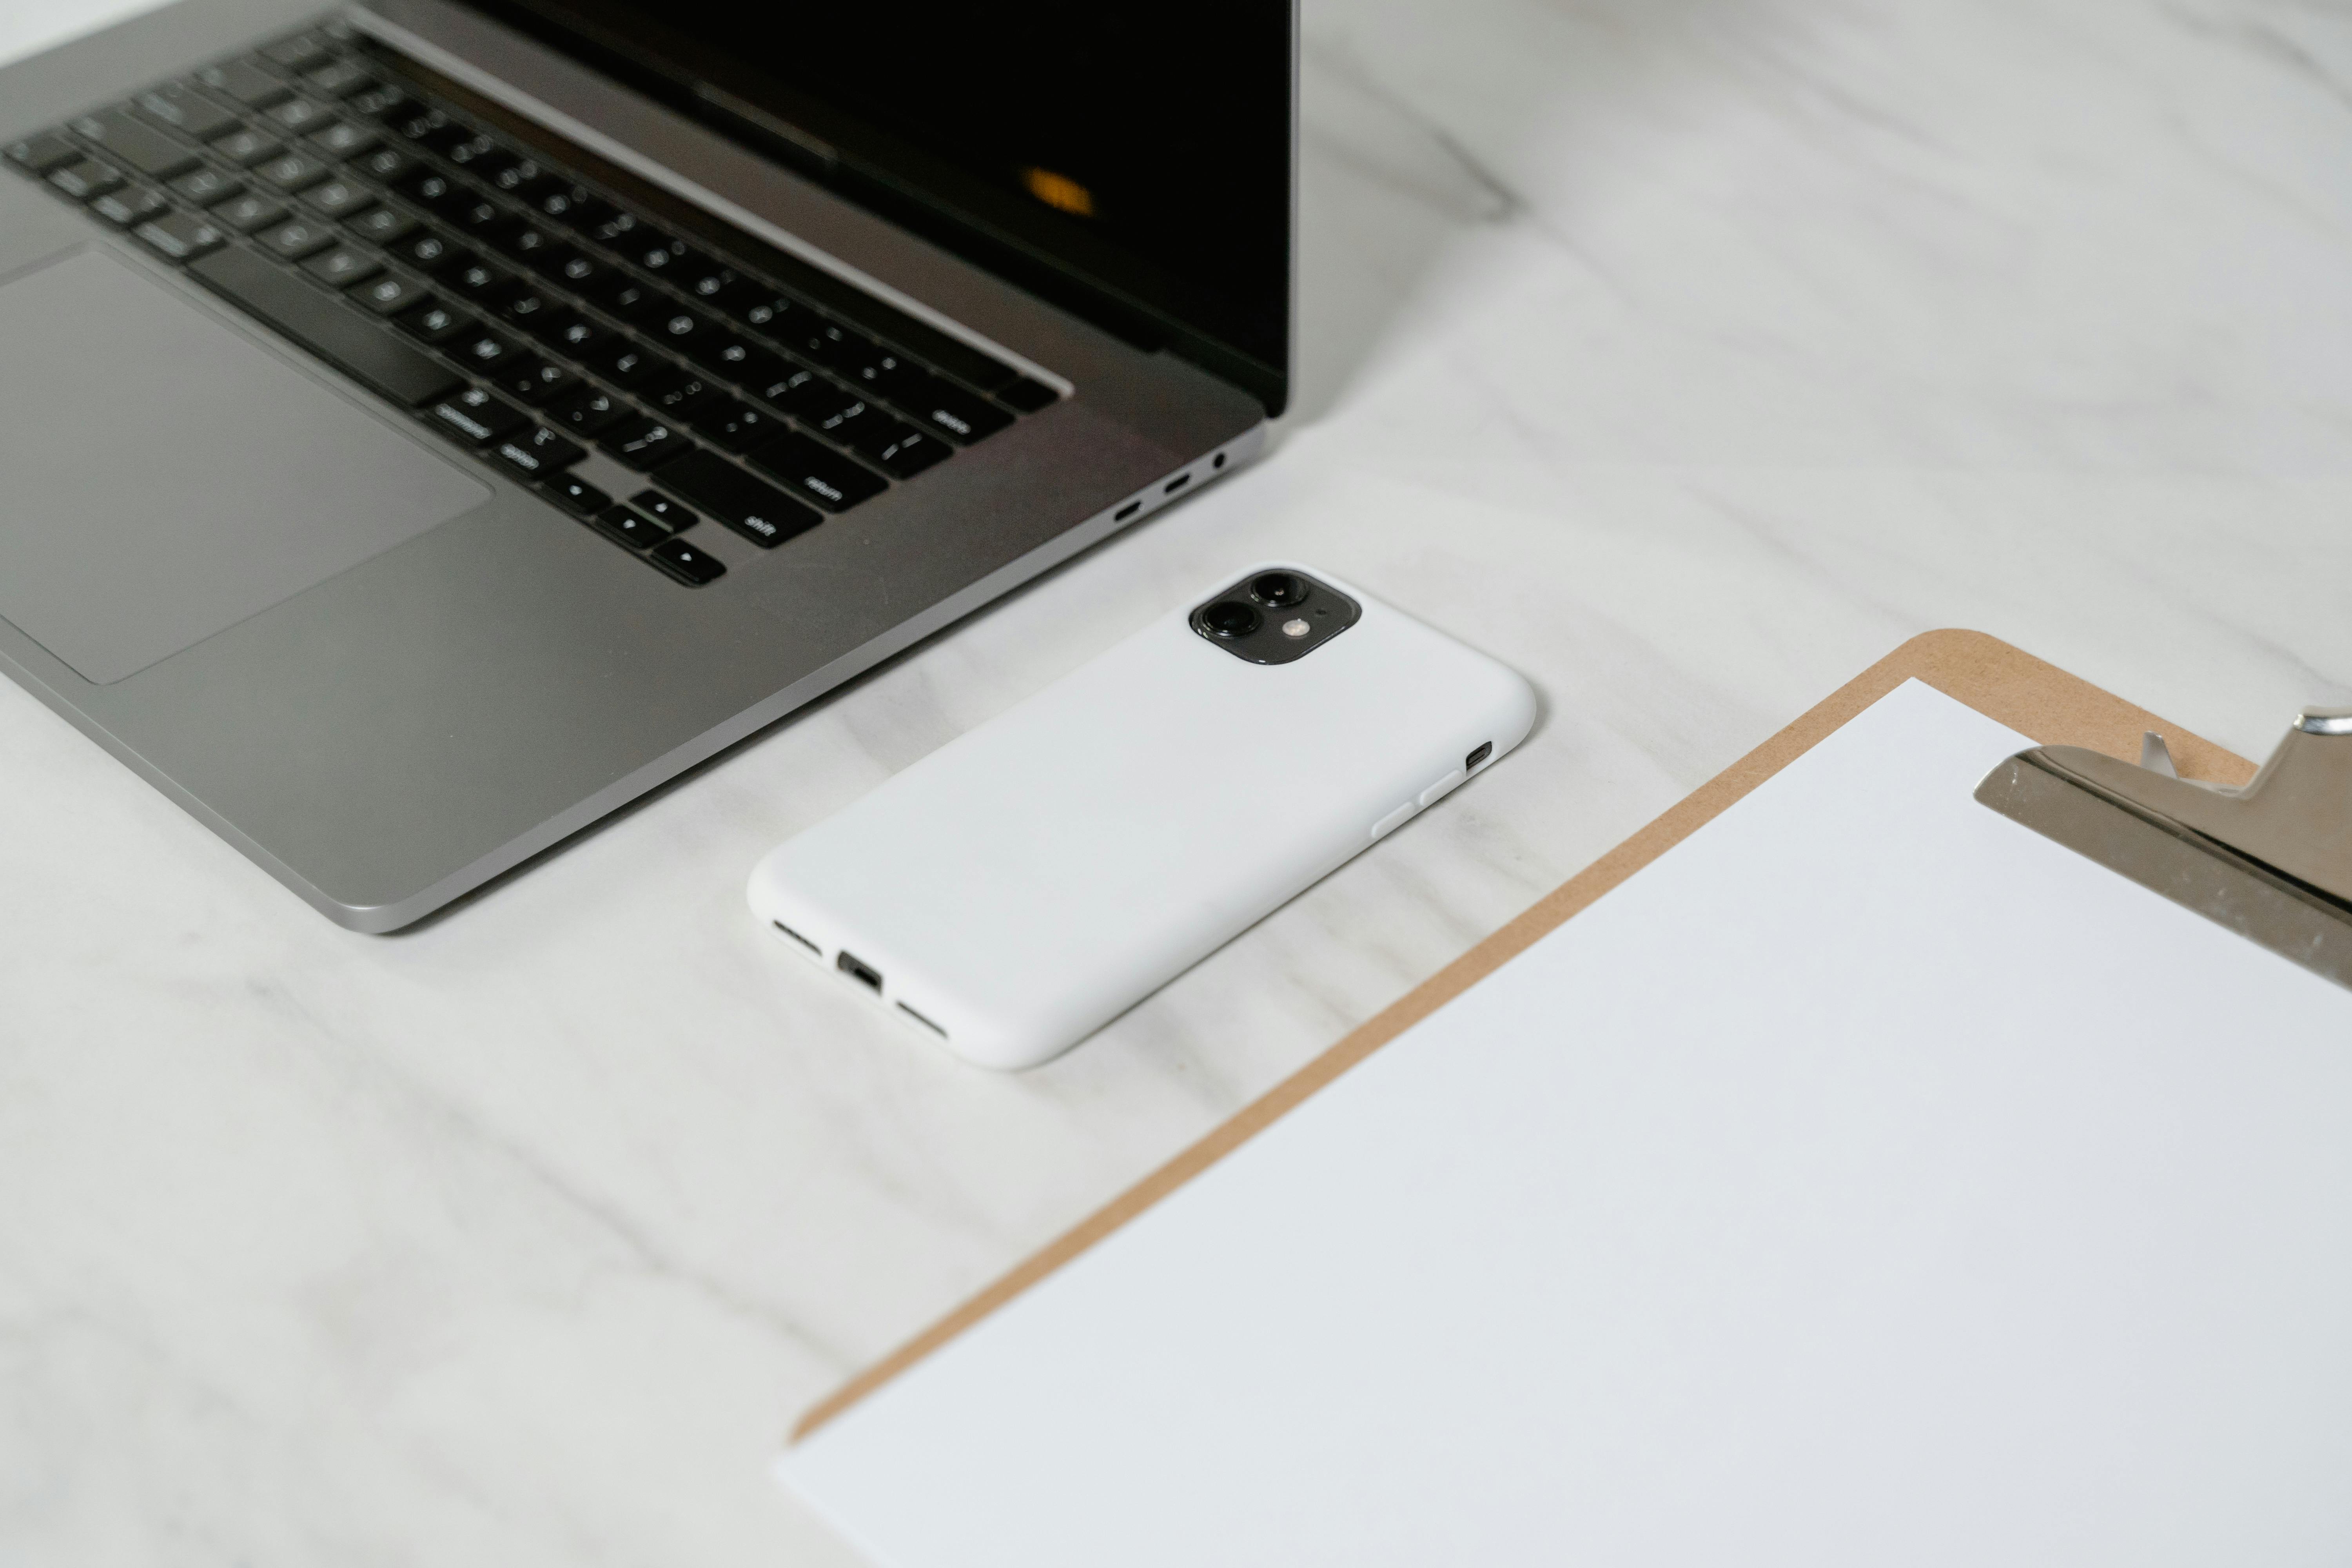
Wipe the Phone Frame and Other Parts with a Cloth
Cleaning your phone on a regular basis is important for keeping it looking new and free from germs. Wiping down the phone frame and other parts with a cloth is an effective way to remove dust, dirt, and any other debris. Make sure to use a soft, lint-free cloth when wiping down the phone frame, as rough fabrics or abrasive materials can cause scratches. For best results, use a damp cloth rather than a wet one. This will help to avoid moisture getting into any of the ports or buttons on your device. Additionally, you should avoid using cleaning solutions or harsh chemicals on your phone’s frame as these can damage the device.
When cleaning around buttons and ports, be sure to take extra care not to get too much moisture in them. You may want to use a cotton swab lightly dampened with water instead of using a cloth directly on these areas. If you do get some moisture in these areas, make sure to dry them off thoroughly before using your device again.
Finally, if you have any stickers or cases on your phone, be sure to remove them before wiping down the frame or other parts of the device as this will help you clean more effectively.
Conclusion
Cleaning your microphone on your iPhone is simple and straightforward. All you need to do is remove any lint or dirt that has accumulated on the microphone, use a gentle cleaning solution such as rubbing alcohol, and then dry it with a soft cloth. You should also make sure to use a specialized cleaning tool to get into all of the nooks and crannies of the microphone.
Finally, be sure to check your iPhone regularly for any signs of damage or corrosion, as this could affect the performance of your device’s microphone. With regular care and maintenance, you can keep your iPhone’s microphone in top condition for years to come.