A DIY haircut kit is the perfect solution for those looking to maintain their own hairstyles and cuts. With the right tools and a little bit of practice, you can easily create professional-looking haircuts in the comfort of your own home. A DIY haircut kit typically contains a pair of scissors, clippers, combs, and other accessories to help you achieve the desired look. With the proper instructions and guidance, you can easily customize your style without having to rely on costly salon visits. Whether you’re looking for a classic cut or something edgy and modern, a DIY haircut kit can provide an easy and economical way to keep your look fresh and on trend.A DIY haircut kit should include the following items: clippers, thinning shears, scissors, styling comb, barber cape, barber apron, towel, and a mirror. Clippers are used for creating short hair cuts. Thinning shears are used to create layers or thin out the hair. Scissors can be used for trimming any stray hairs and creating longer styles. A styling comb is necessary for sectioning off pieces of hair to make cutting easier. A barber cape and apron can help protect clothing from hair clippings while cutting. A towel is essential for wiping away excess hair. Finally, a mirror is essential to make sure the finished look is exactly what you wanted.
How to Cut Your Own Hair With a DIY Haircut Kit
Cutting your own hair can be intimidating, but with the right tools and techniques, you can give yourself a professional-looking haircut at home. A DIY haircut kit is an easy way to get started and provides everything you need for a successful cut.
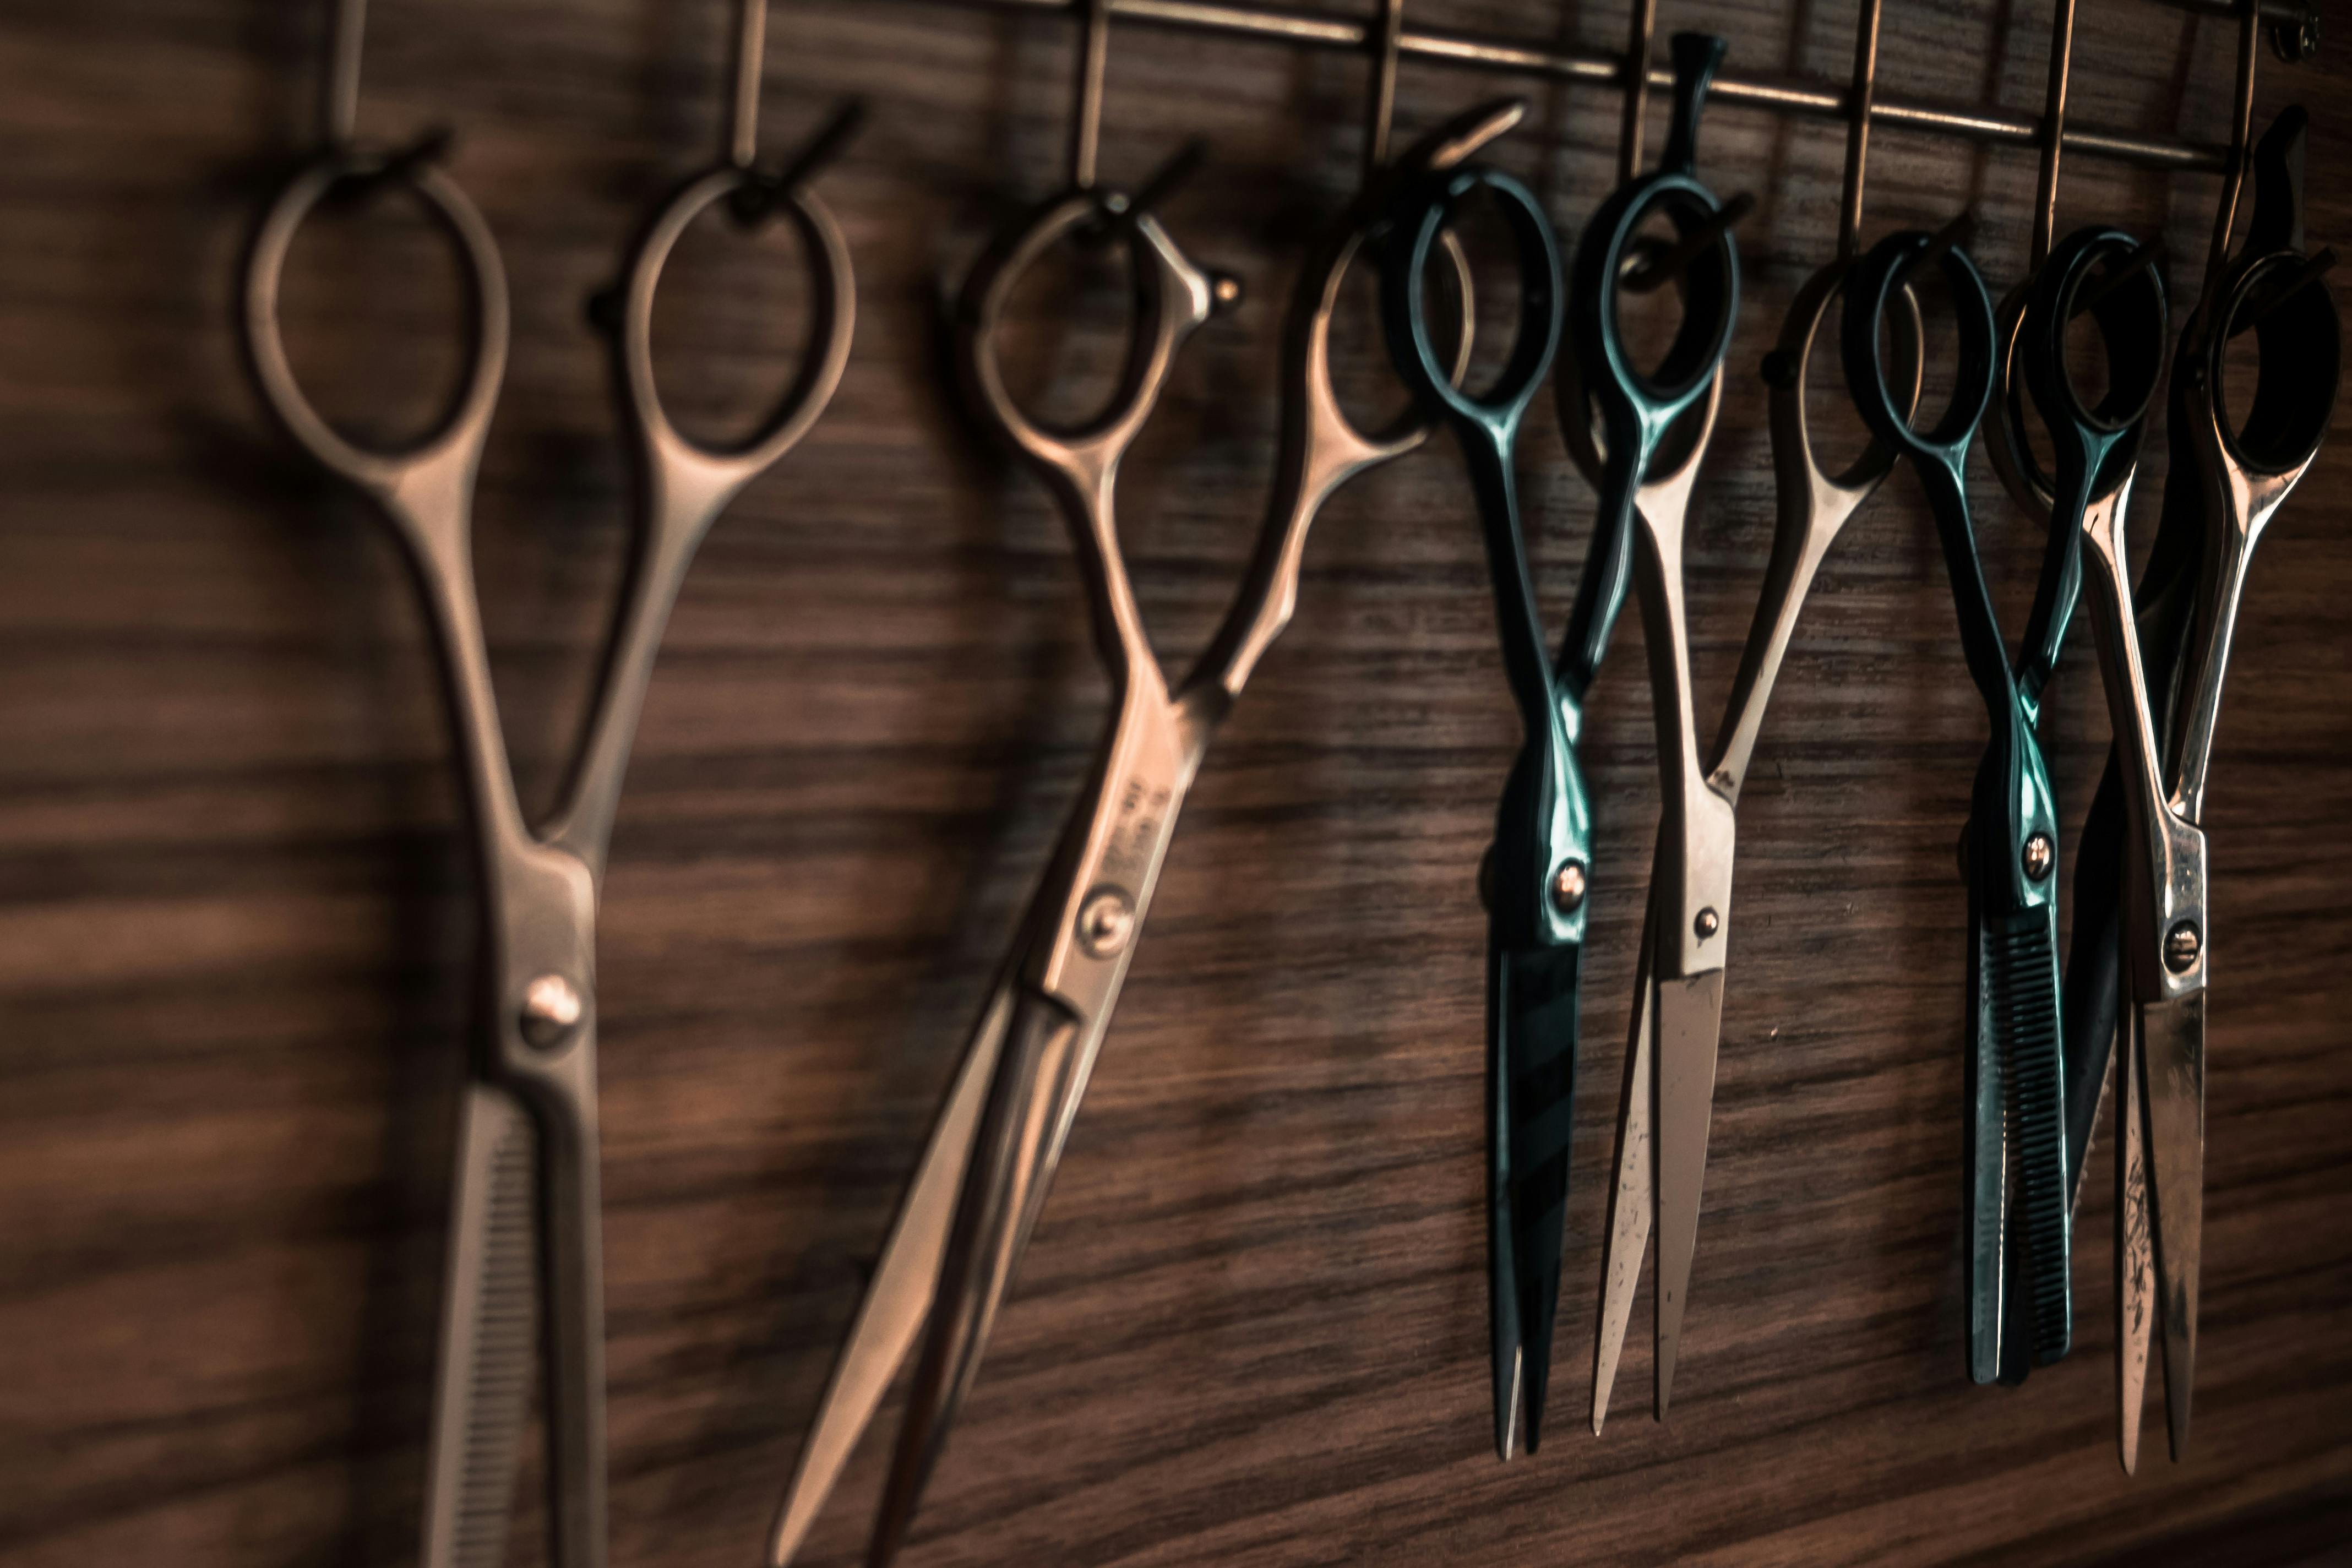
You’ll need to have the right clippers, scissors and comb for the job. Clippers are essential for short haircuts and should have adjustable settings so you can achieve different lengths. Scissors are needed for trimming longer hair and should be sharp enough to cut through wet or dry hair with ease. Finally, a comb is necessary for sectioning off your hair when cutting or trimming it.
Once you have all of your tools, it’s time to get started on your haircut. Start by washing and drying your hair thoroughly; this will make it easier to work with when cutting. Next, section off the areas of your head that you want to cut or trim using the comb; these sections will act as guides when using the clippers or scissors.
When using the clippers, start at the back of the head and work your way forward in small sections using slow, steady strokes. Make sure that you keep track of what length setting you are using and always start at a longer setting before gradually working down to a shorter one. When using scissors, hold them slightly open as you cut so they don’t press too hard against your scalp and only make small snips at a time instead of large cuts.
Finally, use a mirror to check for any stray hairs that need touching up or uneven patches that may need more attention before styling your new look. With practice and patience, anyone can learn how to cut their own hair with a DIY haircut kit!
Different Types of DIY Haircut Kits
DIY haircut kits are an increasingly popular way to save money and keep your look up-to-date without having to visit a salon. With these kits, you can give yourself and your family members a professional-looking cut without the cost of going to a barber or stylist. There are several different types of DIY haircut kits available, each offering unique features and tools that make it easy to achieve the perfect hairstyle.
The most basic type of DIY haircut kit is the clipper kit. These kits usually include clippers, scissors, and combs for cutting hair. They are great for giving yourself and others a simple trim or buzz cut, but they may not provide enough precision for more complicated styles.
For those looking for more precision in their haircuts, trimmer kits are a great option. These usually include adjustable trimmers for creating lines and fades as well as various length guards for achieving different lengths on top. They also typically include scissors and combs to help with detail work. Trimmer kits are perfect for those who want to create clean lines in their haircuts or who want to try out different styles without having to go to a salon.
If you’re looking for something even more advanced than just trimmers or clippers, then you might consider an all-in-one kit. These sets generally come with everything you need to achieve any style: clippers, trimmers, scissors, combs, razors, guards, and other tools that help you create different hairstyles quickly and easily. All-in-one kits are perfect for those who want to experiment with their look without having to go back and forth between multiple tools or products.
No matter which type of DIY haircut kit you choose, they all offer the same benefit: convenience! With these sets, you can quickly give yourself and your family members professional-looking haircuts from the comfort of your own home—and at an affordable price!
Prepare Your Hair
Before attempting to cut your own hair, you need to make sure it is properly prepped. Start by washing and conditioning your hair, then blow dry it using a round brush. This will help you get the most even results when you start cutting. If you have curly or wavy hair, use a straightening iron to smooth it out before cutting. You may also want to apply some styling product such as pomade or wax to give your hair texture and help keep the cut in place better.
Gather Your Tools
You’ll need some basic tools for cutting your own hair: scissors, clippers, and a comb are all essential. It may also be helpful to have some clips on hand for sectioning off different parts of your head as you cut. If you plan on using clippers, make sure they are sharp and clean before starting.
Choose a Style
Before you start cutting, decide which style of haircut you want. It’s best to choose a style that is relatively simple so that it’s easier to replicate at home. Consider photos of celebrities or models who have a similar face shape and hair type as yours for inspiration. Once you’ve decided on a style, find an online tutorial or video that will walk you through the process step-by-step.
Start Cutting
Once you’ve chosen your style and gathered all the tools, it’s time to start cutting! Begin by sectioning off your hair into smaller chunks with clips so that it’s easier to work with. Start with the back first since this is usually the hardest part of cutting your own hair at home. Make sure that each section is even before snipping away and take small amounts off at a time so that any mistakes can be easily corrected.
Finish Up
Once you’ve finished cutting each section, check for any uneven spots or areas that need more trimming. You may need to go over certain areas again if they don’t look quite right. When everything looks good, give yourself one last once-over with the comb and scissors before styling as usual with pomade or wax.
By following these tips for cutting your own hair at home, you can easily create an attractive hairstyle without having to visit a professional stylist!
Convenience
Doing your own haircuts at home with a DIY kit can be incredibly convenient. You don’t have to make an appointment, wait in line, or even leave the house. All of the supplies you need are included in the kit, so you can get started right away. Plus, you can take your time and get it just the way you want.
Affordability
Home haircuts with DIY kits are much more affordable than going to a salon or barber shop. Most kits are one-time purchases, so you only have to pay for it once and then use it as many times as necessary. And since there’s no need to make an appointment or tip your stylist, it’s even cheaper than going out.
Customization
When doing your own haircuts at home with a DIY kit, you have full control over how it turns out. You can follow a tutorial or just go for whatever style you like. With practice, you can even create complex styles that may not be available at salons or barbershops.
Time Savings
Doing home haircuts with a DIY kit also saves time. You don’t have to wait in line at a salon or barbershop and can get started right away without making an appointment. Plus, since the supplies are all included in the kit, there’s no need to run out and buy extra items if something goes wrong.
The Benefits of Using a DIY Haircut Kit
DIY haircut kits are becoming increasingly popular as more and more people look for ways to save money on salon visits. Not only do these kits provide an easy and cost-effective alternative to visiting a salon, they also come with a number of other benefits that make them a great choice for anyone looking to take care of their own hair. Here are some of the key benefits to using a DIY haircut kit:
Cost Savings: One of the primary benefits of using a DIY haircut kit is the amount of money you can save. These kits generally cost much less than getting your hair cut at the salon, and can be reused multiple times for even greater savings.
Convenience: Another great benefit of using a DIY haircut kit is the convenience it provides. Many kits come with all the necessary tools to give yourself a professional-looking cut right at home, eliminating the need to book an appointment or wait in line at the local salon.
Time Savings: In addition to saving money, DIY haircut kits also save time. With everything you need included in one package, you can get your hair cut in half the time it would normally take at a salon.
Control: When you use a DIY haircut kit, you are in complete control over how your hair looks. This means that you can experiment with different styles until you find one that suits your face shape and personal style best. This can be especially helpful if you’re not sure what kind of hairstyle would look best on you.
Choose the Right Kit
When considering a DIY haircut kit, it’s important to choose the right one. Look for kits that are tailored to the type of hair you have and the look you’re trying to achieve. Depending on your hair type and style, you may need to purchase several kits in order to get the desired result. Additionally, make sure the kit includes quality scissors and clippers that can handle the job.
Prepare Your Hair
Before starting a DIY haircut, it’s important to prepare your hair properly. Make sure your hair is clean and dry before attempting a cut. You should also brush or comb through your hair to remove any tangles and knots. This will make it easier for you to get an accurate cut. Additionally, consider using a detangling spray or conditioner as this can help create a smoother surface for cutting.
Plan Ahead
When performing a DIY haircut, it helps to plan ahead of time so you know what look you’re going for. Take some time to research different styles and decide which one works best for you. Consider taking pictures of the different styles so that you can refer back to them while cutting your hair. Additionally, make sure that you have all the necessary tools and supplies before starting your cut.
Be Careful & Precise
When making cuts with scissors or clippers, it’s important to be careful and precise with each cut. Start with small sections of hair at first and take your time when trimming or shaping them. Make sure each section is even before moving on to another area of the head. Additionally, use steady hands when cutting so that each section is even throughout.
Check Your Work
Once all sections have been trimmed or shaped, it’s important to check your work before styling or finishing up the cut. Check for any uneven sections of hair or stray hairs that may have been missed while cutting. Take your time when checking each section as this can help ensure an even result throughout.
Preparing for Home Haircuts With a DIY Kit
Cutting your own hair at home can be daunting, but with the right tools and a bit of practice, you can create stylish cuts and save money on expensive trips to the salon. A DIY haircut kit is an essential tool for any aspiring home-stylist. It’s important to select a kit that contains all the necessary items to achieve professional-looking results.
The first item to consider is scissors. A good pair of scissors is an absolute must for any haircuts. Investing in a higher quality pair of scissors will ensure precise cuts and will last longer than cheaper options. Trimmers are also important for achieving even lengths and creating clean lines around the neckline or sides. Comb attachments can be used to create texture or blend sections together smoothly. Lastly, it’s helpful to have a variety of styling products such as pomade, wax, or gel on hand in order to style your cut after it’s completed.
A few other items that may come in handy when cutting your own hair include clips, mirrors, and cape or towel covers. Clips are great for sectioning off your hair while mirror help you see where you’re cutting from different angles. Cape or towel covers help keep your clothes clean while cutting as well as preventing hairs from getting everywhere afterwards.
Once you have all the necessary items for a DIY haircut kit, it’s time to practice! Start by practicing on someone else before attempting your own hair—it may take some time before you get comfortable with the tools and techniques required for successful home haircuts. Investing in some instructional videos can also be helpful when learning how to cut different styles or give yourself a trim between salon visits. With patience and practice, you will soon master the art of at-home styling!

Conclusion
Do it yourself haircut kits can be a great solution to save money and time when it comes to cutting your own hair. With the right tools and techniques, you can create a variety of styles with ease. As with any DIY project, there is a learning curve, so practice is key. Ultimately, the results of a DIY haircut kit can save you money and still give you the desired look that you are after. With proper maintenance and care of your tools, they should last for many years.
Overall, using do it yourself haircut kits is an excellent way to get creative in styling your hair while saving time and money. Additionally, the satisfaction of being able to cut your own hair can be extremely rewarding!