Do-it-yourself garage floor repair is a great way to save money and time. With the right tools and materials, you can repair your garage floor on your own. This guide will provide you with all the information you need to know about repairing your garage floor. From determining the extent of damage to the best products to use, you will be well-equipped to tackle any problem that arises. With careful preparation and attention to detail, you can make sure your garage floor looks just as good as new.1. Start by inspecting the floor for any signs of damage or cracking. If there are any cracks, use a concrete patch or masonry caulk to fill them in.
2. After the cracks have been filled in, use a concrete grinder to even out any bumps or uneven surfaces. This will create a smooth surface for the repair material to adhere to.
3. Once the surface is even and smooth, apply a primer to prepare it for the repair material. Allow the primer to dry completely before moving on to the next step.
4. Now you’re ready to patch any holes or deep cracks with an appropriate concrete filler material like epoxy, cement patching compound, or latex-based concrete repair product. Make sure that you follow manufacturer’s instructions when applying these products and allow them to dry before continuing with your repair project.
5. Once all of your repairs have been completed and have had time to cure and set (follow manufacturer’s instructions), it’s time to seal your garage floor with an appropriate sealant such as an epoxy-based sealer or a polyurethane sealer. Follow manufacturer’s instructions when applying this product as well and allow it time to dry completely before using your newly repaired garage floor!
Identifying Damage on a Garage Floor
Identifying damage on a garage floor can be important for both safety and aesthetic reasons. It is important to inspect your garage floor regularly for any signs of wear and tear, as well as any damage that may have occurred. Damage to the floor can be caused by water, oil, chemicals, or even improper installation. In order to identify the damage, it is important to do a thorough inspection of the floor.
When inspecting the garage floor, it is important to look for any cracks in the concrete or any other visible signs of damage. If you see any cracks in the concrete, then you should also check for any discoloration that may indicate water damage or chemical exposure. Additionally, you should also check for any uneven spots in the concrete which could indicate a poor installation job or other underlying problems.
If you notice any discoloration or stains on your garage floor, then this could indicate that oil or other chemicals have spilled onto the surface. In some cases, these stains may be able to be removed with a simple cleaning solution; however in other cases they may require more extensive cleaning and repair work. It is also important to look for bubbling or peeling paint as this can be an indication of moisture getting underneath the surface and causing damage.
Finally, if you notice any significant dips or holes in your garage floor then this could signify more serious underlying problems such as soil movement below the surface or foundation issues. If you come across these types of issues then it is highly recommended that you contact a professional contractor who can assess and repair the issue properly.
Overall it is important to inspect your garage floor regularly and address any signs of damage as soon as possible in order to prevent more serious problems from occurring down the line.
Preparing the Garage Floor for Repair
Preparing the garage floor for repair is an important step in ensuring that the job is done correctly. This includes cleaning the floor and assessing any damage that may need to be repaired. If done properly, repairs can last for many years and help maintain a safe, clean garage floor. Here’s what to do when preparing the garage floor for repair:
First, it’s important to thoroughly clean the floor. This will help remove any dirt, dust, and debris that could interfere with a successful repair job. Use a broom or vacuum to sweep up any loose debris, then mop the area with an appropriate cleaner to ensure it is completely clean.
Once the floor is clean, inspect it for any areas of damage or deterioration. Look for cracks, chips, or other imperfections in the surface of the concrete. If there are any signs of damage, make sure to note them so they can be addressed during the repair process.
Finally, before beginning repairs on your garage floor, check it for moisture levels. Moisture can cause problems with adhesives used during repairs and can prevent them from properly bonding with the concrete surface. If necessary use a dehumidifier to reduce moisture levels before beginning repairs.
By following these steps when preparing your garage floor for repair you can help ensure that your repairs will last and that your garage remains safe and secure.
Tools and Materials Needed for DIY Garage Floor Repair
When it comes to repairing a garage floor, the tools and materials needed depend on the type of repair being done. For minor repairs such as filling cracks, patching holes, or smoothing rough spots, you will need a few basic items such as concrete patching compound, a trowel or putty knife, a putty knife or squeegee for spreading the compound, and a stiff broom or brush for burnishing. If you’re dealing with larger cracks that require more structural support, then you’ll also need some reinforcing mesh or wire mesh to reinforce the repair.
For more complex projects such as resurfacing an entire garage floor, you’ll need additional items like concrete cleaner and degreaser to prepare the surface prior to resurfacing. You’ll also need some kind of acrylic concrete sealer to finish off the job. Finally, if your garage has oil stains that need removing, you may need a specialized oil stain remover designed specifically for use on concrete surfaces.
No matter what type of repair project you’re tackling in your garage, it’s important to have all the right tools and materials on hand before beginning. Make sure to do your research on each product before buying so that you get what’s best suited for your particular repair project. With the right tools and supplies in hand, you can easily tackle most DIY garage floor repairs in no time!
Filling Cracks and Holes in the Garage Floor
Having cracks and holes in your garage floor can be a nuisance, not to mention unsightly. Fortunately, there are easy ways to fill those cracks and holes using materials that are readily available. The most common materials used for filling cracks and holes in the garage floor are concrete patch, concrete caulk, epoxy filler, and mortar mix. Each material has its own advantages and disadvantages which should be considered before making a decision as to which is best for your particular application.
Concrete patch is probably the most well-known material used for filling cracks and holes in the garage floor. It is easy to use, relatively inexpensive, and comes in a variety of colors so it can match the existing color of your garage floor. The downside of concrete patch is that it may not be as strong or durable as some of the other materials used for filling cracks and holes. Additionally, if you don’t apply it correctly it can easily crack or chip away over time.
Concrete caulk is another popular option for filling cracks and holes in the garage floor. It is easy to apply but does require a certain amount of skill when it comes to creating an even finish. It also tends to shrink over time so you may need to reapply periodically if you want to keep your floor looking smooth. The upside of concrete caulk is that it is generally more affordable than other options.
Epoxy filler is often seen as the most durable option when it comes to filling cracks and holes in the garage floor. It provides a very strong bond between surfaces which makes it ideal for use on uneven surfaces like garage floors. The downside of epoxy filler is that it can be difficult to apply correctly due to its thick consistency. Additionally, it tends to be more expensive than other options.
Mortar mix is an affordable alternative for filling cracks and holes in the garage floor. It sets quickly but can be difficult to work with due to its sticky nature. Additionally, mortar mix tends to shrink over time so you may need to reapply periodically if you want your surface area looking smooth at all times.
When choosing a material for filling cracks and holes in your garage floor, consider both cost and durability. Each material has its own advantages and disadvantages which should be taken into account before making a decision as to which will best suit your needs.

Applying Patch Compound to the Garage Floor
Applying patch compound to a garage floor is an important part of any flooring repair project. Patch compound can be used to repair cracks and small chips in concrete, as well as filling holes and other imperfections. The process requires the use of a patching compound and some basic tools, such as a trowel, putty knife, and rubber mallet. With the right preparation and application, patching compound can be used to create a smooth, even surface on your garage floor.
Before beginning the project, it is important to thoroughly clean the surface of the garage floor. All dirt, debris, and dust should be removed in order to ensure that the patching compound adheres properly. Once the area has been cleaned, it should then be dampened before applying the patching compound. This will help ensure that it binds properly with the concrete.
After ensuring that the surface is properly prepared, it is time to apply the patching compound. The compound should be applied in thin layers using a trowel or putty knife. It is important to work slowly and evenly when applying the material so that there are no air pockets or gaps between layers. Once all of the patching compound has been applied, it should then be left to dry for 24 hours before being sanded smooth with a rubber mallet or sandpaper block.
Once all of these steps have been completed successfully, your garage floor should have a smooth finish that can last for years to come! Patching compounds are an easy way to make repairs on any concrete surface without having to replace large sections of concrete or start from scratch with new materials. With some patience and effort, you can easily repair cracks and chips in your garage floor with patching compound!
Sealing Joints and Edges of the Garage Floor
When it comes to protecting your garage floor from moisture, dirt, and debris, sealing the joints and edges is a necessary step in the process. Not only will this help keep your floor looking good, but it will also help prevent any long-term damage from occurring. Sealing these joints can be done easily with a few simple steps.
First, you’ll need to thoroughly clean the area where you’ll be sealing the joints. This is important as any dirt or debris left behind can interfere with how well the sealant bonds to the surface. Use a pressure washer if necessary to ensure everything is properly cleaned before you start applying the sealant.
Next, use a quality concrete sealer designed for use on garage floors. Follow the manufacturer’s instructions when applying the sealant and make sure to cover all of the joints and edges completely. Allow it to dry for about 24 hours before allowing foot traffic on it or parking your car on it again.
Finally, if you have any cracks in your garage floor that need to be filled in before sealing them, do so now with concrete filler that is designed for use on garage floors as well. Make sure everything is properly sealed before you finish up your project by using a roller or brush designed for use with concrete sealers.
By following these simple steps, you can easily protect your garage floor from moisture, dirt, and debris while also preventing any further damage from occurring over time. Sealing your garage floor should be done periodically in order to ensure its longevity and prevent costly repairs in the future.
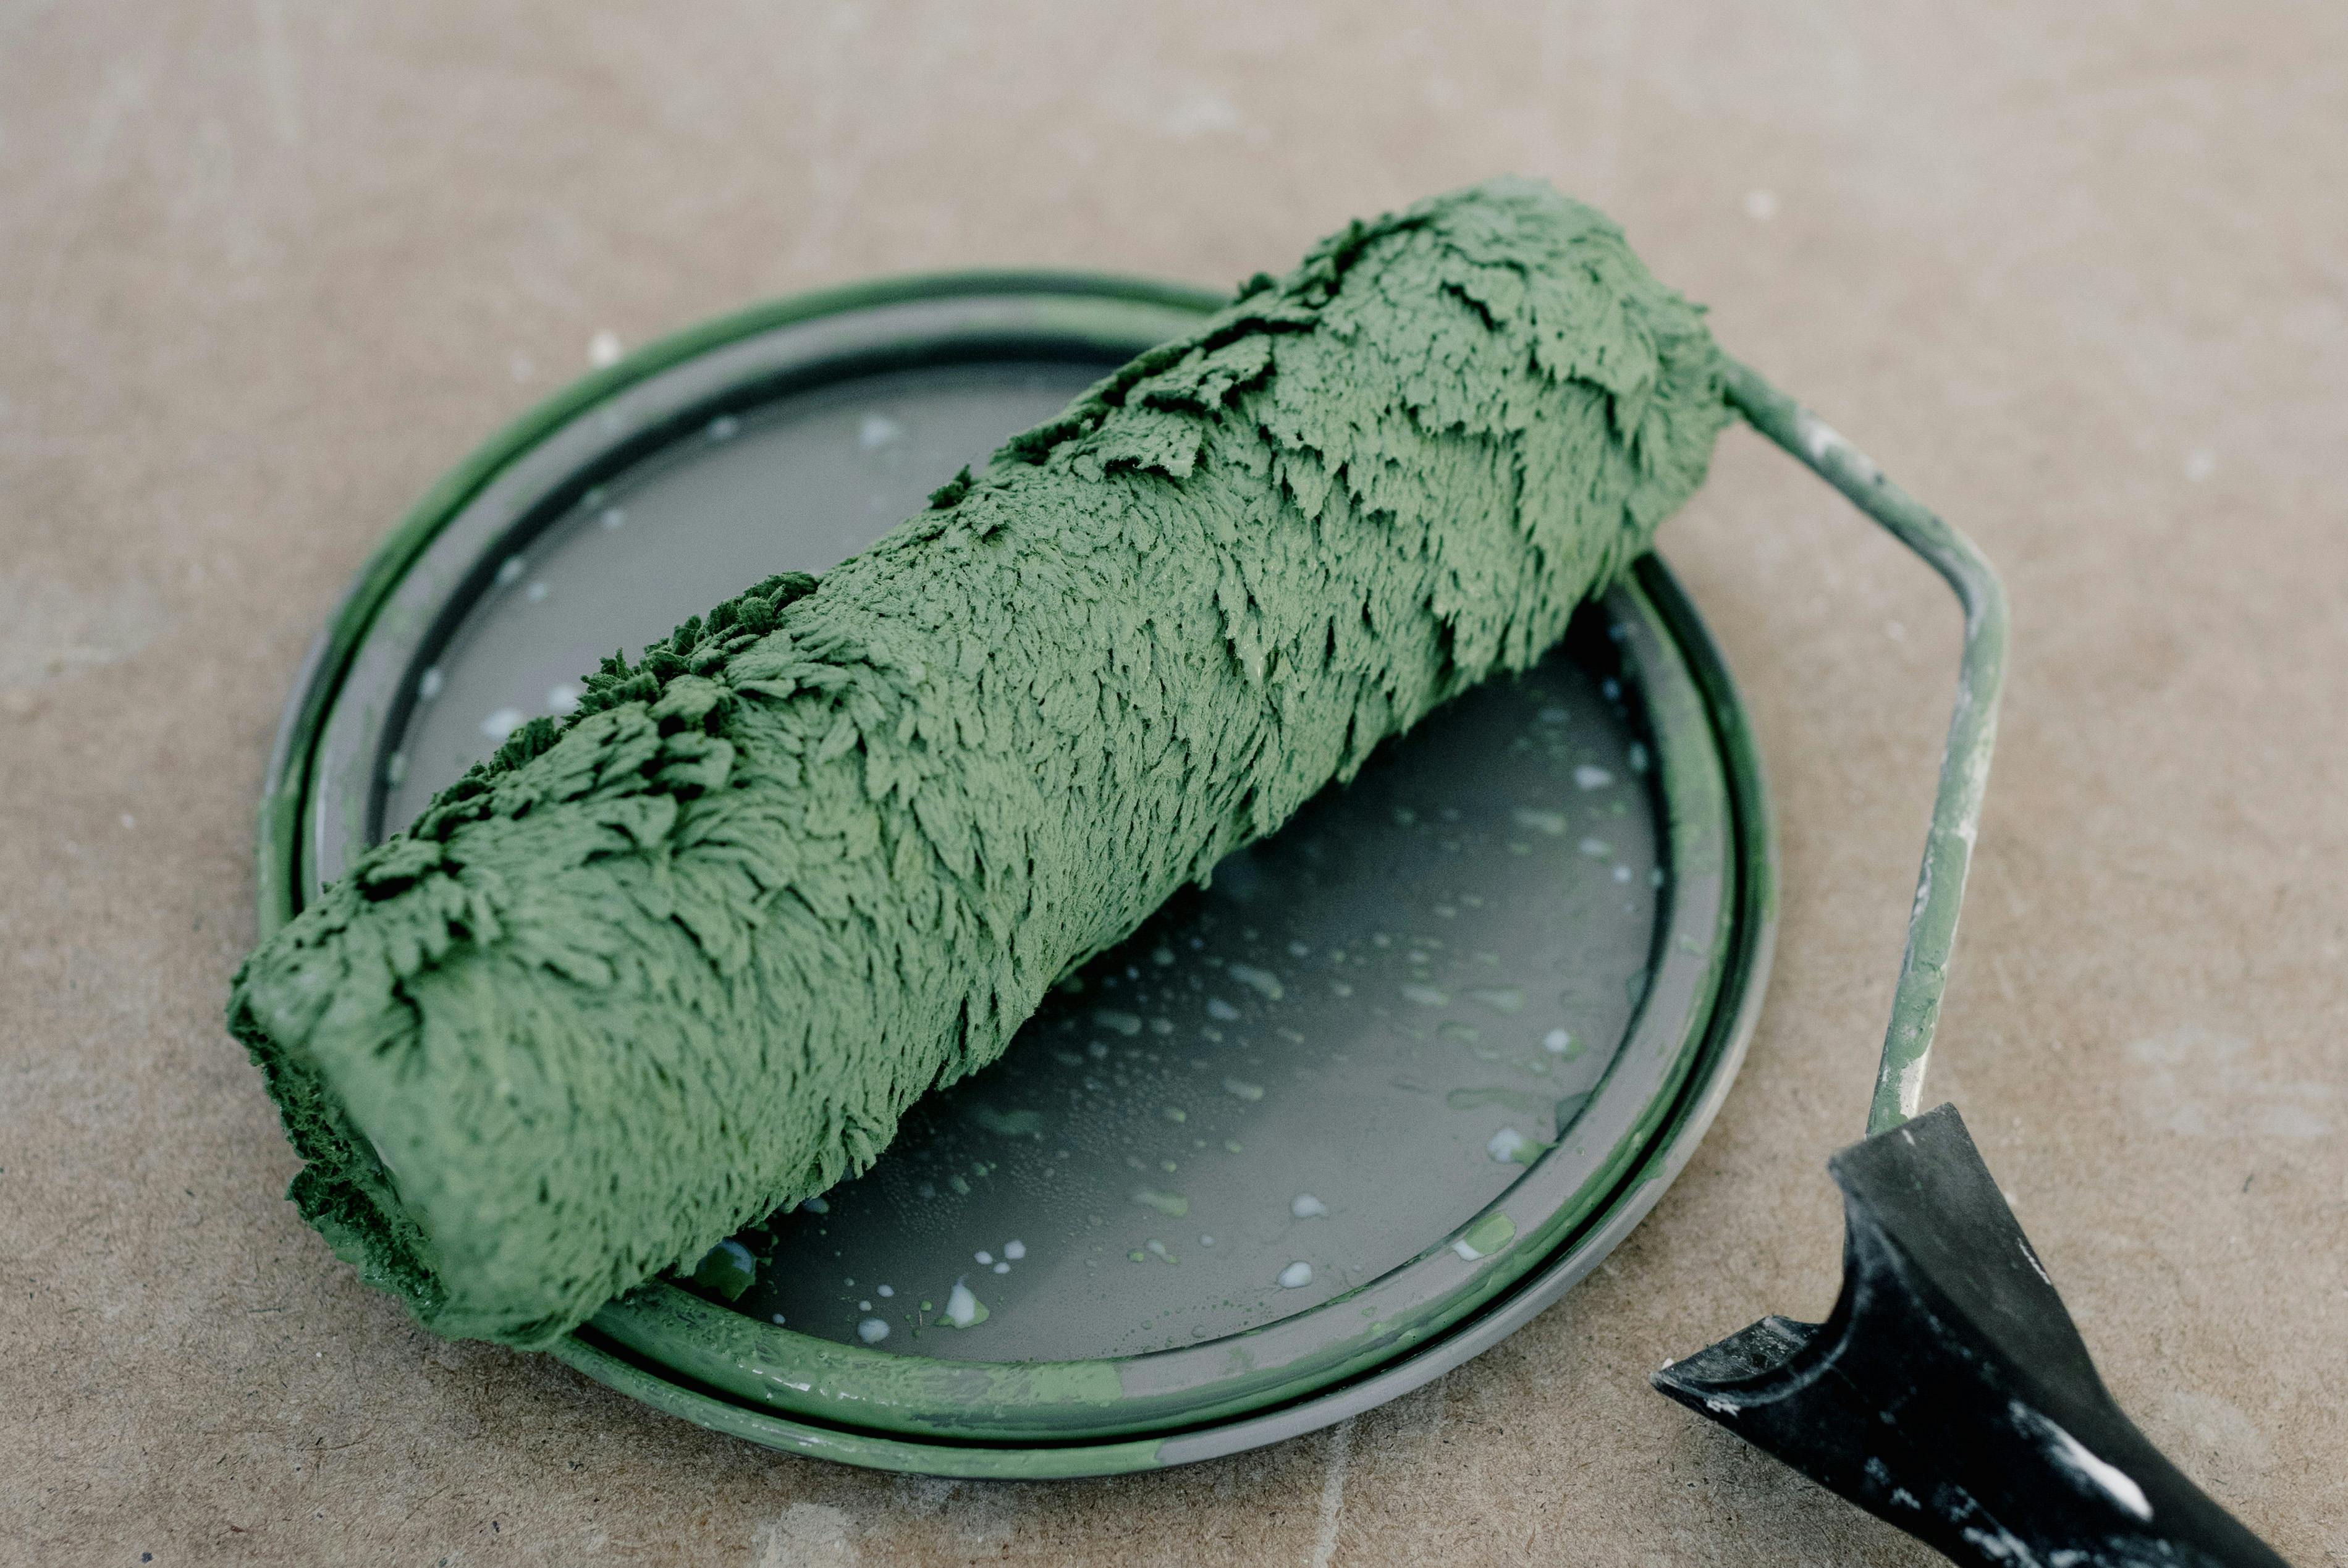
Applying Epoxy Coating to the Garage Floor
Applying an epoxy coating to your garage floor is an easy way to make it look great and protect it from damage. An epoxy coating will provide a durable, attractive finish that is easy to clean and maintain. It is also resistant to stains, chemicals, and other substances that may be present in the garage. When applied correctly, an epoxy coating will last for many years.
The first step in applying an epoxy coating is to prepare the surface of the garage floor. This includes cleaning it thoroughly and removing any debris or contaminants that may be present. Once the surface has been prepared, you can begin applying the epoxy coating. The best way to apply an epoxy coat is with a roller or brush. It is important to spread the coating evenly and not leave any areas uncovered or thinned out.
Once the epoxy coat has been applied, it needs to be allowed to dry completely before you can use it. Depending on the type of product you are using, this drying time can range from a few hours up to several days. During this time, it is important not to walk on the surface or disturb it in any way as this could cause imperfections in the finished product.
Finally, after your epoxy coating has dried completely, you should seal it with a clear sealer. This will help protect your garage floor from future damage and make it easier to keep clean. Sealing also adds a nice shine that enhances the look of your garage flooring. With proper care and maintenance, your epoxy coated garage floor will last for many years and add value to your home.
Conclusion
Do-it-yourself garage floor repair can be a great way to save money, time, and effort while also improving the look and function of your garage. With the right tools and materials, you can easily fix minor damage to your garage floor. However, more serious damage may require professional help. Remember to always wear protective gear when working with concrete or other hazardous material, and never attempt a repair that is beyond your skill level.
Overall, DIY garage floor repair is a great option for those who want to take on their own repairs but don’t have the know-how or resources for a major project. With some research, planning, and careful execution of the repair you can make your garage look like new in no time!