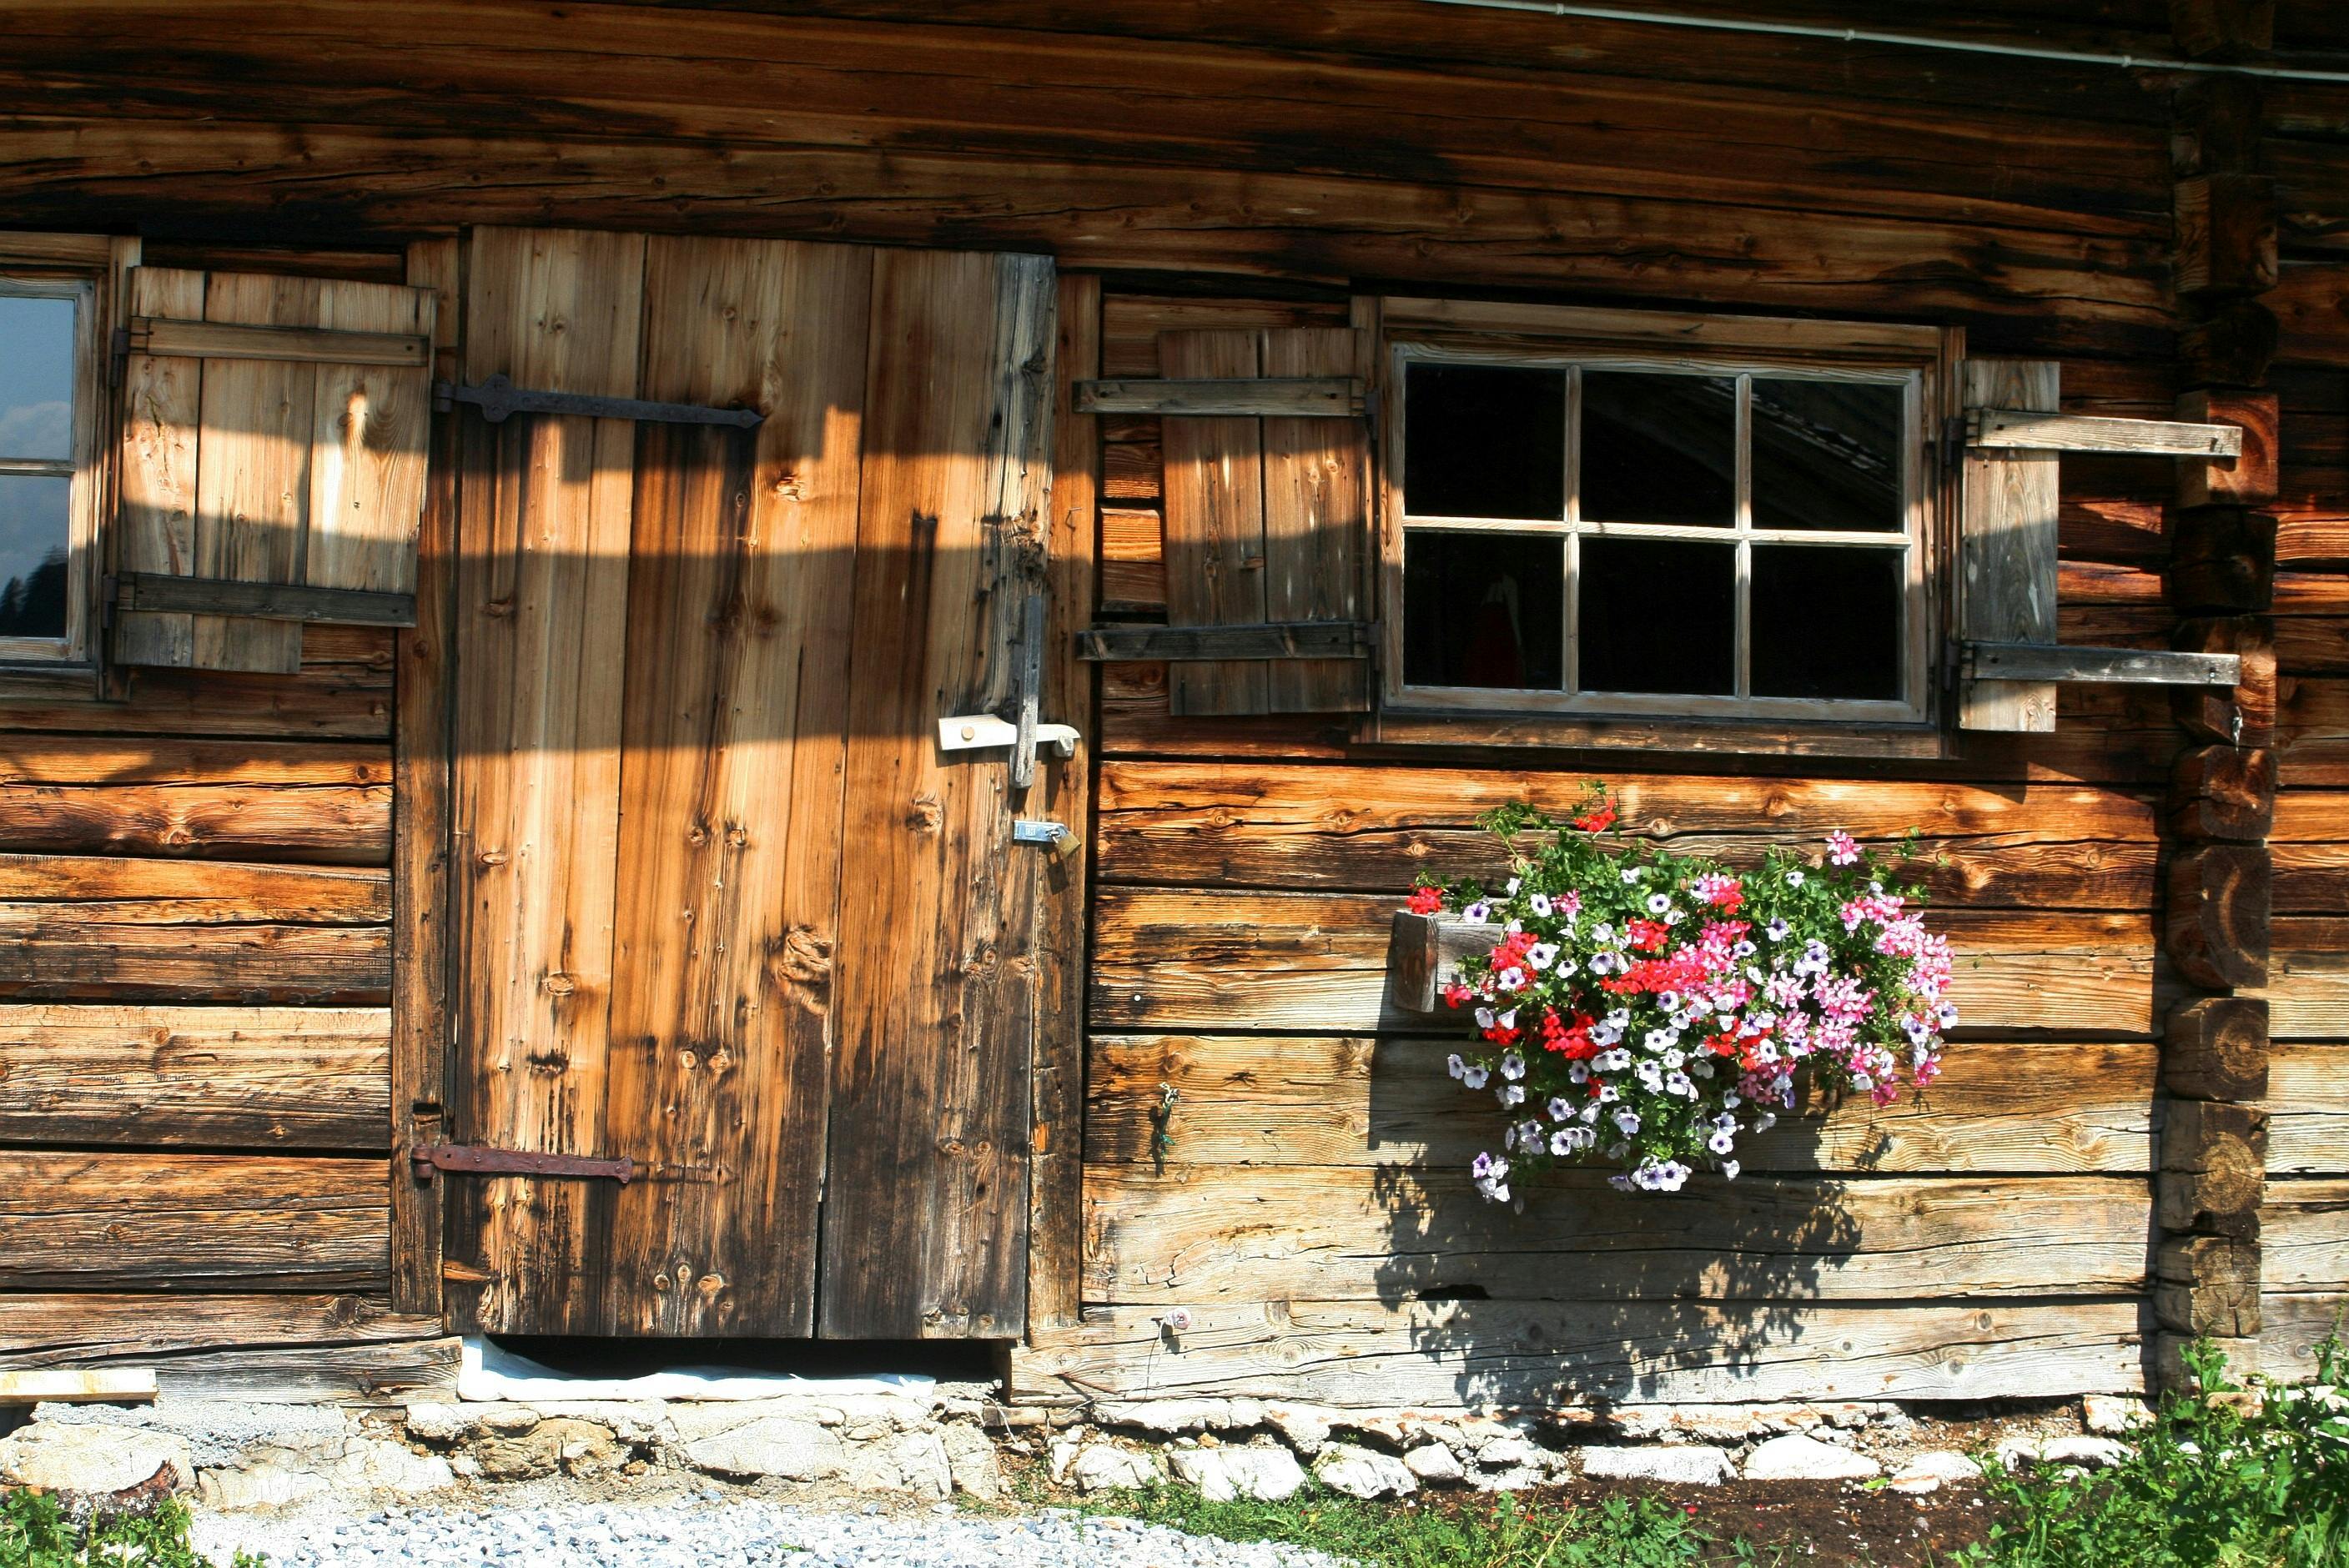
Are you looking for a way to add a little rustic charm to your home? Look no further than a Do-It-Yourself Barn Door Kit! Whether you’re looking to update a bedroom, office, or living space, these kits come with all the hardware necessary to build your own custom barn door. You can find kits in a variety of sizes and materials, so you’ll be able to find the perfect one for your needs. With easy-to-follow instructions and all the necessary hardware included in the kit, you can easily install your own barn door in no time. Not only will it add an updated look to your home, but it’s also sure to increase its value as well!DIY barn door kits are becoming increasingly popular, offering homeowners the opportunity to create a unique look in any room. If you’re considering installing a barn door in your home, there are a few things you need to know. Firstly, you will need to decide on the type of barn door kit you want. There are many different styles and materials available, so make sure to do your research and choose one that best suits your needs. Secondly, you will need to measure the space where your barn door will be installed. This is very important for ensuring that your kit fits properly and looks its best. Additionally, you will need to ensure that you have all the necessary tools for installation, such as a drill and screwdriver. Finally, be sure to take the time to read through the instructions included with your kit carefully before beginning the installation process. With these tips in mind, you can easily install a DIY barn door kit in your home with confidence!
Gather the Materials
Before you start building your own barn door, you will need to gather the necessary materials. This includes wood, hardware, tools, and any additional supplies you may need. You may want to consider purchasing pre-cut wood pieces or getting them cut at a local lumber store. Make sure that you have all of the hardware, such as screws and hinges, that will be needed to assemble the door. Gather all of your tools in one area so that they are easy to access when needed.
Prepare Your Space
Once you have all of the necessary materials and tools gathered, it is time to prepare your space for building your barn door. Make sure that your work area is clean and free from any debris or other materials that could interfere with the construction process. If possible, set up a workbench or table where you can assemble the door on a level surface. This will make it easier to ensure that everything lines up correctly when constructing the door.
Assemble Your Barn Door
Now it is time to begin assembling your barn door! Start by carefully measuring and cutting each piece of wood according to the plans that you have chosen for your design. Carefully sand each piece of wood and then assemble them together using screws and hinges. Make sure that each joint and connection is secure before moving on to the next step in construction.
Finish Your Barn Door
Once your barn door has been fully assembled, it is time to finish it off! Depending on what type of look you are going for, choose a paint or stain that best fits with your desired style. Apply several coats until you achieve an even finish before allowing it to dry completely. Finally, attach any additional hardware such as handles or knobs before hanging up your newly built barn door!
The Benefits of Installing a DIY Barn Door Kit
Barn doors have become increasingly popular in modern home design, offering a stylish and attractive way to conserve space while creating an eye-catching focal point. Installing a DIY barn door kit is an easy and cost-effective way to take advantage of this trend. Not only are they affordable and easy to install, but they also offer many benefits.
One of the primary benefits of installing a DIY barn door kit is that it can save you money on your renovation project. With a ready-made kit, there’s no need to hire an expensive contractor or purchase expensive materials. You can easily install the door yourself in just a few hours with minimal tools and experience.
Another benefit of installing a DIY barn door kit is that it provides an elegant and unique look for your home. The sliding mechanism allows for easy access to any area in the home without taking up valuable space or blocking off any areas from view. This can be especially useful if you have limited square footage as it will help open up the room and make it appear larger than it really is.
Finally, a DIY barn door kit is also incredibly versatile. There are many different styles and finishes available, so you can find one that perfectly complements your home’s existing décor. You can even paint or stain the wood yourself if you want to customize the look further!
Installing a DIY barn door kit is an excellent way to update your home’s style while saving money on remodeling costs. With its ease of installation, cost-effectiveness, attractive looks, and versatility, there are many reasons why this type of door should be considered for any renovation project!
Choosing the Right Barn Door Kit for Your Home
Adding a barn door to your home is a great way to add a unique and stylish look. Barn door kits come in a variety of different styles, sizes, and materials, so it’s important to choose the right one for your home. Here are some tips on how to choose the right barn door kit for your home.
The first thing you need to consider is the size of your space. If you have a larger area, or if you’re planning on installing two or more doors, then you’ll need to purchase a larger barn door kit. On the other hand, if you have limited space or if you’re looking for something with a smaller profile, then you’ll want to select a smaller kit.
The next thing to think about is the material of the kit. Barn doors can be made from wood, metal, glass, or even plastic. Each type has its own set of benefits and drawbacks, so it’s important to assess which type would work best in your home. Wood is often more expensive but can provide an elegant look that many homeowners love. Metal is often more affordable and can provide an industrial feel while still being stylish. Glass and plastic are good options if you’re looking for something more modern and sleek looking.
Finally, consider the hardware that comes with the barn door kit. This includes hinges, knobs, handles, and locks that will be used to hang and secure your new door in place. Make sure that all of these pieces match with each other as well as with any existing décor in your room so that everything looks cohesive once installed.
Choosing the right barn door kit for your home can be tricky but with some careful consideration it’s easy to find one that works perfectly for your space. By following these tips, you’ll be able to select a kit that looks great and lasts for years!
Gather the Necessary Tools and Materials
Before starting any project, it is important to have the necessary materials and tools. For a DIY barn door installation, you will need a drill, screwdriver, measuring tape, level, saw, screws and nails. You will also need some wood for the frame and door panels. Depending on the type of door you are installing, there may also be other materials needed such as hardware for mounting or tracks for sliding doors.
Take Measurements
Once you have all of your materials gathered together, it is time to start measuring. Measure the height and width of your door opening to determine what size frame you will need to build and how much wood you will need for the panels. If you are installing a sliding barn door, measure the area where the track will be mounted to make sure it is level and that it can accommodate the size of your door.
Build a Frame
Building a frame for your barn door is essential as it provides structure and stability. If you are building a wooden frame, use two-by-fours or other sturdy wood that can support the weight of your door. Measure twice before cutting your wood so that everything fits together properly. Use screws or nails to secure each piece together into one solid frame.
Attach Hardware
Once your frame is built and fitted with hinges (if necessary), attach any hardware that may be required for installation such as mounting brackets or tracks for sliding doors. Make sure all hardware is securely attached using screws or bolts so that it does not move when in use.
Install Door Panels
The next step in DIY barn door installation is to install the panels on either side of the frame. Measure each panel carefully before attaching them with screws or nails so that everything fits together snugly without gaps. Once all panels are installed, test out each hinge to make sure they open smoothly.
Finish Your Barn Door Installation
The last step in DIY barn door installation is adding any finishing touches such as paint or stain if desired. Once everything is finished up, you should have a beautiful new barn door!

Installing the DIY Barn Door Kit: The Basics
Barn doors are a stylish and practical addition to any home, and installing your own barn door kit is simpler than you might think. With basic tools like a power drill, screwdriver, and adjustable wrench, you can have your new barn door up in no time. Here are the basics of installing a DIY Barn Door Kit.
Measure Twice, Cut Once
Before beginning any installation project, it’s important to make sure you have all the right measurements. Take the time to measure twice and cut once when it comes to the wood frame for your barn door. This will ensure that everything fits together properly and looks great when finished.
Attach the Track
Once you’ve cut the wood frame for your barn door, attach the track that will hold your door in place. Depending on what type of kit you purchased, this may require some basic drilling or screwing into place. Be sure to follow all instructions carefully when doing so to ensure a secure fit.
Install the Hangers
The next step is to install the hangers that will hold your barn door in place on the track. Most kits come with hangers that simply need to be secured with screws or bolts into place on either side of the door. Use an adjustable wrench or power drill for this step and be sure to tighten everything securely in order for your door to move smoothly along its track later on.
Hang Your Door
Once all of these steps are complete, it’s time to hang your new barn door! This step is fairly straightforward; simply lift up your door and guide it onto its track until it’s firmly in place. If you’re using sliding doors rather than swinging ones, remember to add some lubricant such as WD-40 or graphite powder at this stage so they move easily along their tracks without sticking or binding up later on down the line.
Enjoy Your New Barn Door!
That’s it! With these few simple steps, you can easily install a DIY Barn Door Kit in no time at all – giving your home a fresh new look! Enjoy playing around with different hardware options such as handles and pulls for extra style points, then sit back and enjoy the beauty of your new barn doors for years to come!
Finishing Your DIY Barn Door Kit
Finishing your DIY barn door kit is a great way to add a unique and stylish décor element to your home. The process is relatively easy and can be completed in as little as a few hours. You’ll need to start by prepping the wood for painting or staining. This includes sanding down any rough areas, filling any gaps or cracks, and then sealing the wood with either a stain or paint. Once you’ve finished prepping the wood, you can begin putting together the barn door kit according to the instructions provided. It’s important to take your time during this step in order to ensure that everything fits together correctly and securely.
Maintaining Your DIY Barn Door Kit
Maintaining your DIY barn door kit is essential in order to keep it looking great for years to come. In order to do this, you’ll need to regularly check for signs of wear and tear, such as scratches or chips in the paint or wood finish. If you notice any of these signs, it’s important to address them immediately by either sanding down the area or applying a new layer of paint or stain. Additionally, it’s important to keep an eye on the hardware included with your barn door kit, such as screws and hinges, which may become loose over time. Checking these components periodically will help ensure that your barn door remains secure and functional.
Preparation
Installing a DIY barn door kit can be a great way to add style and charm to any room. But, it’s also important to make sure that the installation is done correctly. Before you start the installation process, there are a few preparations that you should make. First, measure the area where you plan to install the barn door, and make sure that you have all of the necessary supplies, including a drill, screws, and the hardware that is included with the kit. You should also read through all of the instructions carefully before beginning.
Installation Process
Once you have prepared for your installation, it’s time to begin putting together your DIY barn door kit. Start by attaching the track system to your wall or ceiling with screws and screw anchors. Make sure that this is done securely so that your door won’t be unstable when moved. Once this is done, attach the rollers onto your door and slide it onto the track system. You may need someone to help support the weight of the door while it is being installed. Finally, attach any additional handles or knobs if desired.
Finishing Touches
Once your DIY barn door kit has been installed, there are a few finishing touches that you should add in order to complete it properly. Make sure that all of the screws are tightened securely so that your new door will be stable when opened and closed. You may want to add some weatherstripping around edges for extra insulation and soundproofing if desired. Lastly, if you have chosen a stained or painted finish for your barn door, add a few coats of polyurethane or other protective finish to protect it from wear and tear over time.
Installing a DIY barn door kit can be an easy and rewarding project if done properly. By following these tips for preparation and installation, as well as adding some finishing touches after everything is put together, you can create an elegant look in any room of your home!
Conclusion
Do It Yourself barn door kits are an excellent way to add charm and character to any home. They are easy to install, come in a variety of styles, and are suitable for many types of homes. With a few basic tools and some time, you can create a unique and functional door that will be the centerpiece of your home. With their affordability and ease of installation, they make an ideal choice for anyone looking to update or customize their home on a budget.
It is important to remember that while DIY barn door kits may seem like an easy solution, there are some safety considerations that should be taken into account when installing. Allowing an experienced professional to do the installation is always recommended to ensure the job is done correctly. With these simple tips in mind, you can be sure your new door will be installed safely and securely for years of enjoyment.