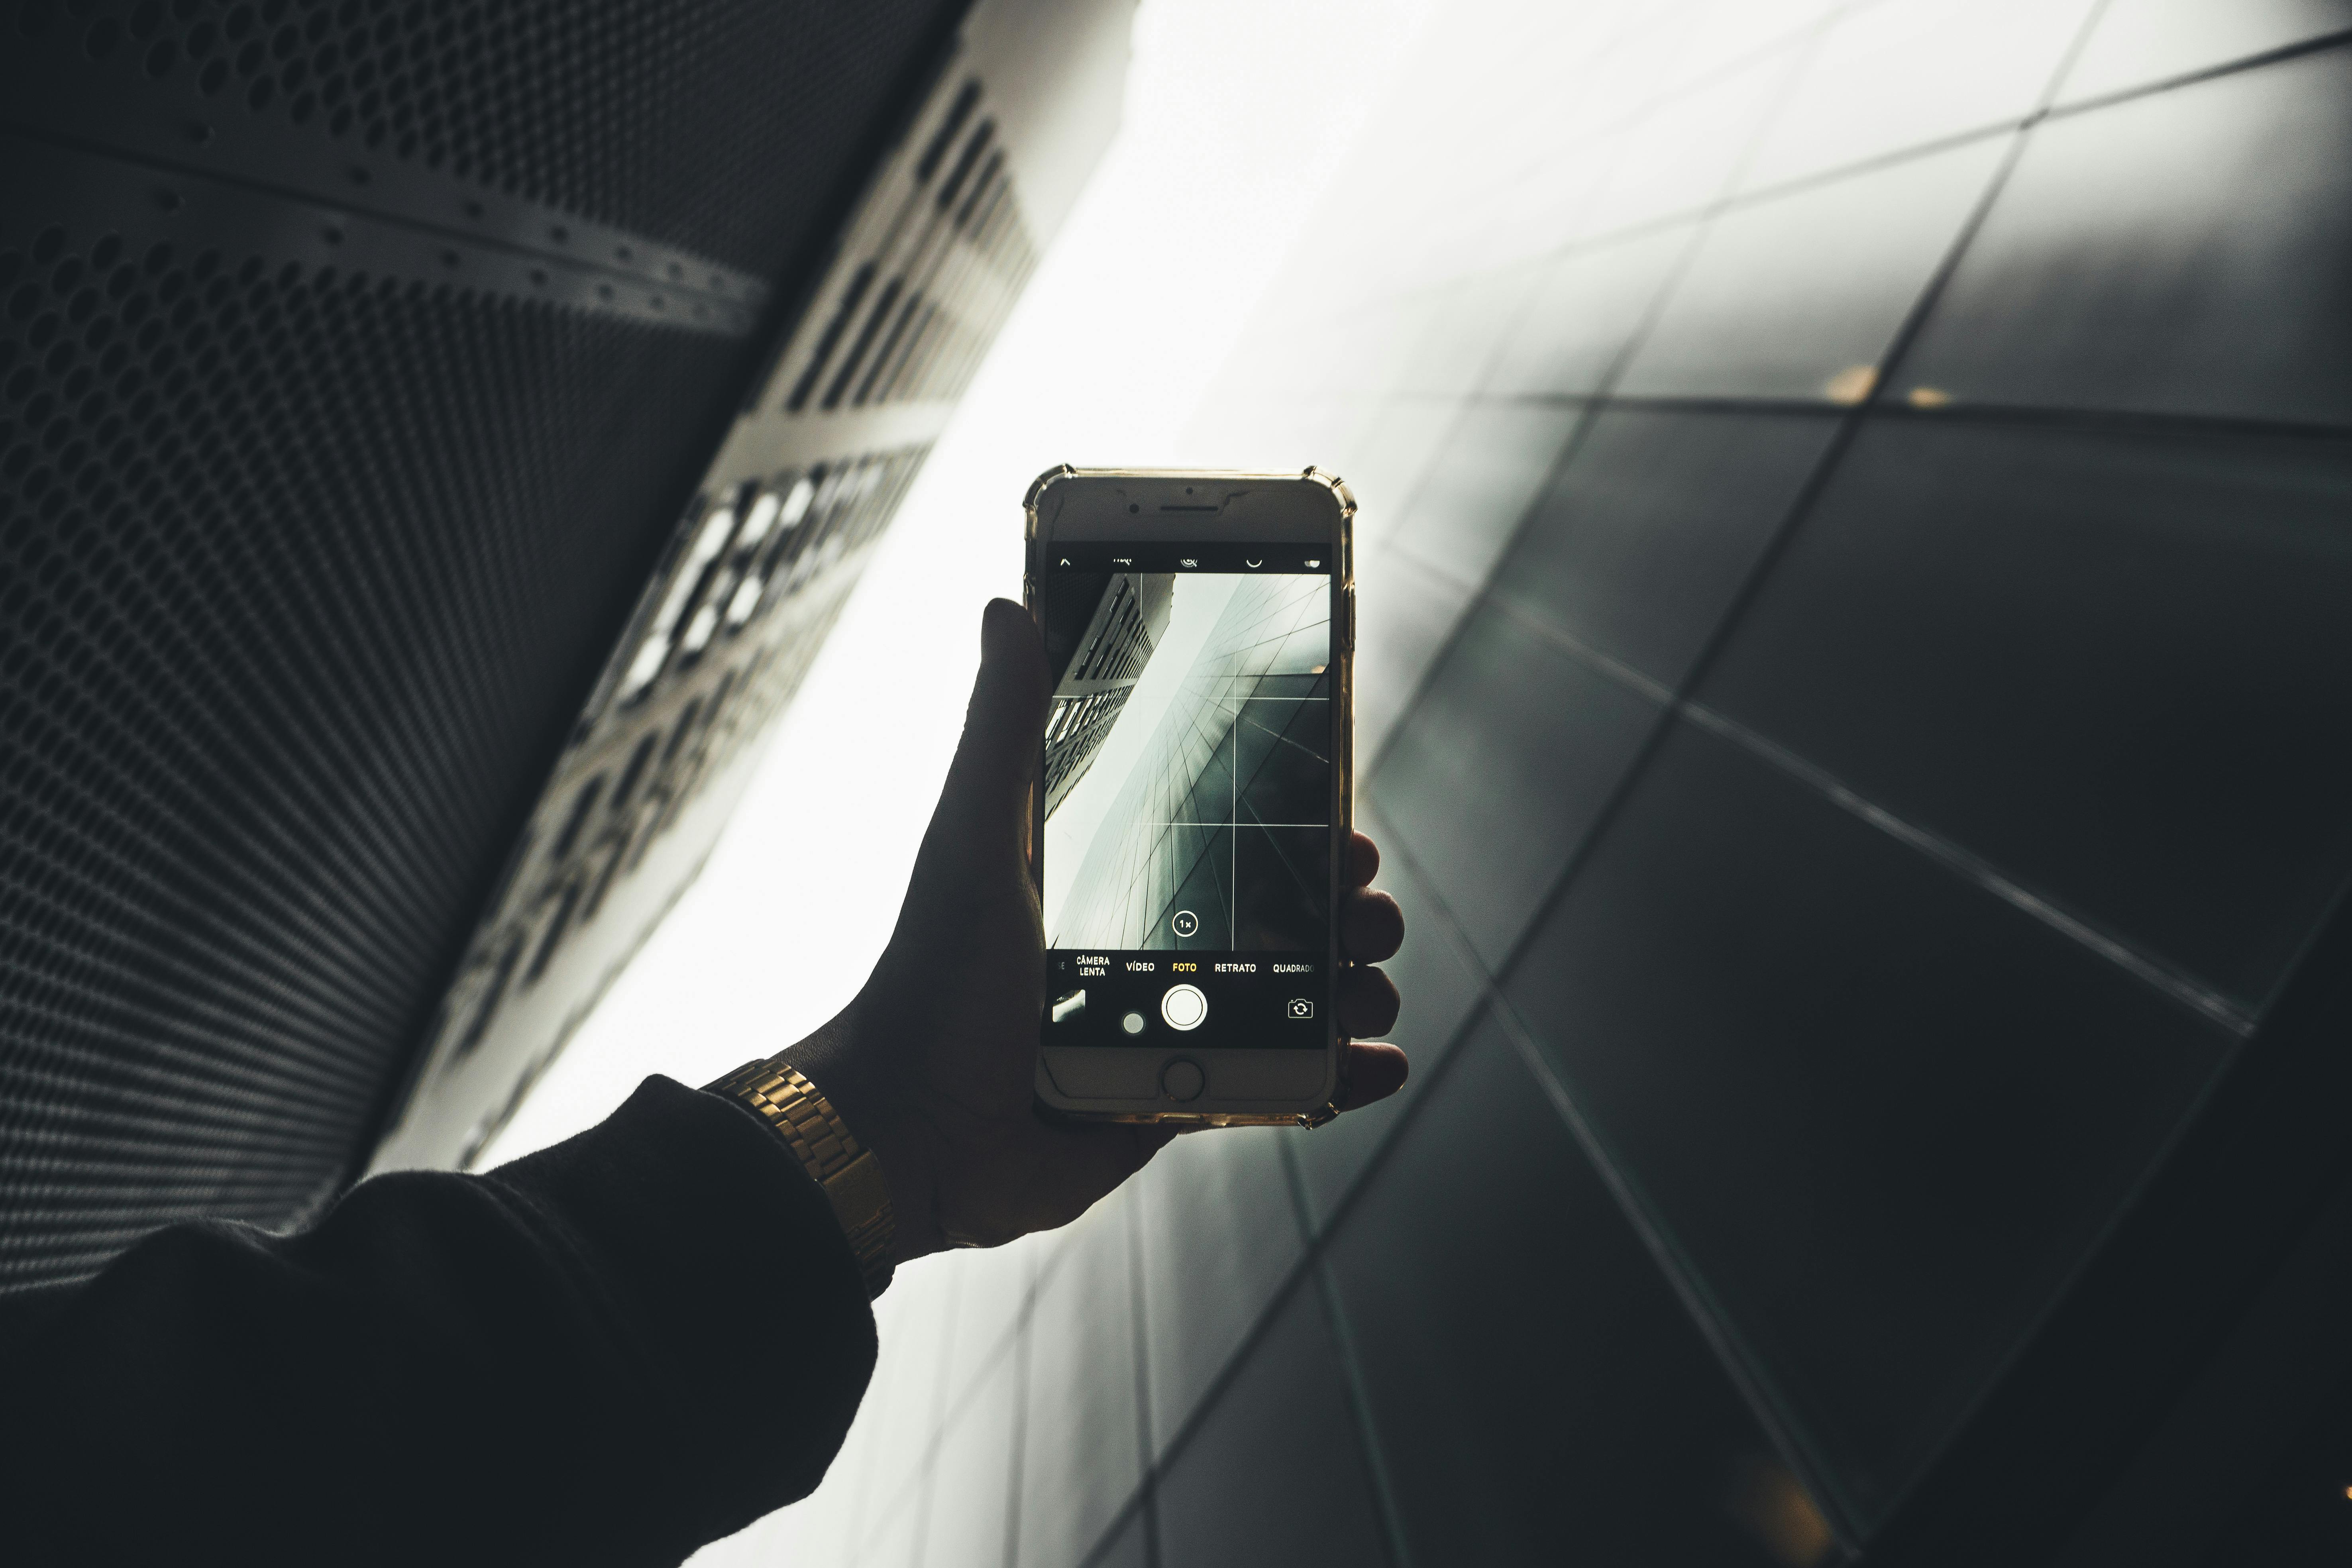
Taking a screenshot of your favorite Disney+ show or movie is a great way to preserve the memories of your streaming experience. If you’re an iPhone user, you’ll be glad to know that capturing a screenshot of Disney+ on your device is easy and straightforward. In this guide, we’ll walk you through the steps on how to screenshot Disney+ on iPhone.Taking a screenshot on an iPhone for Disney Plus is simple. First, open the Disney Plus app and go to the screen that you want to take a screenshot of. Then press and hold the Sleep/Wake (or Power) button located on the side of your iPhone. At the same time, press the Home button (located below the screen). You will hear a shutter sound and see a white flash, which indicates that your screenshot has been taken. To view your screenshot, go to Photos > Albums > Screenshots in your iPhone’s Photos app.
Steps to Capture a Screenshot of Disney Plus on an iPhone
Taking screenshots of your favorite movies and shows on Disney Plus can be a great way to save and share those special moments. Fortunately, it’s quite easy to capture a screenshot on your iPhone with just a few simple steps. Here’s how to do it:
First, open the Disney Plus app on your iPhone. Navigate to the movie or show you’d like to capture in a screenshot. Once you’ve found the right content, press and hold the Power button on the right side of your device and then press the Home button at the same time. This will take a screenshot of whatever is currently displayed on your screen.
You’ll know that you’ve taken a successful screenshot when you hear the shutter sound from your phone’s camera and when you see a small preview of it appear in the bottom left corner of your screen for about two seconds. The screenshot will also be saved in your Photos app, where you can view, edit, or share it with others.
Capturing screenshots from Disney Plus is an easy way to make sure that all those special moments are preserved for years to come!
Capturing Screenshots of Disney Plus Content on iPhone
Capturing screenshots of your favorite Disney Plus content on an iPhone is a great way to save memories and share them with others. Whether you’re watching a movie or an episode of a show, it’s easy to capture a screenshot. To do so, all you need is an iPhone and the Disney Plus app. Here’s how to take screenshots of Disney Plus content on an iPhone:
1. Open the Disney Plus app on your iPhone and select the content you want to take a screenshot of.
2. Press and hold the Side button (or Sleep/Wake button) and the Volume Up button at the same time. You will see a brief flash at the top left corner of your screen, indicating that the screenshot has been taken.
3. Go to your Photos app where all screenshots are stored. Your screenshot should be there.
It’s that easy! Capturing screenshots from Disney Plus is simple, allowing you to save those special moments for later or share them with friends and family. You can also use this method to capture photos from other streaming services like Netflix or Hulu if needed.
So next time you watch something special on Disney Plus, don’t forget to capture those moments with just a few taps!
Tips for Taking an iPhone Screenshot of Disney Plus Movies and Shows
Taking screenshots of your favorite Disney Plus movies and shows is an easy way to capture your favorite moments and share them with friends. Whether you’re trying to capture a funny scene or share a quote, here are some tips for taking screenshots on your iPhone.
First, make sure that the image you’d like to take a screenshot of is in full view on your screen. This will ensure that the entire image is captured in the screenshot.
Next, press and hold both the Side button (formerly known as the Sleep/Wake button) and Volume Up button at the same time. You’ll see a brief flash on your screen along with a subtle camera shutter sound if you have your phone’s volume turned up. This indicates that you successfully took a screenshot.
The screenshot will automatically be saved to Photos in your Camera Roll. You can also find it in the Screenshots album within Photos or Albums tab at the bottom of Photos app. From there, you can edit or share it however you’d like!
Keep in mind that certain Disney+ content may be restricted from being captured with screenshots due to copyright laws or other restrictions from content owners. If this is the case, you won’t be able to take any screenshots while streaming this particular content.
Taking screenshots of Disney+ movies and shows is an easy way to save memories and share them with friends! Just remember to keep copyright laws in mind when saving any images from streaming services like Disney+.
How to Easily Take a Screenshot of Disney Plus Content on an iPhone
Taking screenshots of Disney Plus content on an iPhone is a great way to capture and share your favorite moments from movies and shows. Whether you’re sharing a funny moment or documenting a special moment, screenshots are easy to take with just a few taps. Here’s how to quickly take a screenshot of Disney Plus content on an iPhone:
First, open the Disney Plus app and locate the content you’d like to take a screenshot of. Once you have the content open, tap the Home button and then the Power button at the same time. This will take a screenshot of whatever is currently showing on your screen.
You can also use 3D Touch if your iPhone model has it available. To do this, press firmly on the display until you feel a slight vibration, then tap “Screenshot” from the menu that appears. This will also take a screenshot of whatever is currently showing on your screen.
The screenshots you take will be saved in the Photos app in your library. From here, you can edit them, share them with friends and family, or store them for later use. Taking screenshots of Disney Plus content on an iPhone is quick and easy – so don’t be afraid to get creative!
Capturing Disney Plus Content on an iPhone
Disney Plus is a streaming service that allows you to access a variety of movies and television shows from the Disney library. It’s also available on many different devices, including iPhones. Capturing content from Disney Plus on an iPhone can be done with a few simple steps. You’ll need to have the right equipment and know how to navigate the app in order to get your favorite shows and movies onto your device. Here’s what you need to know about capturing Disney Plus content on an iPhone.
The first step in capturing content from Disney Plus on an iPhone is to make sure you have the right equipment. You’ll need an HDMI cable, which will allow you to connect your iPhone to a compatible television or monitor. You’ll also need a compatible adapter, such as Apple’s Lightning Digital AV Adapter or Apple’s USB-C Digital AV Multiport Adapter, which will allow you to connect the HDMI cable from your phone directly into the television or monitor.
Once you have the necessary equipment, the next step is to open up the Disney Plus app on your iPhone and select the show or movie you want to watch. From there, tap the “Cast” button in the upper right corner of your screen and select your device from the list that appears. This will start streaming the content onto your device via airplay or Chromecast technology, depending on which adapter you’re using.
Finally, if you want to capture this content onto your device so that it can be watched offline later, there are a few options available. You can use a screen recording app such as Screen Recorder HD for iOS or Monosnap for MacOS, both of which will allow you to record whatever is being shown on your device’s screen directly into a video file. You can then save this file for later viewing when you don’t have access to an internet connection.
Capturing Disney Plus content on an iPhone is easy once you know what equipment and apps are necessary for doing so. With just an HDMI cable, compatible adapter and screen recording app like Screen Recorder HD or Monosnap installed on your phone, you can easily transfer any show or movie from Disney Plus directly onto your device so that it can be watched at any time regardless of internet connection availability.
How to Get a Screenshot of Your Favorite Disney Plus Show on Your iPhone
If you’re a fan of Disney+, you know that it brings with it an incredible library of content. From classic movies to new exclusives, there’s something for everyone to enjoy. But what if you want to capture a moment from your favorite show or movie? Taking screenshots on your iPhone is easy and can be done in just a few steps.
First, open the Disney+ app and navigate to the show or movie you want to take a screenshot of. Tap the screen once and the playback controls will appear at the bottom. Tap the screen again and a menu will appear at the top with various options, including “Take Screenshot”. Tap that option and you’ll see a preview of your screenshot in the upper left corner.
Once you have taken your screenshot, it will be saved to your Photos app. You can view, share, or edit it like any other photo in your library. It’s that easy! Now you can capture all of your favorite moments from Disney+ shows and movies and share them with friends or post them online wherever you like!
Taking a Screenshot of Disney Plus Movies and Shows on an iPhone
Taking a screenshot of the movies and shows you watch on Disney Plus can be an easy task with just a few simple steps. With just a few taps of your finger, you can capture your favorite Disney scenes and share them with friends and family. Follow this step-by-step guide to learn how to take a screenshot of Disney Plus movies and shows on an iPhone.
First, open the movie or show you want to take a screenshot of in the Disney Plus app. Once you have the content open, make sure it is playing in full screen so that everything is visible. To take the screenshot, press and hold the side button (the one used for power off or sleep/wake) and press the volume up button at the same time.
You’ll hear a shutter sound indicating that your screenshot has been taken successfully. To view your newly taken screenshot, open your Photos app, and you’ll see it as part of your camera roll. To share it on social media or with friends, tap the Share icon located in the bottom left corner of your photo.
That’s all there is to it! Taking screenshots of content from Disney Plus can be done quickly and easily with just two buttons—the side button and volume up button—making it easy to capture all your favorite Disney moments to share with others!
Conclusion
Taking screenshots of Disney+ content on your iPhone is easy and straightforward. All you need to do is triple click the side button or use the AssistiveTouch feature. You can then go to the Photos app and find your screenshots in the “Screenshots” album. It’s important to remember that streaming Disney+ content for commercial purposes without permission is a violation of copyright law, so make sure you get permission first if that’s what you’re doing.
These simple steps should give you all the information you need to take screenshots of Disney+ content on your iPhone. With this knowledge, you can capture moments from your favorite shows and movies, share them with friends and family, or just keep them as a memory. So go ahead and screenshot away!