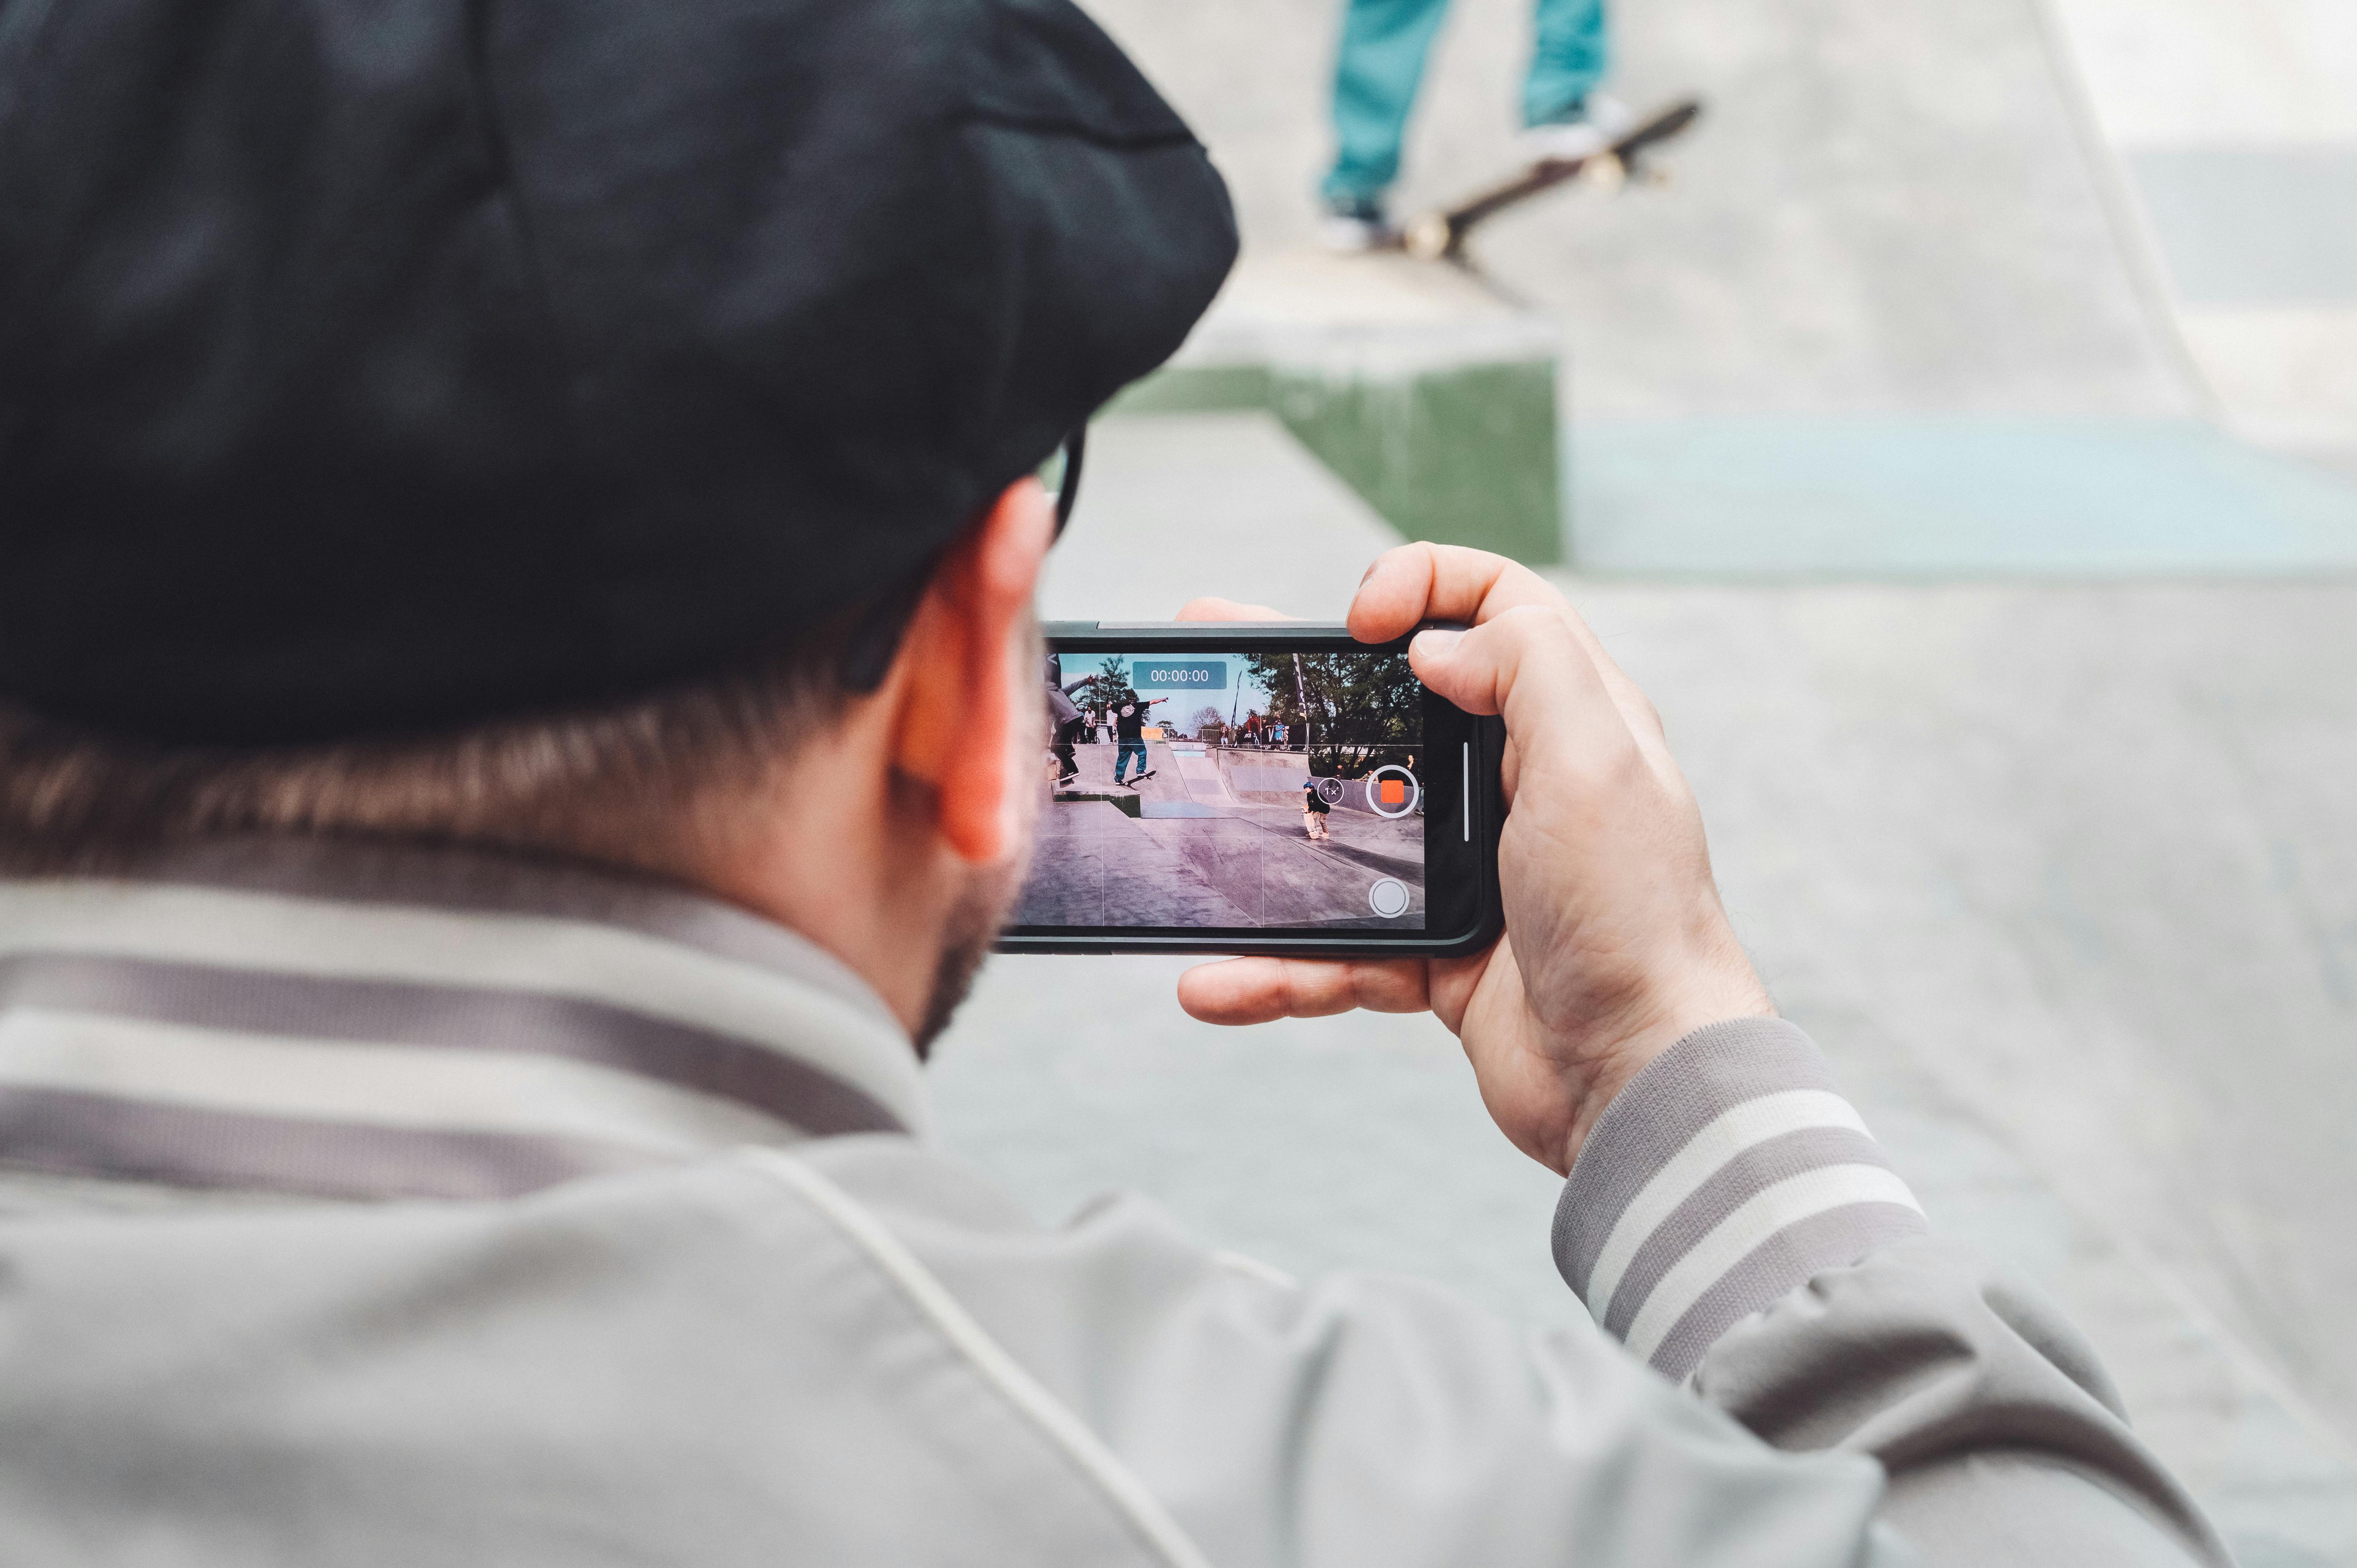
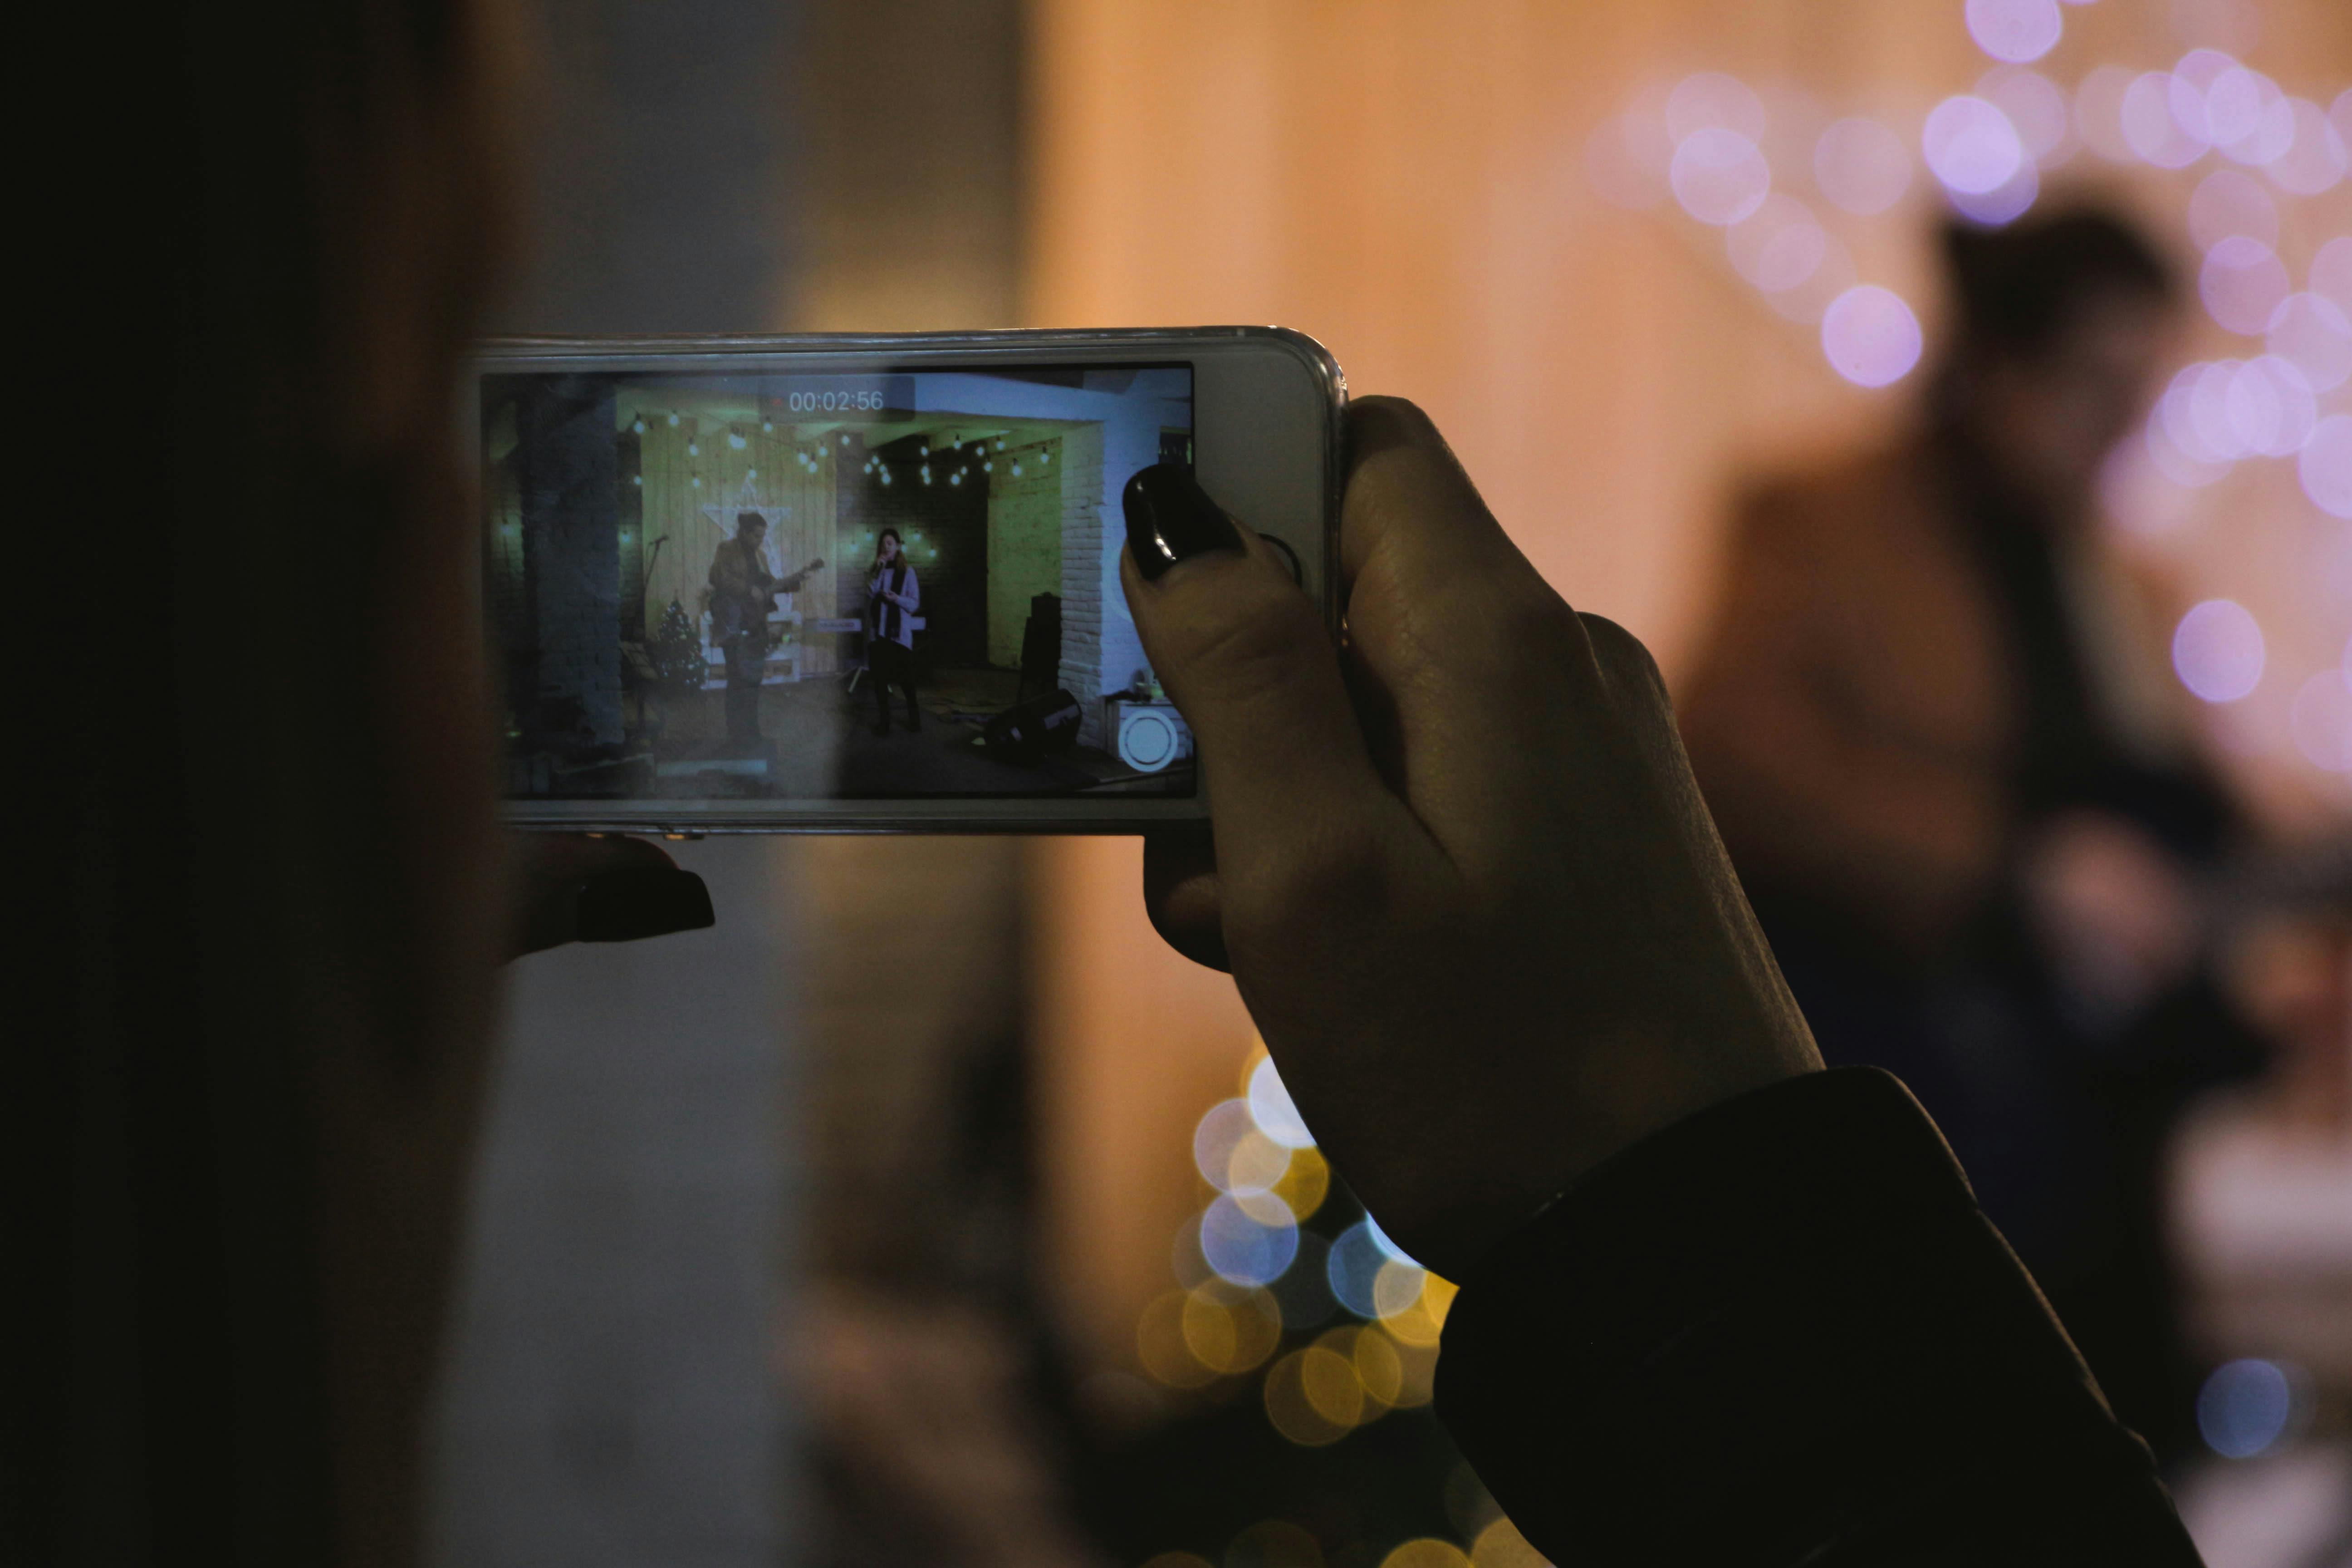
Making sure your videos are not blurry on your iPhone is a lot easier than you think. With just a few simple steps, you can make sure that your videos are sharp and clear every time. In this guide, we will show you how to make videos not blurry on an iPhone. We will discuss the best practices for taking videos, the different settings that you can adjust and the best editing apps that can help you improve the quality of your videos. By following our tips, you’ll be able to take stunning and clear videos on your iPhone.To stop iPhone videos from becoming blurry, make sure the video is saved in the highest quality setting. Additionally, avoid zooming in on a video while recording, as this will reduce the quality of the video. If you need to zoom in on an already recorded video, do so with editing software instead. To help keep your videos clear, avoid recording in low light situations and hold your iPhone steady while recording.
Use an External Lens
One of the best ways to improve video quality on iPhone is to use an external lens. This will allow you to capture more light and detail, as well as create a more cinematic look. Many external lenses are available for iPhones, so it’s worth doing some research and investing in one that suits your needs.
Stabilize Your Phone
Shaky footage can be distracting and make your video look amateurish. To avoid this, invest in a stabilizer or tripod to hold your phone steady when filming. This will greatly improve the quality of your videos and make them look much more professional.
Enable High-Quality Settings
Most iPhones come with high-quality settings enabled by default, but it’s worth double-checking that these are turned on before you start filming. This will ensure that you’re getting the highest quality possible from your phone’s camera.
Edit Your Footage
Once you’ve shot your footage, be sure to take the time to edit it properly. Editing software such as Adobe Premiere Pro or Final Cut Pro can help you enhance the color and clarity of your videos, as well as add special effects if desired. Doing this will significantly improve the overall quality of the finished product.
Plan Your Video
Creating a professional-looking video on your iPhone doesn’t have to be difficult. The key is to plan ahead. Before you start filming, take some time to think about the purpose of your video, the message you’re trying to convey and how you want it to look. This will help you plan out the shots and create a script for yourself if needed.
Choose Good Lighting
Lighting can make or break a video, so make sure that you take the time to find good lighting for your shoot. Natural light works best, so try filming near windows or outdoors when possible. If needed, invest in some supplemental lighting such as ring lights or soft boxes that can help fill in shadows and evenly distribute light across your subject.
Stabilize Your Camera
Shaky footage can ruin an otherwise great video, so make sure that you stabilize your camera as much as possible. Invest in a tripod or other mounting device so that your footage is steady and professional-looking. You may also want to consider using a stabilizing app such as Hyperlapse to reduce camera shake even further.
Set Up Audio
Good audio is just as important as good visuals when it comes to creating professional-looking videos on your iPhone. Invest in an external microphone if possible, as this will greatly enhance the sound quality of your videos. If using an external microphone isn’t an option, make sure to set up the built-in mic in a quiet place away from distractions.
Edit Carefully
Finally, don’t forget about post-production editing! Editing software can help turn average footage into something truly special by adding effects, transitions and music. Be careful not to overdo it though – too many effects can distract from the message of your video.
By following these tips, you’ll be well on your way to creating clear and professional-looking videos with your iPhone!
Pixelation of Videos on iPhone
Pixelation of videos on an iPhone is a common problem that many users face. This occurs when the video quality is not high enough to produce a clear picture. If the video is pixelated, it will appear blurry and distorted. There are several techniques that can be used to reduce pixelation on an iPhone and make videos look clearer and more detailed.
Increase Video Resolution
One of the most effective ways to reduce pixelation on an iPhone is to increase the resolution of the video. Increasing the resolution will make the video appear sharper and more detailed. To increase the resolution, open the Settings app and select “Display & Brightness” followed by “Video Resolution”. Set the resolution to a higher value such as 1080p or 4K to improve the quality of your videos.
Reduce Video Noise
Another technique to reduce pixelation on an iPhone is to reduce video noise. Video noise is caused by small variations in color or brightness that can make videos look grainy or distorted. To reduce video noise, open the Settings app and select “Camera” followed by “Noise Reduction”. Turn this setting on to reduce noise in your videos and improve their clarity.
Enable High Efficiency Video Coding (HEVC)
High Efficiency Video Coding (HEVC) is a new codec that allows for better compression of video files without sacrificing quality. Enabling HEVC will help reduce file size while still providing high-quality visuals. To enable HEVC, open the Settings app and select “Camera” followed by “Formats”. Select “High Efficiency” from the list of formats in order to enable HEVC encoding for your videos.
Optimize Storage Space
Finally, optimizing storage space can also help reduce pixelation on an iPhone. When your device runs out of storage space, it can cause videos to become pixelated or distorted due to lack of resources available for playback. To optimize storage space, open the Settings app and select “General” followed by “iPhone Storage”. Here you can delete unused apps, music, photos and other files in order to free up space for better video playback quality.
By following these techniques, you can significantly reduce pixelation of videos on an iPhone and enjoy clearer visuals with better detail.
1. Use a Tripod
Using a tripod is one of the best ways to avoid blurriness in videos on iPhone. A tripod will provide stability and ensure that the camera does not move around too much. This will help to keep the video steady and clear, without any blurring or shaking. It is also important to make sure that the tripod is firmly secured to the ground or surface, as this will help to keep it from vibrating or shaking during filming.
2. Use a Selfie Stick
Using a selfie stick is another great way to avoid blurriness in videos on iPhone. A selfie stick allows you to keep your phone at a distance from your body, so that you can get a better angle when filming. This also helps to reduce shake and vibration, making your video look much smoother and clearer. Make sure to use a sturdy selfie stick with good grip, as this will prevent any accidental slips while recording.
3. Adjust Video Settings
Adjusting your video settings can also be helpful in avoiding blurriness in videos on iPhone. You can adjust the exposure, white balance, and other settings in order to get better results when shooting video. Also, try using higher frame rates if available, as this will help reduce motion blur and make for more clear footage.
4. Turn Off Digital Zoom
Using digital zoom should be avoided when shooting video on iPhone as it can result in pixelation and blurriness due to its low resolution enlargement of images. Instead, try manually zooming in by moving closer or further away from your subject for better results.
5. Use Image Stabilization
Image stabilization is another great way to reduce shake and blurriness in videos on iPhone. Image stabilization helps smooth out movements while filming so that there are no jerky motions captured on camera which can cause blurring effects later on when viewing the footage. Most modern iPhones have built-in image stabilization capabilities which you can activate in the camera settings for best results when shooting videos.
What Causes Pixelated and Blurry Videos on iPhone?
Pixelated and blurry videos on iPhone can be caused by a variety of factors, including poor lighting, inadequate resolution settings, or an outdated software version. Poor lighting can lead to loss of clarity in the video because the camera’s sensor isn’t able to capture enough detail due to insufficient light. Inadequate resolution settings can also lead to pixelated and blurry videos because the camera isn’t able to capture enough detail when set at a lower resolution. Finally, outdated software versions may lead to pixelated and blurry videos as newer versions of iOS may have improved algorithms for capturing video.
In order to prevent pixelated and blurry videos on your iPhone, it is important to ensure that your phone has adequate lighting when capturing video. Additionally, make sure that the resolution settings are set correctly – higher resolutions will generally lead to better quality videos. Finally, make sure that you keep your phone updated with the latest version of iOS available in order to take advantage of improved algorithms for capturing video.
Enhancing Video Clarity on iPhone
The clarity of videos taken on an iPhone can sometimes be less than ideal. If you’re looking to enhance the video clarity on your iPhone, there are a few simple things you can do.
Firstly, make sure your device is running the latest version of iOS. If you’re not running the latest version of iOS, you may be missing out on important updates that could improve video clarity.
Secondly, adjust the settings when taking videos by going into Camera Settings > Record Video and adjusting the resolution and frame rate. By increasing these settings to their highest levels, you will improve the clarity of your videos.
Thirdly, consider investing in a lens kit for your iPhone. These kits come with lenses such as wide angle and macro lenses that allow you to capture more detail and take better quality videos with your iPhone camera.
Fourthly, use a tripod or gimbal to keep your device steady while recording videos. This will help reduce shake and blurriness in your videos, resulting in improved video clarity.
Finally, consider using an external microphone when recording audio for your videos. External microphones are designed to capture better quality audio than the built-in microphone on an iPhone, which will result in clearer audio for your videos.
By following these simple steps, you can significantly improve the video clarity of your iPhone’s camera and create stunning videos with ease!
Poor Network Connection
One of the most common reasons why videos become unclear or fuzzy on iPhone is due to poor network connection. Poor network connection can be caused by an unstable internet connection, a weak signal, or interference from other networks. When the video streaming is interrupted by a slow internet speed, it can cause the video to become pixelated and distorted. This is especially true if there are multiple people trying to stream videos at the same time. Additionally, if there are too many people connected to the same network, it can also cause issues with buffering and video quality.
Outdated Software
Another reason why videos may become unclear or fuzzy on iPhone is due to outdated software. If your device has an outdated version of iOS or any other software installed, it can cause issues with streaming high-quality videos. This is because older versions of software may not have the ability to process high-definition video streams properly. Additionally, if your device does not have enough storage space available for streaming videos, it can also lead to poor video quality.
Hardware Issues
Hardware issues can also be a contributing factor to why videos become unclear or fuzzy on iPhone. If your device has suffered any physical damage such as a cracked screen or water damage, then this could affect its ability to stream high-quality videos properly. Additionally, if the device’s processor is not powerful enough for streaming HD content then this could also lead to poor video quality.
Conclusion
Making sure that your iPhone videos are not blurry is very important to capture the perfect moment. To avoid a blurry video, you should always start with a stable hand, use the iPhone’s stabilization feature, and make sure to use enough light. Finally, if your video still appears blurry, you can always try to edit the footage in an editing program to sharpen it up.
Following these steps will help you get the most out of your iPhone videos without any unwanted blurriness. Don’t let a poor quality video ruin a great moment! With the right precautions and some creative editing, you can make sure all of your videos turn out looking amazing.