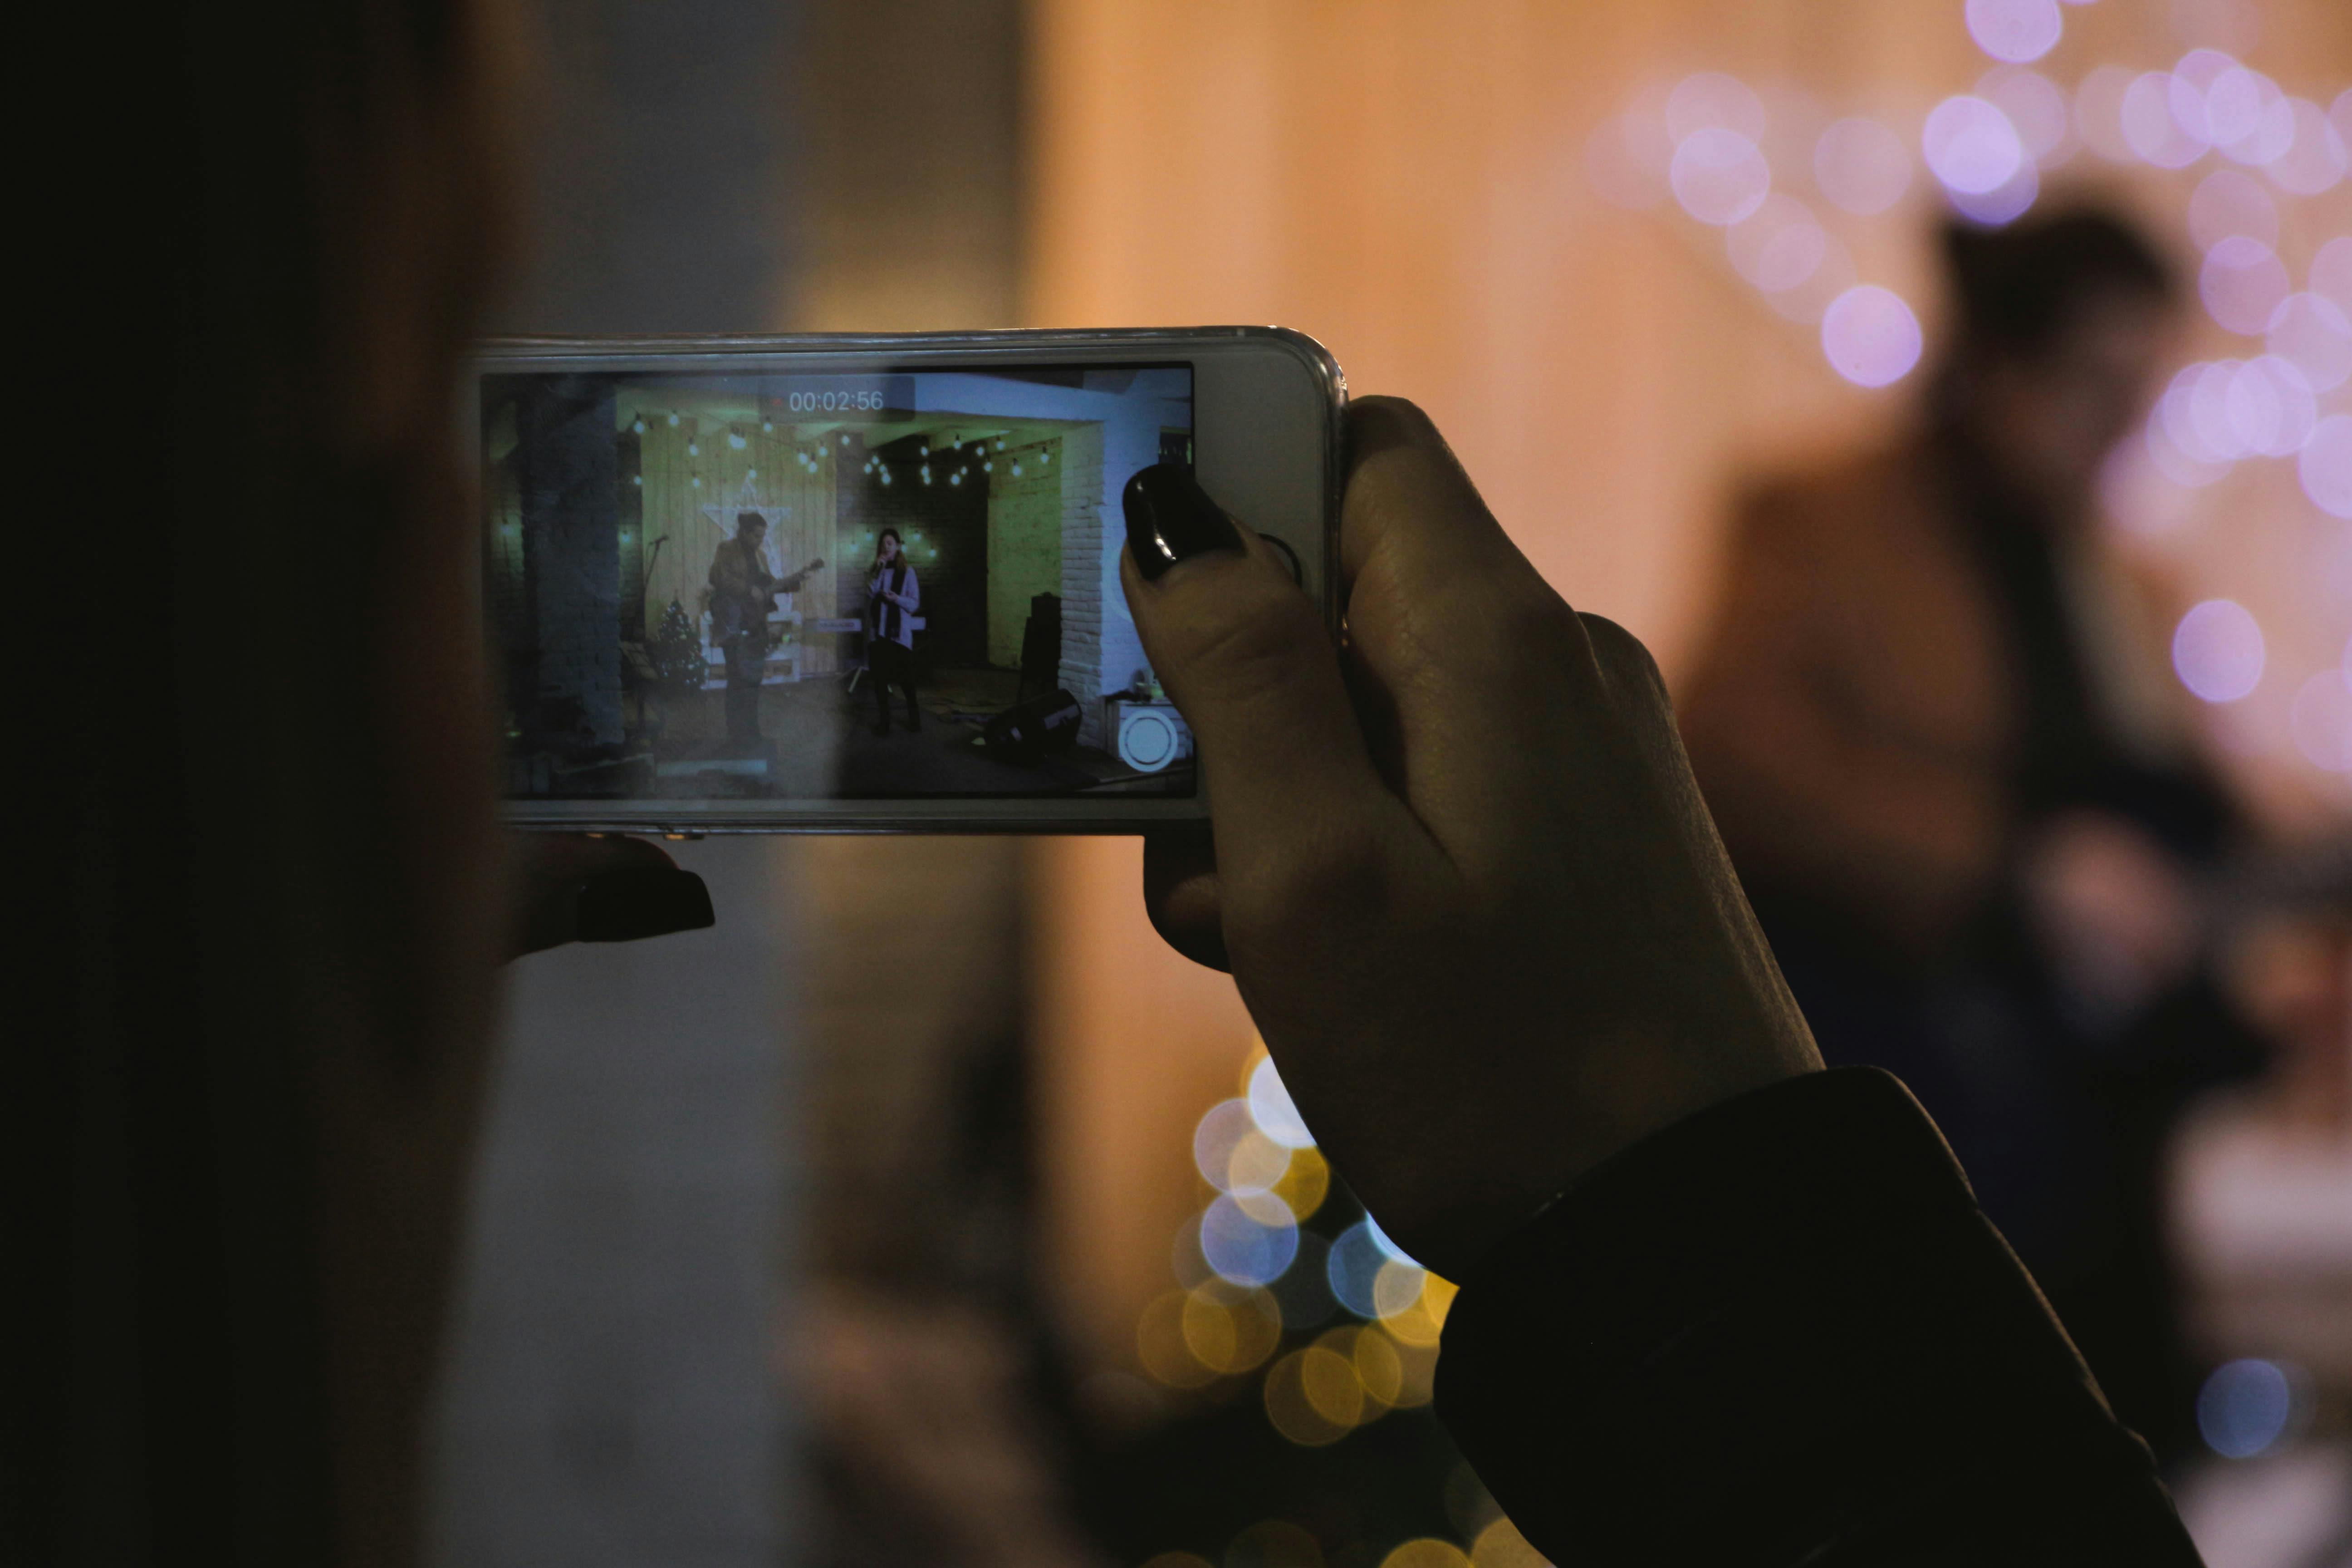
1. Keep Your Hands Steady
The most important way to prevent blurring in your iPhone videos is to keep your hands steady when recording. Blur is usually caused by excessive movement, so if you can keep your hands and the phone still, you should be able to get a much clearer video. If you’re shooting outdoors, find a surface to lean the phone on or use something like a tripod or gimbal to help keep it steady. It’s also important to remember that sudden movements will create blur, so take small, slow steps when walking with the camera.
2. Use Digital Image Stabilization
Most iPhones have digital image stabilization (DIS) built into their recording settings. This feature helps reduce blur by detecting and correcting any small movements in the video as it’s being recorded. To turn on DIS in the Camera app, simply tap the “Options” button and select “DIS” from the list of available options.
3. Adjust Your Exposure Settings
Another way to reduce blur in your iPhone videos is to adjust your exposure settings. By increasing the exposure settings, you can make sure that your video isn’t too dark or too bright which can cause blurring due to the camera struggling to adjust for different lighting conditions. To adjust your exposure settings, open up the Camera app and tap on “Options” and then select “Exposure Settings” from there.
4. Use an External Lens & Filter
If you’re serious about getting clear videos from your iPhone then investing in an external lens or filter can help significantly reduce blur in your videos. An external lens will allow you to get closer to the action without losing sharpness while a UV filter can help reduce glare and reflections which can cause blurring as well.
5. Increase Shutter Speed
Increasing shutter speed is another great way to reduce blur in an iPhone video as it allows more light into each frame which helps minimize motion blur caused by movement of objects within the frame or camera shake caused by hand-held filming. To increase shutter speed in the Camera app, tap on “Options” then select “Shutter Speed” from there.
Use a Tripod
Using a tripod is one of the best ways to avoid blurry videos on your iPhone. A tripod will help keep your phone steady and reduce camera shake, which can help improve the quality of your video. Even if you don’t have a tripod, you can use other items like books or boxes to keep your phone in place while taking videos.
Adjust The Focus and Exposure
If you’re shooting a video with your iPhone, you should make sure to adjust the focus and exposure settings for the best results. You can do this by tapping on the area where you want to focus on in the viewfinder. Your iPhone will automatically adjust the exposure settings based on where you tapped. This will help ensure that your video comes out looking sharp and clear.
Avoid Zooming In
When shooting a video with an iPhone, it’s important to avoid zooming in as much as possible. Zooming in too far can cause your video to become blurry and distorted, so it’s best to try and frame your shot without having to zoom in too far. If you need additional zoom, try using an external lens attachment instead.
Use HDR Mode or Night Mode
Your iPhone has several different modes that can help improve the quality of your videos. For example, HDR mode will allow you to capture better-looking images with better contrast and color balance while Night Mode is designed specifically for low-light environments where there isn’t much light available. Using either of these modes can help improve the look of your videos considerably.
Stabilize Your Phone With an App
There are several apps available for both iOS and Android devices that can help stabilize shaky videos from an iPhone camera. These apps use algorithms to detect camera shake and automatically apply stabilization techniques to reduce blurriness in videos. If you’re shooting a lot of shaky videos with your iPhone, investing in one of these apps may be worth it.
How to Check Your iPhone Camera Settings
Keeping your iPhone camera settings up to date is an important part of making sure you get the most out of your device. With a few simple steps, you can easily check and adjust your camera settings. Here’s how:
The first thing you should do is open the Camera app. From here, you’ll be able to access the Settings icon, which looks like a gear. Tap on this icon to open up the Camera Settings menu.
In this menu, you’ll find all of the settings that are related to your camera. This includes things like image resolution, flash mode, and focus options. You can also adjust more advanced options such as HDR mode and exposure compensation.
Once you’ve adjusted all of the settings to your liking, make sure to save them so they don’t get reset when you close out of the Camera app. To save your changes, tap on the Done button at the top-right corner of the screen.
That’s it! Now that you know how to check and adjust your iPhone camera settings, you can make sure that all of your photos and videos look their best!
How to Adjust the Focus in the iPhone Camera App
If you want to take a picture with your iPhone camera, it is important to know how to adjust the focus. Most iPhones come with an auto-focus feature, which can make it difficult to get the perfect shot. However, there are several ways to manually adjust the focus on your iPhone camera app.
The simplest way to adjust focus is by tapping and holding on an area of the screen that you want to focus on. This will cause your iPhone camera app to lock its focus on that particular spot. You can then move your finger up or down slightly in order to change the depth of field and adjust the focus accordingly.
Another way to adjust the focus manually is by using the exposure slider in your iPhone camera app. By sliding this bar up or down, you can change how much light is hitting a specific area of your photo, allowing you to create some interesting effects with your photos.
Finally, there is another manual method for adjusting focus on an iPhone camera app. This involves using two fingers and dragging them up or down in order to change the depth of field of a photo. This method gives you more precise control over where and how much light will hit a particular area of your photo.
In conclusion, there are several ways that you can manually adjust the focus in an iPhone camera app. Whether you use tapping and holding, exposure sliders or two-finger dragging, these methods all allow you more precise control over where and how much light will affect a particular area of your photo. With practice and experimentation, you should be able to find what works best for you when taking pictures with your iPhone camera app
Conclusion
In conclusion, fixing a blurry video on iPhone is achievable. Firstly, check the settings of your iPhone camera and make sure the focus and exposure settings are set correctly. Secondly, try to shoot in good lighting conditions or use a tripod or stand for steadier recordings. Thirdly, if all else fails, you can use a third-party app to fix the blur. Lastly, it is always best to shoot in high resolution and edit videos using desktop software for best results.
By following these steps, you can ensure that you capture sharp and clear videos every time on your iPhone!