Do it yourself hanging garage storage is a great way to get your garage organized and make the most of the available space. Whether you’re looking to store tools, sports equipment, gardening supplies or other items, hanging storage can be a great solution. With a few basic supplies and some handy skills, you can build the perfect hanging storage system for your needs. This guide will provide all the information you need to create a customized storage system that fits your space.Making your own hanging garage storage is an easy and affordable way to create extra storage space in your garage. Here are the steps to making your own DIY hanging garage storage:
1. Gather materials: You will need 2×4 lumber, 1/2” plywood, screws and drywall anchors, a saw, drill and screwdriver.
2. Cut the lumber: Cut two pieces of 2×4 lumber to the desired length for your hanging storage unit. These will be the sides of your unit.
3. Attach the sides: Attach the two pieces of lumber together by drilling four screws at each end of both boards, creating a box shape.
4. Cut the plywood: Cut two pieces of 1/2” plywood to match the width of your 2x4s and one piece to fit inside the box shape you just created with the lumber. The plywood will act as shelves for your storage unit.
5. Attach shelves: Use screws to attach each piece of plywood securely into place on either side of your box frame. You may need to pre-drill pilot holes for this step to ensure a secure fit for each shelf board you attach to the frame.
6. Hang it up: Securely mount your frame onto wall studs using drywall anchors or other mounting hardware as needed for maximum stability and security for your hanging storage unit in its new home in your garage!
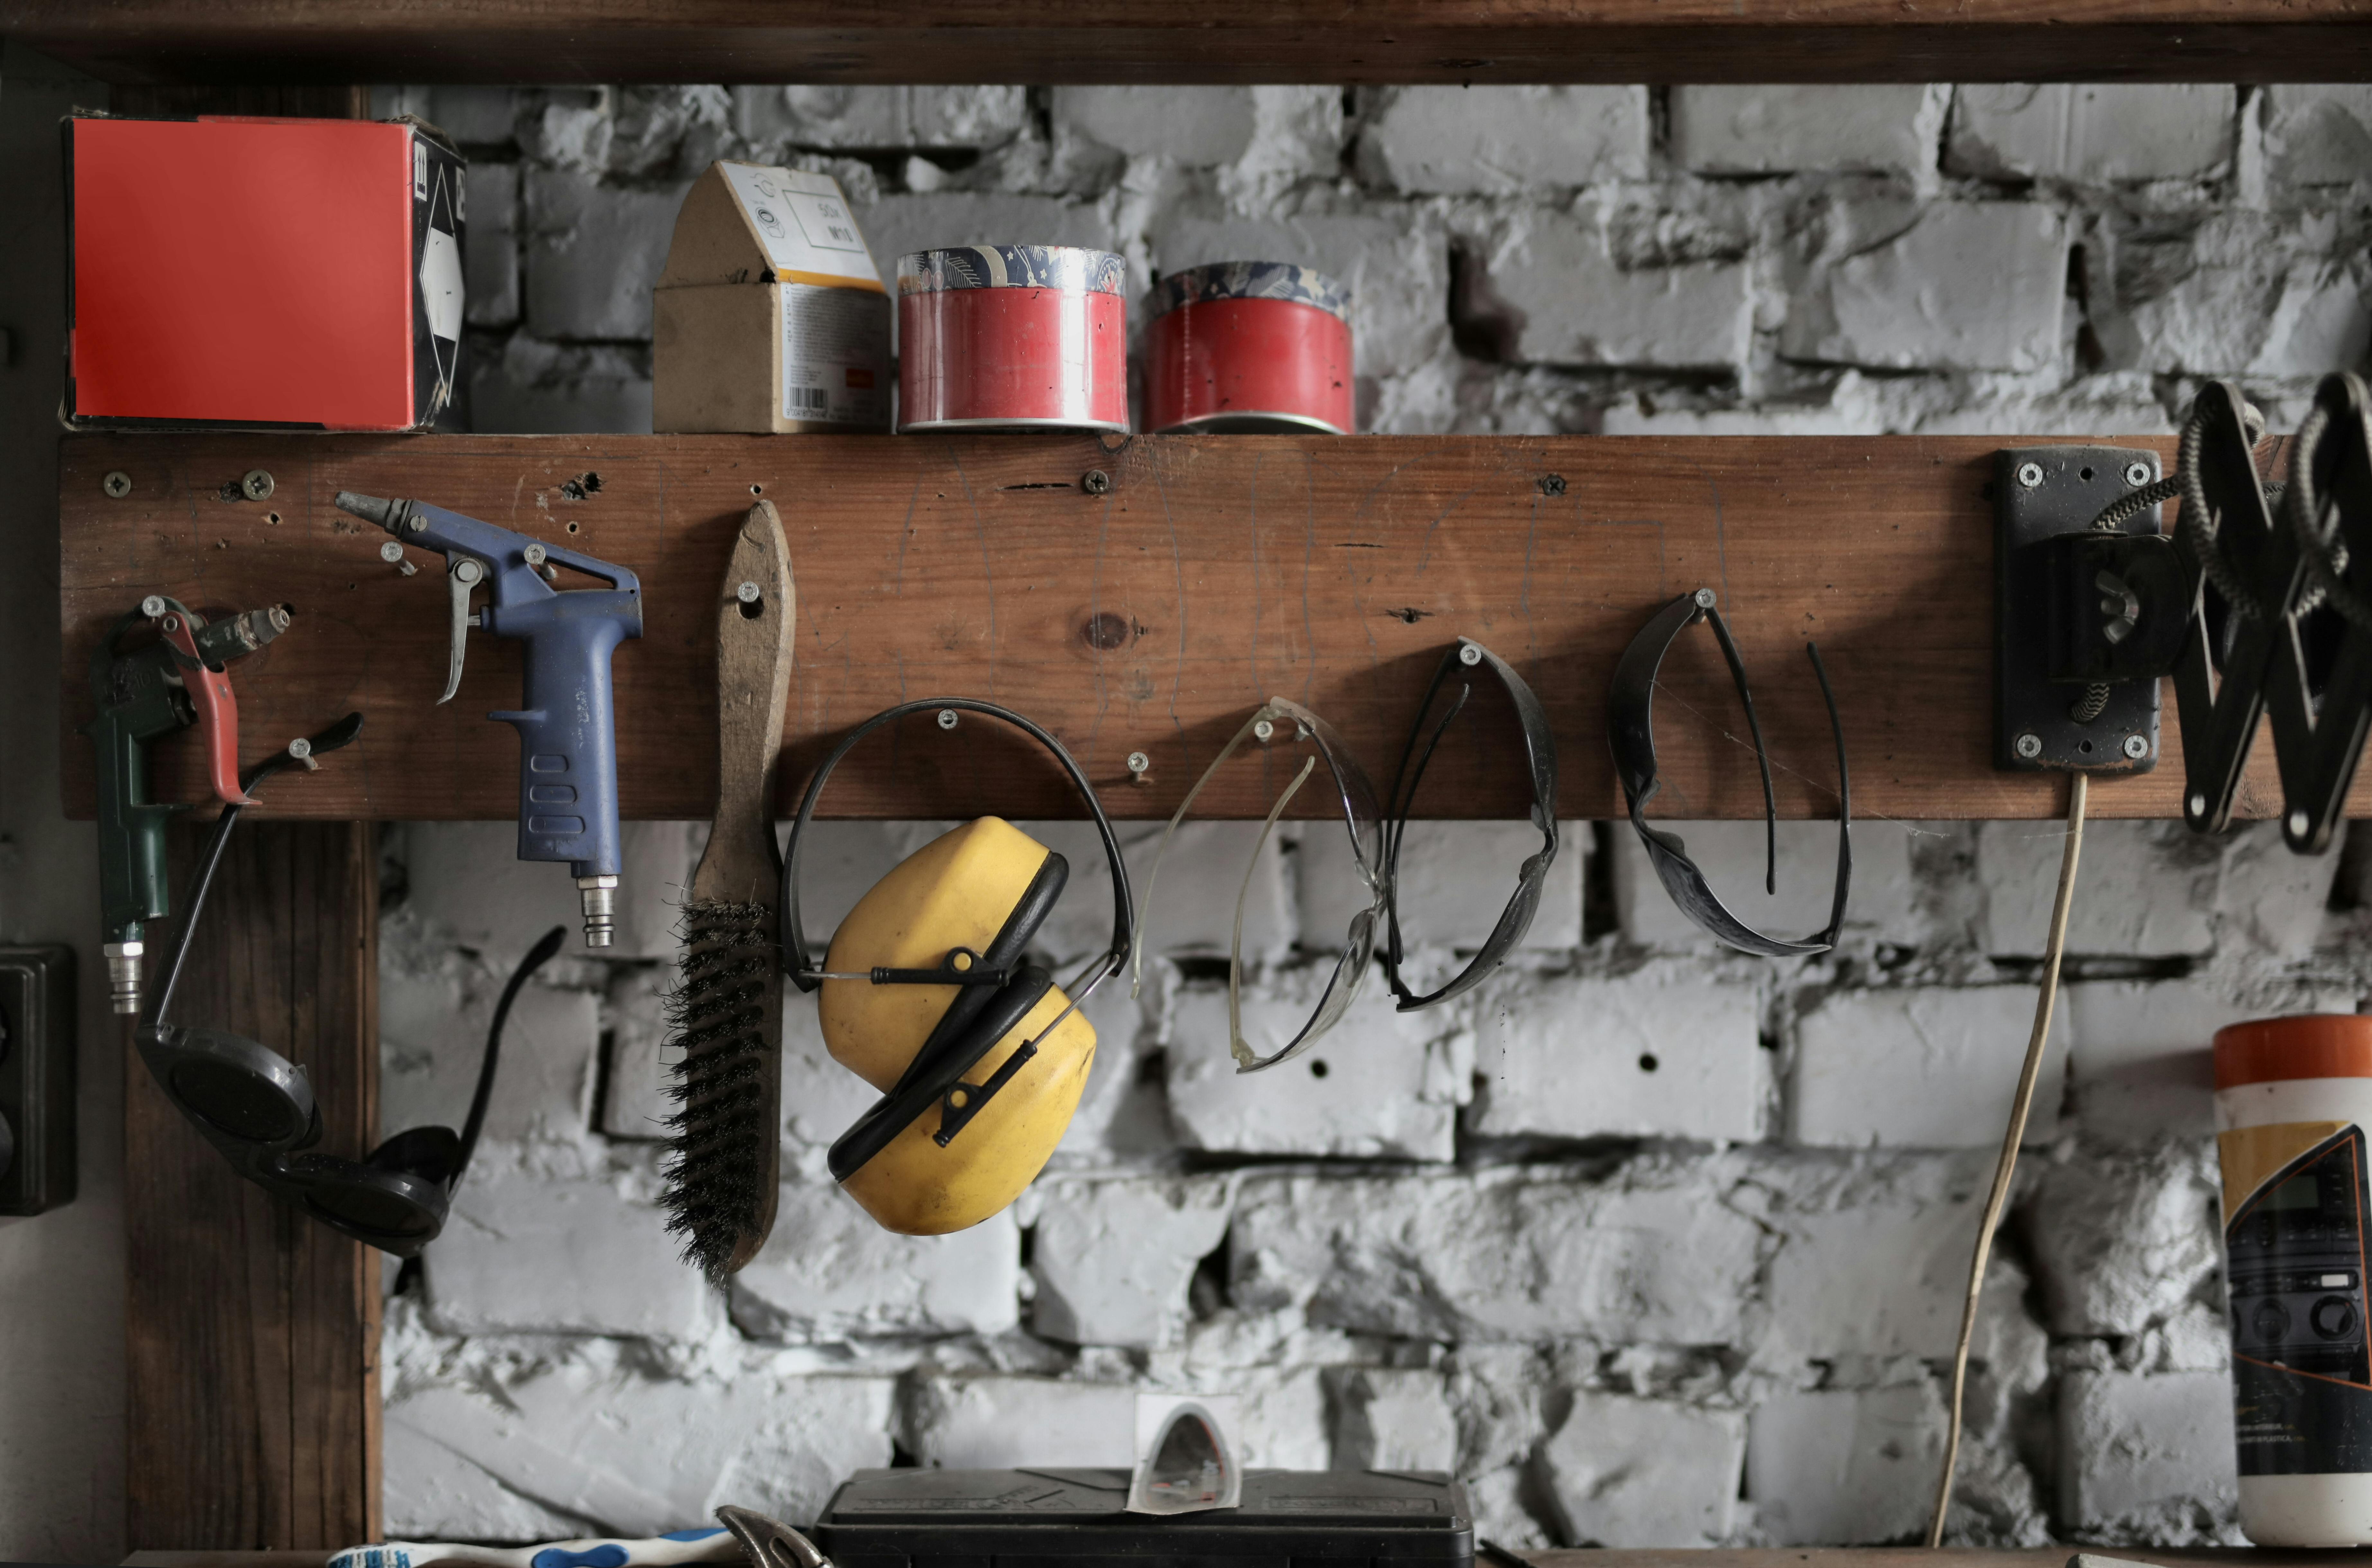
Gather the Necessary Tools and Materials
Before you begin any project, it is important to make sure that you have the right tools and materials. Gathering the right tools and materials is essential for a successful project. If you don’t have the right equipment or materials, it can be hard to complete a project in a timely manner.
It is important to read the instructions carefully before beginning any project. This will help you determine what tools and materials you need to complete the task. Make sure that your workspace is organized so that all of the necessary tools and materials are easily accessible. This will save time when it comes time to start working on the project.
Once you have gathered all of your tools and materials, take some time to familiarize yourself with them. Make sure that all of your tools are in good working condition and that all of your materials are correctly labeled so you know exactly what they are used for. Having everything in place before starting can help save time when completing the project.
Finally, make sure that you store your tools and materials properly after each use. Properly storing them will ensure they remain in good condition over time which can be beneficial if you plan on using them again in future projects.
Cut the Wood for Your Garage Storage Shelves
Creating storage shelves in your garage can be a great way to maximize space and keep your items organized. However, before you start building, you need to make sure that you have the right wood cut for the job. There are several steps to take before beginning your project.
First, measure the area where you want your shelves to go. Make sure that you leave enough room for any tools or items that may need to fit underneath or around the shelves. Once you have measured the area, mark out the dimensions on a piece of plywood. If you have an odd-shaped area, use a jigsaw or other cutting tool to cut out any curves or corners that are needed for an exact fit.
Next, decide how many shelves you want and make sure that you have enough plywood cut for each one. Measure out each shelf’s length and width and mark it on the plywood accordingly. Make sure to leave room between each shelf for supports if necessary. You can also use smaller pieces of wood for additional supports if needed.
Finally, use a saw to cut along all of your marked lines until all of your pieces of wood are cut and ready to be used in building your shelves. Depending on what type of saw you are using, remember to wear protective gear such as eye protection and gloves while cutting the wood. Once all of your pieces are cut, sand them down with sandpaper and then assemble them according to instructions provided with any hardware purchased for the project.
Assemble the Frame for the Shelves
The first step in building shelves is to assemble the frame. Depending on the size of the shelves, you’ll need to cut wood to the desired length and width. To assemble the frame, you’ll need a drill, screws, and brackets. Start by drilling pilot holes in each corner of the frame pieces and then attaching them together with screws and brackets. Make sure that all of your screws are properly tightened before moving on to the next step.
Once your frame is assembled and secured, use a level to ensure that it is even. If you find that one side is lower than the other, add shims or extra screws as needed to make it level. Once your frame is assembled and level, you can begin attaching it to your wall or floor. Use appropriate anchors for your wall or floor type and drill pilot holes for each anchor before screwing them into place.
Once your frame is securely mounted, attach any additional supports needed for stability and then you are ready to begin attaching your shelves. Be sure to follow all safety instructions when working with tools, power tools, ladders or other materials used in this project. With careful attention to detail and patience, you will have a sturdy frame that will provide years of use!
Attach Panels onto the Frame of Your Shelves
Attaching panels to the frame of your shelves is an essential part of the assembly process. It ensures that your finished product is sturdy and secure, while adding a decorative touch to your space. To begin, you’ll need to measure and cut the panels to size. Depending on the type of panel you’re using, you may need to use a saw or a router for this step. Once you have the panels cut, use wood screws or nails to attach them to the frame. Make sure that each panel is securely fastened so that it won’t pull away from the frame over time. If necessary, use a level to make sure that each panel is even before attaching it fully. Once all of your panels are in place, you can move on to adding any decorative accents that you’d like for your shelves.
Adding panels to your shelf’s frame is an important step in creating a functional and stylish storage solution for your home or office. Be sure to take accurate measurements and use appropriate tools when cutting and attaching your panels so that they are securely fastened in place. With careful attention paid throughout this process, you can be confident that your shelves will look great and last for years!
Mount Your DIY Hanging Garage Storage Shelves on the Wall
Having a garage with plenty of storage space is a dream come true for many homeowners. But creating that much-needed storage space can be a challenge. That’s where DIY hanging garage storage shelves come in. With some basic materials and tools, you can create hanging shelves that will store everything from garden tools to paint cans. Here’s how to get started:
Gather the necessary supplies: You’ll need some basic materials like wood, screws, and paint or stain, as well as power tools like a drill and saw. Make sure you have enough supplies to create the size and number of shelves you need.
Plan your shelf layout: Decide where you want your shelves to go and how big they should be. Measure the area and make sure you have enough space for your shelves before you begin cutting.
Cut the wood pieces: Once you have your measurements, use the saw to cut the pieces of wood to size. Make sure each piece is level and straight so it will fit together properly.
Assemble the frame: Use screws or nails to attach the pieces of wood together securely to form a frame for each shelf. If necessary, use clamps or other tools to hold them in place while assembling.
Attach mounting brackets: Once your frames are assembled, attach mounting brackets according to their instructions. These will hold each shelf securely against the wall.
Paint or stain: Use paint or stain on each shelf frame before attaching it to the wall for added protection from moisture and wear-and-tear.
Hang your shelves: Securely attach each shelf frame to its mounting bracket using screws or bolts. Make sure they are level before tightening them completely.
And there you have it! With these simple steps, you can easily create DIY hanging garage storage shelves that will provide plenty of extra storage space for all your belongings.
Choose an Appropriate Level to Hang Your Garage Storage Shelves
Hanging storage shelves in your garage can be a great way to maximize storage space and keep your garage organized. But it is important to choose the right level for your shelves. Too high and you won’t be able to reach them, too low and they will be an obstacle. Before installing the shelves, measure the height of the tallest items that you plan to store and use that as a starting point. Add a few inches so you can easily reach the top shelf without having to stretch or use a step ladder. If you are storing large items such as power tools, add even more space so they can easily fit on the shelves.
When hanging shelves, consider any garage door tracks that may interfere with the placement of your shelving. You may need to raise or lower your shelf heights to accommodate any tracks that may already be present in your garage. Keep in mind that if you plan on installing a large number of shelves, you will need more wall space than if you were simply installing one or two shelves. Measure out how much wall space you have available before deciding on how many shelves to install.
Finally, consider how much weight each shelf will need to hold and make sure that it is properly secured into place for safety reasons. Make sure all screws are tight and secure before stacking any items onto the shelves. Moreover, consider using shelf brackets or other support braces for extra reinforcement if needed. With these tips in mind, you should have no trouble choosing an appropriate level for your garage storage shelves!
Secure Your DIY Hanging Garage Storage Shelves to a Wall Stud
Creating your own hanging garage storage shelves can be a great way to store your items and save money. But in order for them to be secure and safe, you’ll need to make sure they’re properly attached to the wall studs. There are a few easy steps you can take to ensure that your shelves are securely mounted and won’t come loose over time.
First, make sure you have the right materials for the job. You’ll need lag screws, washers, and wall anchors appropriate for the size of your shelves. You may also want to pick up some wood glue or construction adhesive to make sure the shelves stay firmly attached to the wall studs.
The next step is finding and marking the wall studs. Use a stud finder if you have one, or carefully tap along the wall until you find a solid area behind the drywall. Mark where each stud is located with a pencil so you know where it is when it’s time to attach your shelves.
Once you’ve marked all of your studs, use a level to make sure they are all aligned properly before attaching any screws or hardware. This will help ensure that your shelves hang straight and look even when they’re finished.
Now it’s time to start attaching your shelves! Start by drilling pilot holes into each of your marked studs using an electric drill with an appropriate bit size for your lag screws. Then insert each lag screw through one of the holes in your shelf into the pilot hole in the wall stud until it’s secure. Finally, add washers and wall anchors around each screw head as necessary for additional support.
Follow these simple steps and you’ll be able to securely mount any hanging garage storage shelves quickly and easily!

Conclusion
Do it yourself hanging garage storage is a great way to maximize the storage space in your garage. It frees up floor space, allowing you to store items off the ground and out of the way. The beauty of DIY hanging garage storage is that it can be tailored to your specific needs, allowing you to customize the design, size, and materials. You can build shelves or drawers that fit the exact items you need to store or have adjustable shelves so they can be adapted as needed.
DIY hanging garage storage is also relatively easy to install; all you need are basic tools and supplies, such as screws and brackets. Plus, building your own hanging storage system can save you money compared to buying one from a retail store.
Overall, DIY hanging garage storage is an excellent way to make use of your available space and keep your items organized and easily accessible. With some planning and effort, you can customize it to fit whatever items you need to store in your garage.