Do-it-yourself gun cabinet kits are an excellent option for those who want to keep their firearms safe and secure in a customized storage solution. These kits provide all of the components needed to build a sturdy, reliable gun cabinet with minimal effort. They come with detailed instructions so that even novice DIYers can easily construct a secure gun cabinet. With a wide variety of sizes, styles, and colors to choose from, these kits offer a perfect way to store your guns without breaking the bank.DIY gun cabinet kits are an excellent way to organize, secure, and display your firearms. Before you purchase one, however, it’s important to know what you need to get the most out of your kit. First and foremost, make sure the kit is designed for the type of firearm you plan on storing. Different kits are made for different sizes and types of firearms. Additionally, you’ll want to consider the size of the cabinet and number of shelves that come with it. If you plan on storing multiple firearms in your cabinet, make sure the kit includes enough space for all of them and any accessories or ammunition that need to be stored as well. Lastly, make sure the gun cabinet is made from a durable material such as metal or solid wood. With these tips in mind, you can be sure you purchase the perfect DIY gun cabinet kit for all your storage needs!
The Benefits of Building a DIY Gun Cabinet
Building a DIY gun cabinet is a great way to store and protect your firearms. Not only does it provide an added layer of security, but it also makes sure that your guns are stored safely. There are many benefits to building your own gun cabinet, such as: cost savings, customization, and protection from potential thieves.
The first benefit of building a DIY gun cabinet is the cost savings involved. By building the cabinet yourself, you can save hundreds of dollars compared to buying one pre-made. This is especially beneficial for those who are just starting out and don’t have the budget to buy an expensive gun safe.
Another benefit of building a DIY gun cabinet is the customization options it offers. When you build your own cabinet, you can choose exactly what materials you want to use and how it’s constructed. This allows you to create a unique piece that meets all your storage needs while still being aesthetically pleasing.
Finally, building a DIY gun cabinet provides extra protection against potential thieves. With a regular cabinet or safe, there are certain vulnerabilities that could be exploited by someone with malicious intent. By constructing your own cabinetry yourself, you can be sure that it’s built with the utmost security in mind.
In conclusion, there are many benefits to building your own DIY gun cabinet rather than purchasing one pre-made or hiring someone else to do it for you. Not only does it save money but it also allows for more customization options and additional security measures against potential thieves.
Essential Tools for Building a DIY Gun Cabinet
Building your own gun cabinet is an excellent way to keep your firearms securely stored while also adding a unique touch to your home. While it might seem intimidating at first, the process is relatively easy as long as you have the right tools and materials. Here are some of the essential items you’ll need to build a DIY gun cabinet:
Wood: You’ll need wood to make the frame of your cabinet and shelves. If you don’t have any on hand, you can buy it from a local hardware store or online. Make sure to get enough wood for both the frame and shelves, as well as any additional pieces you want to include in the design.
Power Tools: You’ll need power tools like a drill, saws, and sanders to cut and shape your wood into the desired design. Additionally, you may want to invest in some clamps or other tools that will help hold pieces together while you’re working on them.
Hardware: To assemble everything together, you’ll need various hardware items like screws, nails, hinges, locks, etc. Make sure they are all compatible with the type of wood and design of your cabinet before purchasing them.
Paint/Stain: Once everything is assembled, you can finish off your gun cabinet with paint or stain. Make sure to pick colors that match both your home decor and existing furniture pieces.
Glue/Adhesives: Glue or adhesives are essential for keeping different components together while they dry after being painted or stained. Make sure to use products that are rated for use on wood so they won’t damage it over time.
Different Types of DIY Gun Cabinets Kits
Building a gun cabinet can be an incredibly rewarding experience. Not only will you have a secure place to store your firearms, but you’ll also have the satisfaction of knowing that you made it yourself. DIY gun cabinets come in all shapes and sizes, so it’s important to consider the features that are important to you. Here are some of the different types of DIY gun cabinets kits available.
The most basic type of DIY gun cabinet is a simple wood box with doors. This is the most economical option and is great for those who don’t need a lot of bells and whistles. These kits come with all the necessary hardware, such as hinges and locks, and usually include instructions on how to assemble them.
If you’re looking for something more secure, there are also steel gun cabinets available in kit form. These cabinets are extremely heavy duty, so they offer superior protection against theft or tampering. Steel cabinets typically come with thicker steel doors and reinforced locks for added security. They also come with mounting hardware so they can be securely bolted down to the floor or wall.
Another popular option is glass door gun cabinets. These cabinets feature transparent glass panels so you can easily see inside without having to open the doors every time. They usually come with locks as well so they can still be secured when not in use. Glass door gun cabinets are perfect for displaying your firearms while still keeping them secure from unauthorized access or theft.
Finally, there are rotating gun cabinets that allow easy access to your firearms without having to open any doors or drawers. Rotating gun cabinets feature a revolving center section that rotates out of the way when not in use, allowing easy access to your firearms from either side of the cabinet without having to open any doors or drawers. This makes rotating gun cabinets an ideal choice for those who need quick access to their firearms but don’t want their collection on display all the time.
No matter what type of DIY gun cabinet kit you choose, make sure it meets your needs and fits into your budget before making a purchase. With a wide variety of options available, there’s sure to be one that suits your needs perfectly!
DIY Gun Cabinet Kit
When choosing a DIY gun cabinet kit, there are several factors to consider. First, it is important to consider the size of the cabinet you need. If you have a large collection of guns, you will want to make sure the cabinet is big enough to house them all securely. Additionally, you should consider the materials used in constructing the cabinet. High-grade materials such as steel or aluminum will ensure that your guns are well protected from theft or damage.
Another factor to consider when selecting a DIY gun cabinet kit is the level of security it offers. Look for cabinets with multiple locks and reinforced doors and walls. This will add an extra layer of protection for your guns and other valuables stored inside. Additionally, you should select a cabinet with adjustable shelves so you can easily customize the interior layout to suit your needs.
Finally, it is important to consider your budget when selecting a DIY gun cabinet kit. While there are many different models available on the market today, they vary widely in terms of price and features offered. Do some research online to find out which models best meet your needs while staying within your budget. With careful consideration and research, you can find a high-quality gun cabinet that meets all of your needs at an affordable price.

How to Assemble Your DIY Gun Cabinet Kit
Assembling your own gun cabinet kit is a rewarding yet challenging task. It requires precision, patience, and attention to detail. With the right tools and knowledge, you can easily construct a sturdy, secure gun cabinet that will last for years. Here are some tips and tricks to help you assemble your DIY gun cabinet kit:
Gather the Right Tools
Before you start assembling your gun cabinet kit, it’s important to make sure you have all the necessary tools on hand. You’ll need basic tools such as a hammer, screwdriver, drill and drill bits, as well as more specialized items like clamps and saws. It’s also helpful to have a level or measuring tape handy to ensure that everything is properly aligned.
Read the Instructions Carefully
Your gun cabinet kit should come with detailed instructions on how to assemble it. Take some time to read through the instructions carefully before starting so that you don’t miss any important steps. If there are any diagrams included in the instructions, take a few moments to study them so that you understand how each component should fit together.
Lay Out All of Your Pieces
Once you’ve read through the instructions and gathered all of your tools, it’s time to lay out all of your pieces on a flat surface. This will give you an overall picture of what needs to be done in order for everything to fit together properly. It’s also helpful for keeping track of small pieces that can easily get misplaced during assembly.
Start with the Base Frame
When assembling your gun cabinet kit, it’s best to start with the base frame first. This is typically made up of four pieces that need to be connected using screws or bolts. Make sure each corner is securely fastened before moving onto the next step.
Add Additional Elements as Needed
Once you’ve completed the basic frame of your gun cabinet kit, it’s time to add additional elements such as shelves and drawers as needed. Depending on what type of gun cabinet kit you purchased, there may be pre-made parts available or you may need to build them yourself from scratch using raw materials. Refer back to your instructions from time-to-time if needed.
Attach Doors and Final Touches Once all of your pieces are in place , it ‘s time for attaching doors . Make sure they are aligned properly before securing them with screws or bolts . Finally , add any additional touches like handles , locks , hinges , or other embellishments . Doing this will give your finished product its own unique look . < br >< br >
Enjoy Your New Gun Cabinet ! After spending some time assembling your DIY gun cabinet kit , take a moment to admire your hard work . You should now have a safe , secure place for storing firearms while still having easy access when needed . With proper maintenance , this gun cabinet should last for many years !
Materials Needed
When building a DIY gun cabinet, it is important to have all the necessary materials. The basic materials needed are wood, screws, hinges, locks, and any additional hardware that will be used in the construction. It is also useful to have a saw, drill, and other tools to facilitate the construction process. Additionally, depending on the size of the cabinet and other factors, heavier items such as a steel frame may be needed for strength and stability.
Design
Once all of the necessary materials and tools are gathered, it is time to begin designing the gun cabinet. This includes deciding on a size and shape that would best fit with the intended use. Additionally, it is important to consider where ventilation and lighting should be placed in order to keep firearms secure and safe when stored. Finally, decide on any additional features such as shelves or drawers that could be included in the design for added convenience.
Construction
Once a design has been settled upon, it is time to begin constructing the gun cabinet. This starts with cutting out all of the pieces needed for assembly using a saw or other cutting tool. Then each piece needs to be secured together using screws or other hardware as necessary. Once all of pieces have been assembled together into one unit, any additional features such as shelves or drawers can then be added if desired.
Finishing Touches
Once construction is complete there are several finishing touches that can be added in order to make sure your gun cabinet looks its best when finished. This includes sanding down any rough edges or surfaces with sandpaper or a sander before staining or painting if desired. Additionally, adding locks and hinges can add an extra level of security while also providing easy access when needed.
Conclusion
Building your own DIY gun cabinet can seem like an intimidating task at first but with some patience and know-how it can easily become a reality. By taking time to gather all materials needed beforehand as well as planning out how you want your final product to look like can make constructing your own gun cabinet much easier than expected!
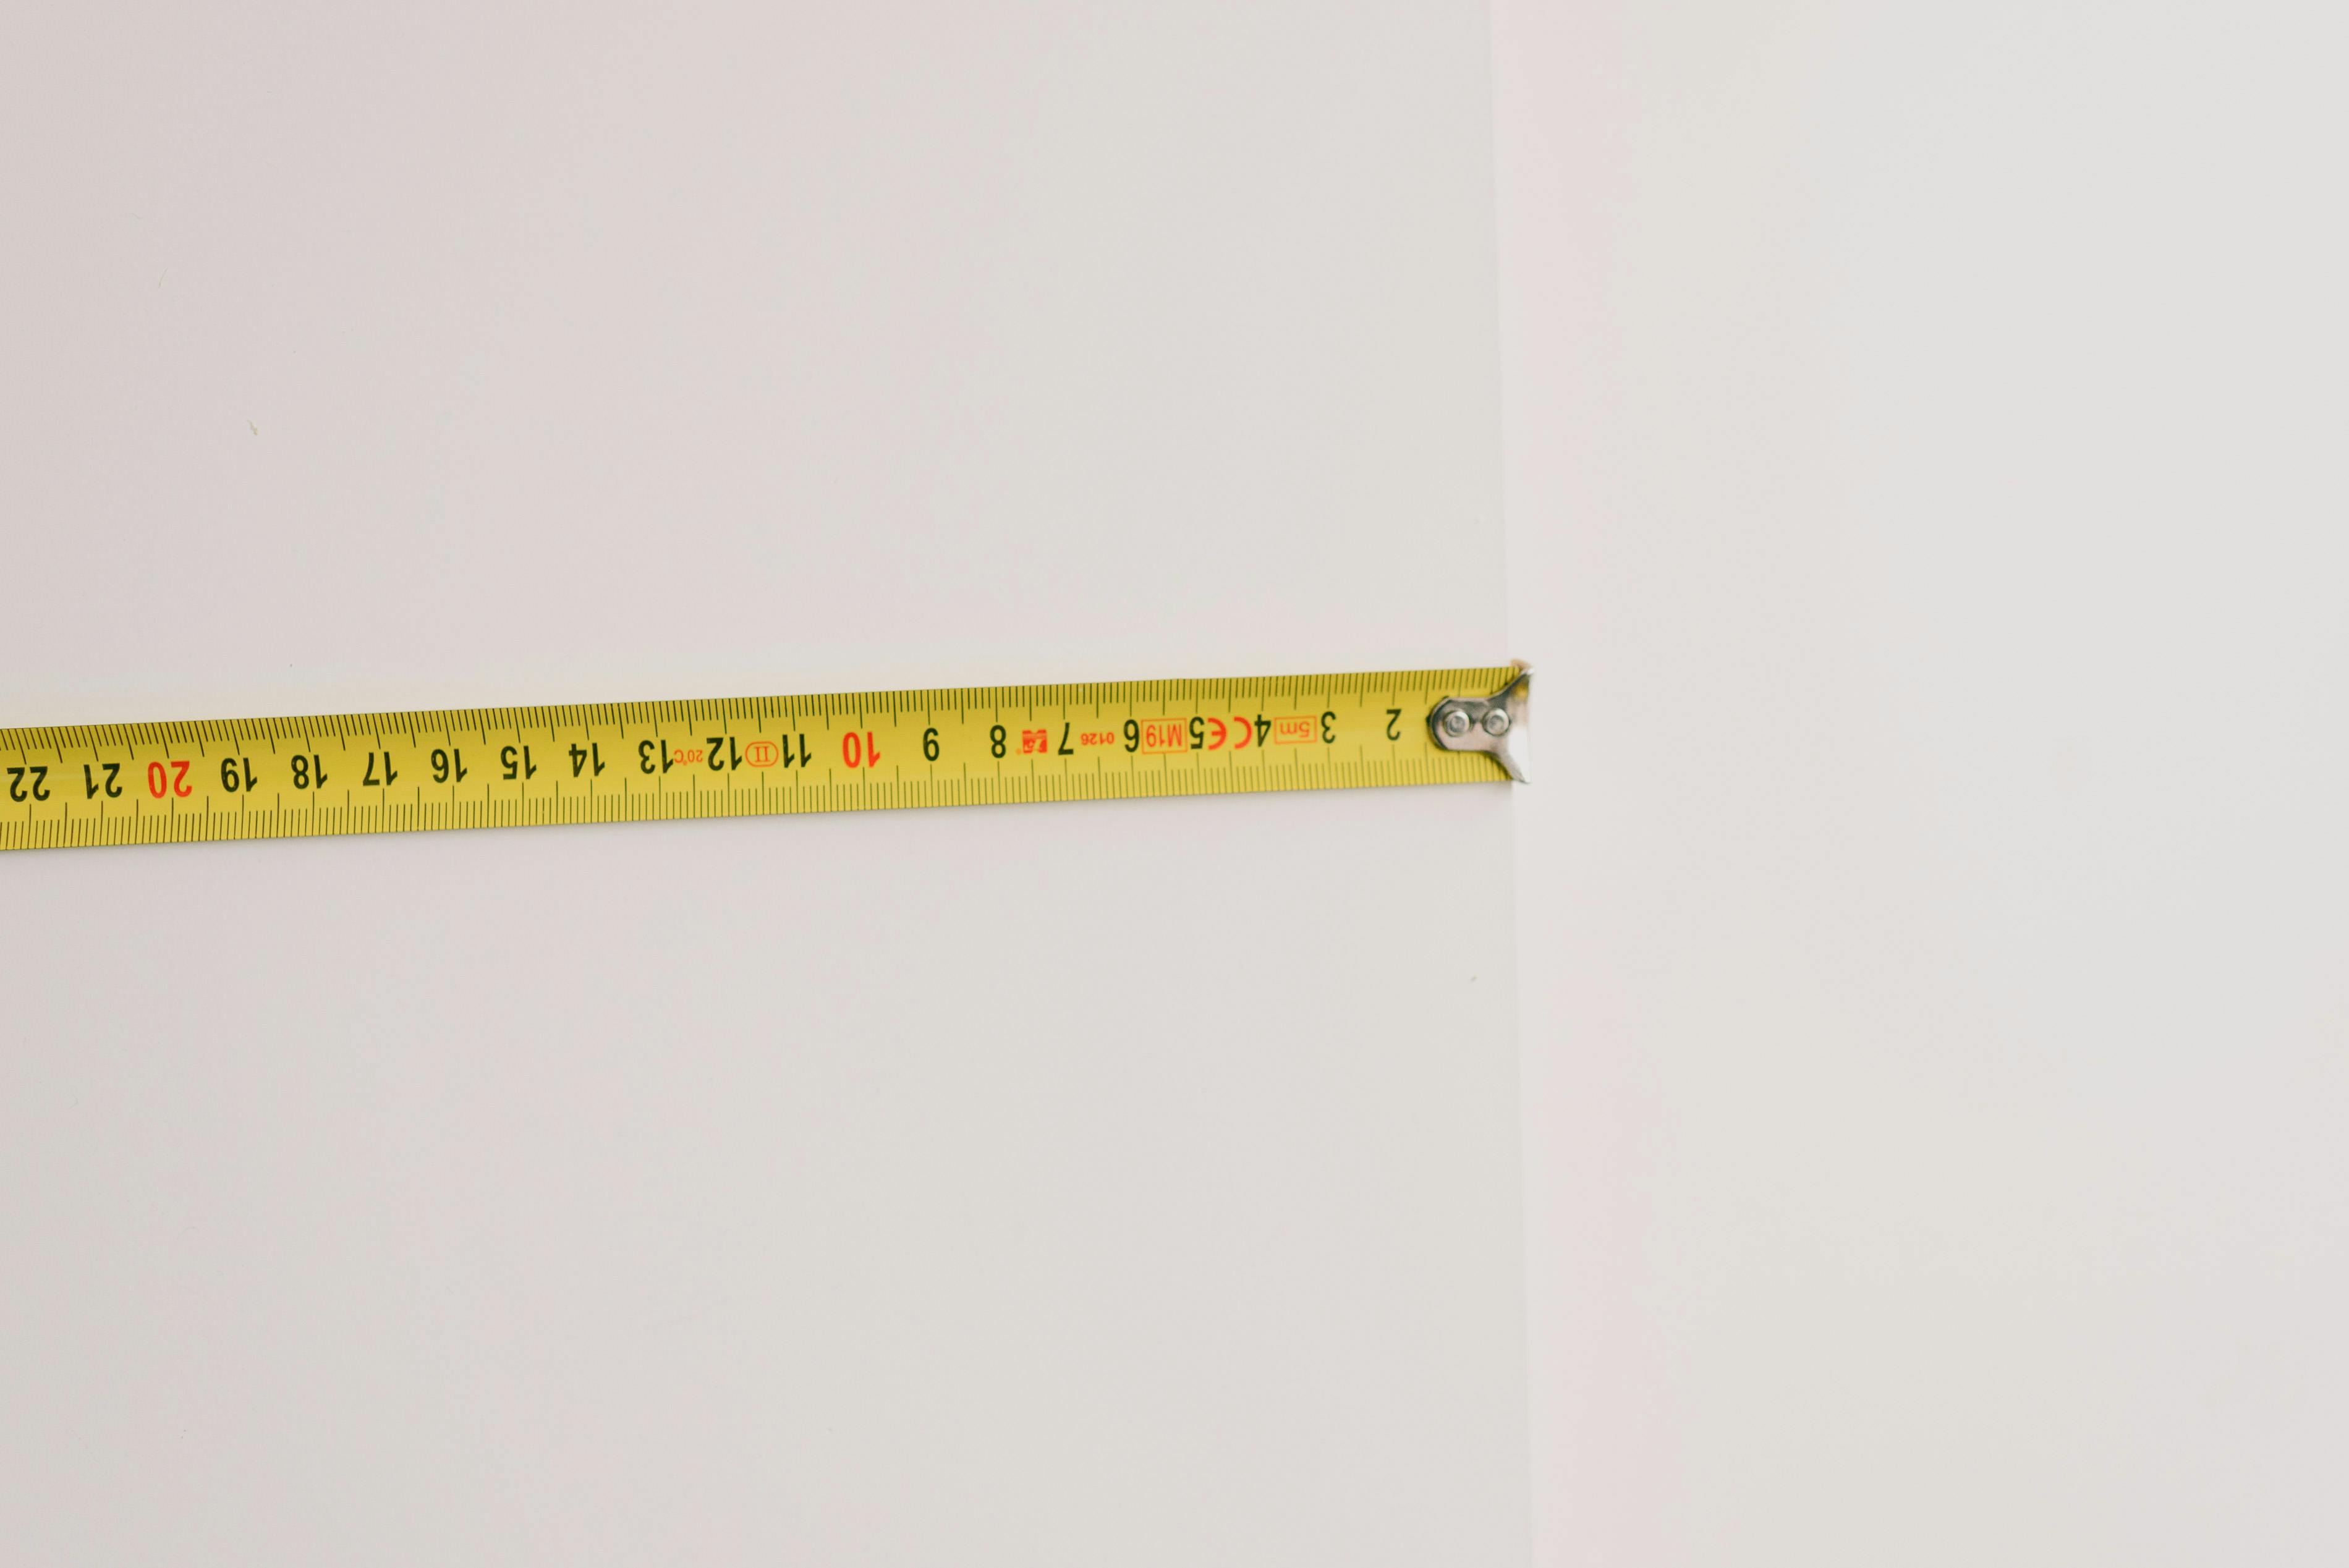
Planning and Prepping
When planning a DIY gun cabinet project, it is important to take the time to properly plan and prepare. Measure the space where the cabinet will be placed and make sure there is adequate room for the size of cabinet you plan to build. To ensure that the cabinet fits in your desired location, use a scale ruler or tape measure to get an accurate measurement. Determine which materials you will need for the project and make sure you have all the necessary tools on hand. Do some research on what type of wood would be best for the project, as well as any hardware needed for assembly. Additionally, create a plan of action outlining each step of building the cabinet so that you can stay organized throughout the process.
Cutting and Joining
When cutting and joining pieces of wood for your gun cabinet, it is important to take your time and use caution. Use a saw with a fine-toothed blade to get clean cuts that fit together nicely. Measure twice before making any cuts, as errors here can be costly when it comes time to assemble your gun cabinet. When joining pieces together, use wood glue or carpenter’s glue to ensure that they are well secured together before moving on to the next step.
Finishing Touches
Once all pieces of your gun cabinet have been cut and joined together, it’s time for finishing touches. Sand all surfaces with sandpaper until they are smooth and free from splinters and rough edges. Apply stain or paint if desired, then use varnish or polyurethane to protect your gun cabinet from wear and tear over time. When applying these finishes, be sure to follow all instructions carefully in order to achieve optimal results.
Additional Tips
It is also helpful to pre-drill holes into any pieces that need screws or nails for assembly before actually putting them together. This will help eliminate any potential splitting of wood due to incorrect placement of screws or nails after assembly has begun. Additionally, make sure all hardware used in assembly is securely fastened so as not to come loose over time due to wear and tear from opening and closing doors or drawers.
Following these tips and tricks can help ensure that you get maximum enjoyment out of building your own DIY gun cabinet kit!
Conclusion
Do it yourself gun cabinet kits are an excellent way to customize your gun storage. They offer a variety of sizes and styles to suit your needs. They are easy to assemble, and you can choose from an array of materials that will best protect your guns and ammunition. With these kits, you can be sure that your firearms are safe and secure. The instructions provided in the kit make the process even simpler and will help you construct a gun cabinet that will last for years.
Whether you are a novice or a professional, these kits are an excellent choice for customizing your gun storage needs. You can choose from various sizes and styles of cabinets to fit any space. The construction materials provide maximum protection for your firearms, making them secure against theft and other potential dangers. With do it yourself gun cabinet kits, you can be sure that your guns and ammunition are stored safely so that they may be used safely and responsibly.