Do it yourself garage storage lifts are a great way to maximize space and organization in your garage. With just a few simple tools and some handy work, you can easily install a storage lift system that can keep all of your heavy items safely off the floor. Not only will this save you time and energy when trying to locate items, but it can also help protect your items from damage due to water and other environmental elements. With the right supplies, you’ll be able to store almost any item – bikes, kayaks, tools, power equipment – in an efficient and organized manner.If you’re looking for a way to maximize the storage space in your garage, a DIY garage storage lift could be the perfect solution. This type of lift is designed to raise and lower items up and down from the ceiling of your garage, giving you access to stored items without having to get down on your hands and knees. Here’s what you need to know about DIY garage storage lifts:
First, it’s important to make sure that the ceiling of your garage is strong enough to support the weight of items that will be stored on the lift. If not, you may need additional framing or reinforcement in order to safely install a storage lift. Next, you’ll want to determine what type of lift is best for your needs. There are manual lifts that require manual cranking or motorized lifts that can be operated with a remote control. The type of lift you choose will depend on how much weight it needs to hold and how often it will be used.
Once you’ve chosen the right type of lift, it’s time to select the components needed for installation. Depending on the model chosen, this may include steel cables, pulleys, mounting hardware and brackets. Many DIY kits come with all necessary components included, but check with the manufacturer before purchasing anything just in case something needs to be purchased separately.
Finally, when installing a DIY garage storage lift ensure that all parts are properly secured and attached according to manufacturer instructions so they can properly support any weight being stored on them. Additionally, take necessary safety precautions such as wearing eye protection and using a sturdy ladder when reaching overhead heights when installing or using your storage lift system.
Advantages of DIY Garage Storage Lift
If you’re looking for an effective way to organize your garage and make the most of your available storage space, a DIY garage storage lift may be the perfect solution. With a DIY garage storage lift, you can easily store items such as bicycles, tools and gardening supplies out of sight while freeing up valuable floor space. This type of system is ideal for those who have limited budget or don’t have enough experience to install a professionally installed system. Here are some advantages of DIY garage storage lift:
The first advantage is that it is an incredibly cost-effective way to organize your garage. With a DIY system, you won’t need to hire professionals or purchase expensive materials for installation. You can find all the necessary components at your local hardware store or online for an affordable price.
Another great advantage of a DIY system is that it is relatively easy to install and use. Most systems come with detailed instructions and can be assembled in just a few hours with basic tools. And once installed, they are easy to use and maintain, ensuring that your items stay organized and secure.
Finally, a DIY storage lift is also incredibly safe and secure. Most systems feature multiple locking mechanisms so that items remain secure when stored in the lift. Plus, since these systems are designed to keep items off the ground, you don’t have to worry about them being damaged due to water or other environmental elements.
Overall, DIY garage storage lifts are an excellent option for those looking for an economical way to organize their garages. With easy installation and maintenance procedures, these lifts provide an effective solution for homeowners who need extra storage space without breaking the bank.
Step 1: Preparing the Space
Before you begin installing your DIY garage storage lift, it’s important to take a moment to assess the space in which you’ll be working. Measure the dimensions of your garage and make sure that the model you purchased will fit within its boundaries. Additionally, if there are any obstacles in the way such as furniture, shelving, or other items, it’s best to move them out of the way before you begin. Once you’ve done that, ensure that there is enough clearance for your lift to fully extend without any interference. Finally, make sure that your floor is level and free of debris before continuing with installation.
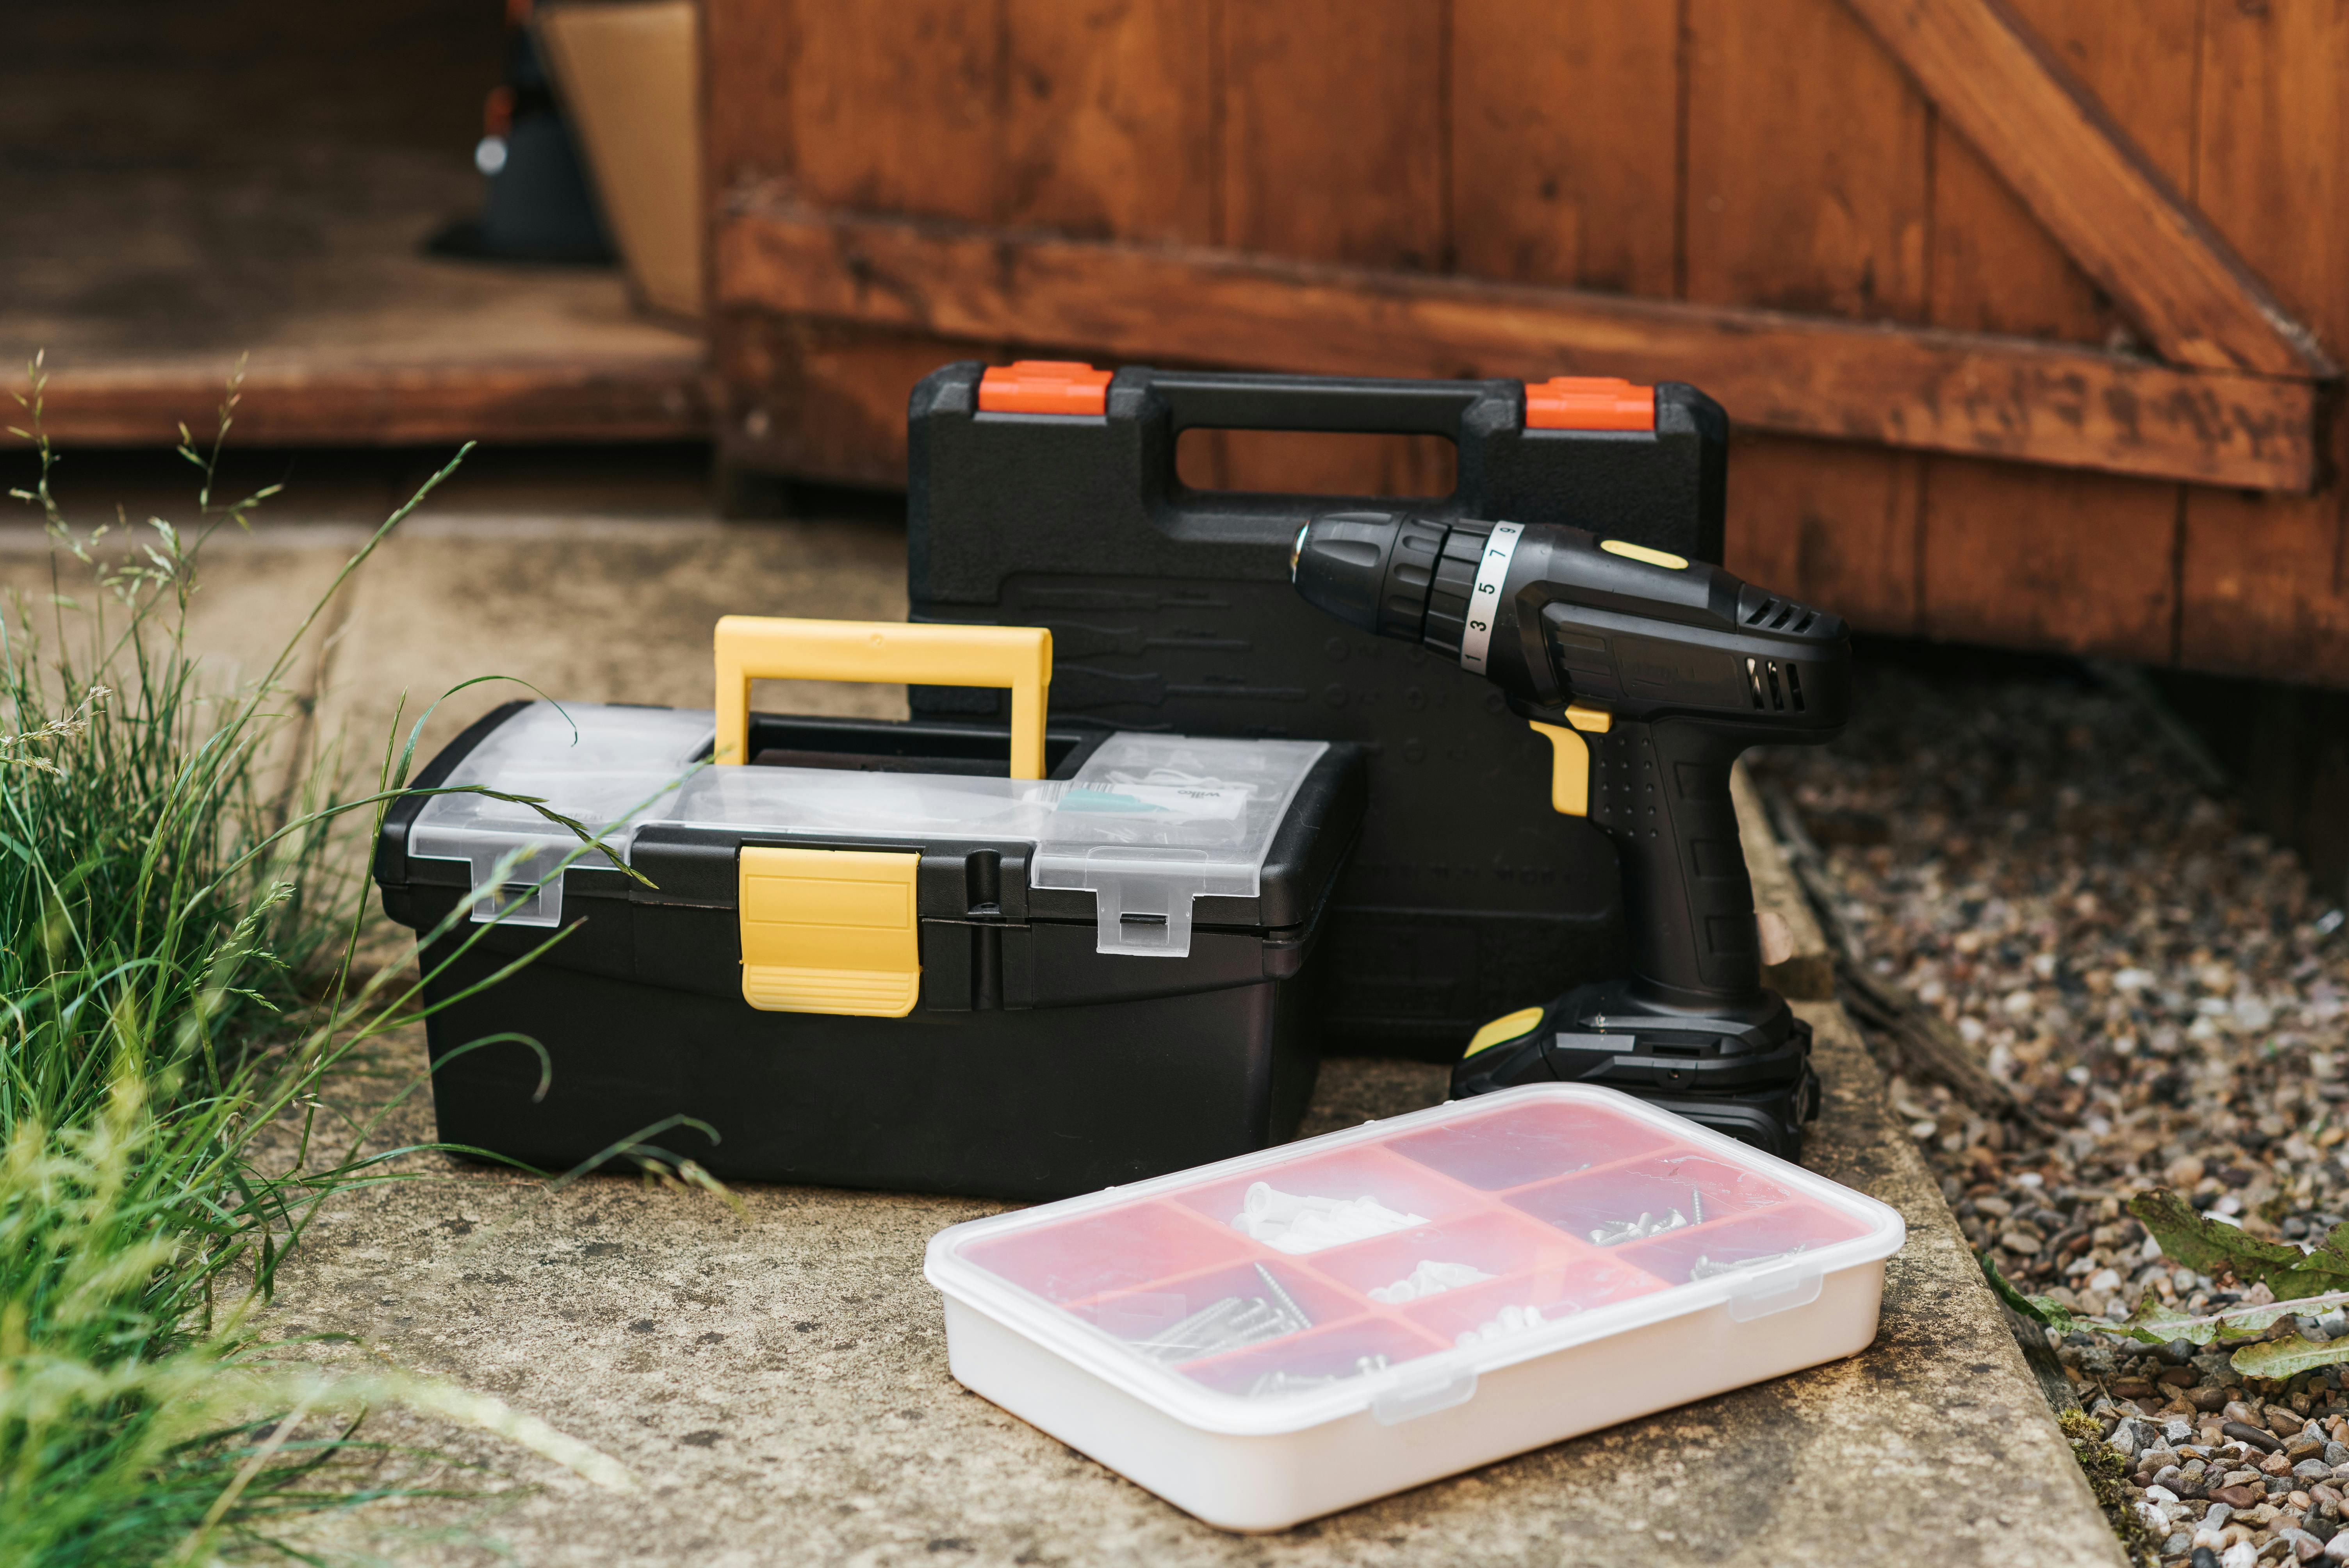
Step 2: Gather Materials
Before you begin installing your garage storage lift, gather up all of the necessary materials and tools that are required for installation. You’ll need a power drill and various drill bits as well as a wrench set and a level. Additionally, you’ll want to make sure that you have all of the necessary hardware for mounting your lift onto the ceiling or wall of your garage. The specific materials needed will vary depending on what type of lift and mounting hardware you purchased.
Step 3: Attaching Mounting Brackets
The next step is to attach mounting brackets to either the ceiling or wall of your garage. This will secure your lift in place once it is installed and ensure its stability during operation. If possible, try to secure them into studs in order to provide additional support. Use a level while doing this step in order to keep everything aligned properly.
Step 4: Installing Lift Rails
Once both mounting brackets have been securely attached, it’s time to install the lift rails onto them. This can be done by positioning one end into each bracket while making sure they are aligned properly before tightening down any screws or bolts with a power drill or wrench set. It’s important not to overtighten these screws because this can cause damage or misalignment.
Step 5: Connecting Cables
Your DIY storage lift should come with cables that will need to be connected from one end of the rail system to another in order for your lift to function properly during operation. You’ll want to connect these cables securely on either end before testing out its functionality.
Step 6: Testing Your Lift
Once all steps have been completed properly and all components are securely fastened in place, it’s finally time for testing! Operate your new DIY garage storage lift by pressing buttons on its remote control device (if applicable) and making sure it functions properly without any issues before fully relying on its use.
Safety Tips for Installing a DIY Garage Storage Lift
Installing a DIY garage storage lift is a great way to get more organized and keep your items off the floor. However, it is important to take into consideration the safety of those involved in the installation process. Here are some safety tips that should be followed when installing a DIY garage storage lift:
First, always wear protective clothing and safety gear when installing the lift. This includes long pants, long sleeves, work gloves, and safety glasses. This will help protect you from any potential injuries caused by sharp edges or debris.
Second, be sure to read all instructions carefully before beginning the installation process. Pay close attention to any warnings or cautions included in the instructions as these may indicate potential hazards that need to be taken into account before continuing with the job.
Third, use only appropriate tools for each step of the installation process. Using tools that are not designed for certain tasks can result in injury or damage to your property. Additionally, make sure all tools are in good working condition and free from defects before using them on the project.
Fourth, secure all components firmly to prevent them from becoming loose during use. Loose components can pose a serious risk of injury and should not be used if they cannot be secured properly.
Finally, inspect your lift regularly after it has been installed to ensure that everything is in proper working order. If any problems are detected, repair them immediately or contact an experienced technician who can help you fix any issues that may arise during operation of the lift. Following these safety tips will ensure that your DIY garage storage lift is installed safely and securely for years of use.
Not Having a Clear Plan
When it comes to installing a DIY garage storage lift, it is essential to have a clear plan before you start. Without a plan, you may end up making costly mistakes and wasting time and money. Make sure to take the time to plot out a detailed plan for your project, including what materials you will need, where the lift will be installed, and how long the project should take.
Not Measuring Properly
One of the most common mistakes when installing a garage storage lift is not measuring properly. Make sure to measure the area where you are planning to install the lift multiple times before starting the project. Taking careful measurements will help ensure that your lift fits properly and won’t require extra adjustments or modifications once installed.
Choosing Poor Quality Materials
When it comes to DIY projects, it is important to use quality materials so that your project will last for years to come. Choosing poor quality materials can lead to costly repairs or replacements down the line, so make sure you invest in quality materials whenever possible. This includes not only the parts of your garage storage lift but also any tools or other supplies you may need during installation.
Forgetting Safety Precautions
It is important to always keep safety in mind when working on any DIY project, especially when it comes to installing a garage storage lift. Before beginning any installation process make sure that all safety precautions are taken and that all necessary safety equipment is in place. This includes wearing protective gear such as goggles or gloves as well as taking steps such as checking for loose wires or other potential hazards prior to beginning work.
Not Getting Professional Help When Needed
Finally, don’t forget that sometimes it is important to get professional help when needed. If you find yourself stuck or unsure about how something should be done during installation of your garage storage lift, don’t hesitate to contact a professional for help rather than trying to do it yourself and risking further damage or injury.

Choosing the Perfect Spot for Your DIY Garage Storage Lift
Finding the perfect spot for your DIY garage storage lift can be a daunting task. Fortunately, there are several factors to consider when deciding where to install it. First and foremost, you should measure the area in which you plan to install it. This will help you determine the size of the lift and the amount of clearance that you need. Additionally, it’s important to consider whether or not your lift will be used for extra storage or as a workbench. If you’re going to use it as a workbench, then you’ll want to ensure that there is adequate space around it so that you can comfortably move around while working.
Next, consider the type of lift that best suits your needs. Many DIY storage lifts come with adjustable heights and different weight capacities, so make sure to choose one that meets your specific requirements. You’ll also want to make sure that your garage door opener is compatible with your lift before purchasing one. Additionally, take into consideration how much weight your ceiling can support before installing an overhead storage lift.
When everything is in place and ready for installation, always remember safety first! Make sure that all of your tools are properly secured and take extra care when using power tools. Also, always wear safety glasses when handling heavy items or working with power tools. Finally, keep children away from any area where power tools are being used.
Choosing the perfect spot for your DIY garage storage lift doesn’t have to be difficult if you take the time to properly measure and consider all of the factors involved. With a little bit of preparation and planning, you’ll be able to find a location in which your lift will function optimally while keeping everyone safe!
How to Maximize Your Space with a DIY Garage Storage Lift
Garages can quickly become cluttered, making it difficult to keep the space organized and functional. A garage storage lift is a great way to maximize your available storage space without having to invest in additional cabinets or shelves. With a DIY garage storage lift, you can easily create an overhead storage platform that allows you to store items up and out of the way. Here are some tips on how to maximize your space with a DIY garage storage lift.
Measure Your Space
Before you begin building your DIY garage storage lift, it’s important to measure the area of your garage where you plan on installing it. This will help you determine what size platform and hardware you need for your project. You should also measure any items that will be stored on the platform so that you can better plan for the height and weight capacity of the lift system.
Choose the Right Hardware
Once you have determined the size of your platform, you will need to select appropriate hardware for your DIY garage storage lift project. Make sure that the hardware is rated to hold at least twice as much weight as what will be stored on the platform. Also, consider selecting hardware with adjustable tension settings so that you can adjust the tension as needed over time.
Install Support Beams
Before installing your platform on top of the support beams, make sure that they are properly secured in place. This includes making sure that all bolts are tightened securely and that each beam is level before proceeding with installation. Once everything is in place, attach the platform onto each beam using appropriate hardware such as lag screws or eye hooks.
Attach Rope or Cable
When installing a DIY garage storage lift, it’s important to attach rope or cable securely in order for it to work properly. Secure one end of either rope or cable onto each side of the support beams and then run them through pulleys at both ends of the platform before tying off at each end of the support beams once again. Make sure that everything is secure before testing out your new system!
Test Out Your System
Once everything is installed correctly and securely, it’s time for a test run! Slowly pull on one side of rope or cable until the platform reaches its highest point and then slowly lower it back down until it reaches its lowest point again. If everything works smoothly then congratulations – you have successfully installed a DIY garage storage lift!
Types of Materials Used for Making a DIY Garage Storage Lift
Creating your own DIY garage storage lift can be an exciting and rewarding project. With the right materials and tools, you can easily build a custom garage storage lift to suit your individual needs. The most important part of the process is selecting the right materials for the job. Depending on your specific needs, certain materials may work better than others. Here are some of the most common types of materials used for making a DIY garage storage lift:
Wood: Wood is an incredibly versatile material that can be used to create a wide range of designs and finishes. Whether you’re looking for something rustic or modern, wood is often a great choice for DIY projects. Plywood and planed lumber are two of the most commonly used types of wood in DIY garage storage lifts.
Steel: Steel is one of the strongest and most durable materials available, making it an ideal choice for building a heavy-duty garage storage lift. Steel is also relatively easy to work with and can be shaped into whatever design you need. It’s important to note, however, that steel has a tendency to corrode over time if not properly treated.
Aluminum: Aluminum is another popular material for DIY projects due to its lightweight yet strong nature. It’s easy to work with and resistant to rust, but it does require more maintenance than other materials. Additionally, aluminum tends to be more expensive than steel or wood.
Plastic: Plastic is an excellent material for creating lightweight yet durable structures like garage storage lifts. It’s also relatively inexpensive and easy to work with, though it may not be as strong as some other materials such as steel or aluminum.
These are just some of the most common types of materials used in creating DIY garage storage lifts. Depending on your individual needs and budget, there are plenty of options available when it comes to selecting the right materials for your project.
Conclusion
Installing a garage storage lift is an excellent way to maximize the available space in your garage. It’s a one-time investment that will pay off for years to come. It’s also easy to install, requires minimal maintenance, and offers plenty of additional storage space. With so many benefits, it’s no wonder why installing a garage storage lift is such a popular choice for homeowners who want to utilize their available garage space.
In addition to providing additional storage space, installing a garage storage lift also adds value to your home and makes it look more appealing. It can even help you save money on energy costs by allowing you to store items more efficiently.
Overall, installing a do-it-yourself garage storage lift is an easy and cost-effective way to transform your unused garage space into useful and efficient storage space. Not only does it provide extra room for storing items, but it also adds value and appeal to your home.
Therefore, if you’re looking for an easy way to increase the amount of usable space in your garage, then installing a do-it-yourself garage storage lift is definitely worth considering. With its ease of installation, low maintenance requirements, and numerous benefits, it’s no wonder why this solution has become so popular among homeowners seeking extra storage solutions in their garages.