Do It Yourself (DIY) garage kits made from wood offer a great way to save money and add value to your home. Assembling a DIY garage kit is an achievable project for the average homeowner, and the materials used are usually of high quality, ensuring your structure will last for years to come. Not only do you get a great product at an affordable price, but you also get the satisfaction of knowing that you built it yourself! With the right tools and some basic knowledge, you can easily construct your own wooden DIY garage kit and enjoy the benefits it brings.Getting started with a do-it-yourself garage kit wood project can be an exciting and rewarding experience. First, you’ll need to decide what type of project you want to undertake. Consider the size of the space, what tools you will need, and the type of wood you plan to use. Once you have chosen a project, gather all the materials and tools required for it. Before beginning work on your garage kit wood project, make sure to read and understand all instructions carefully. Be sure to measure twice and cut once when working with wood. Additionally, always wear protective gear such as safety glasses and a dust mask while working. Finally, take your time while constructing your do-it-yourself garage kit wood project; rushing can lead to mistakes or even injury.
Types of Wood Best Suited For DIY Garage Kits
When it comes to building a garage, the type of wood you use is just as important as the design itself. Different types of wood offer varying levels of strength, durability and cost, so selecting the right kind can make a big difference in your overall project. Here are some of the most popular types of wood used for DIY garage kits:
Pressure-Treated Pine: This is one of the most common choices for garage kits because it is relatively inexpensive, easy to work with and provides decent structural strength. Pressure-treated pine is also resistant to rot and insects, making it a good choice for outdoor structures.
Cedar: Cedar is more expensive than pressure-treated pine but offers superior durability and resistance to weathering. It also has a beautiful natural look that can add charm and character to any DIY garage kit.
Redwood: Redwood is another popular choice because it has excellent weather resistance properties and its natural beauty makes it a great choice for any outdoor structure. Redwood can also be stained or painted easily, giving you more flexibility when designing your project.
Fir: Fir is similar to cedar in terms of its strength and durability but it typically costs less than both cedar and redwood. It also has a nice grain pattern that can add visual interest to your finished product.
Oak: Oak is one of the strongest woods available, making it an ideal choice for garages that require additional support or reinforcement. It’s also very attractive, so if you’re looking for a wood with great aesthetics, oak could be the perfect choice for you.
No matter what type of wood you choose for your DIY garage kit, make sure you use quality materials and follow all safety precautions during construction. If done properly, your new structure should last for years to come!
Gather the Necessary Tools for Your DIY Garage Kit Wood Project
If you’re looking to tackle a DIY garage kit wood project, there are certain tools you’ll need to get started. To ensure the best results, it’s important to have the right materials and tools on hand before beginning. From saws and hammers to sandpaper and screws, here is what you’ll need for your DIY woodworking project.
Saws: A saw is an essential tool for any DIY woodworking project. It can be used to make precise cuts in a variety of materials, including wood, metal and plastic. Depending on the size of your project, you may need either a hand saw or an electric saw. If you’re not sure which type of saw is best for your project, consult with a professional or do some research online.
Hammers: A hammer is another must-have tool when it comes to DIY woodworking projects. It can be used to drive nails and other fasteners into place as well as break apart pieces of lumber. Be sure to purchase a high-quality hammer with a comfortable handle that won’t slip in your hand.
Screwdrivers: Screwdrivers are necessary for tightening and loosening screws during construction of wood projects. There are several different types of screwdrivers available on the market, so make sure you choose one that is appropriate for your project’s specific needs.
Sandpaper: Sandpaper is an important part of any woodworking project as it helps smooth out rough edges and create a professional-looking finish on the finished product. Make sure to buy grits that are appropriate for the material you’re working with.
Measuring Tape: Measuring tape will come in handy when measuring materials and building components such as frames or cabinets. Be sure to purchase one that is long enough for any potential projects.
These are just some of the basic tools needed for tackling most DIY garage kit wood projects. With these items in hand, you should be well on your way towards creating beautiful pieces of furniture or decor that will last a lifetime!
Understanding the Different Finishes for DIY Garage Kit Wood
When building a garage from a DIY kit, one of the most important decisions you’ll need to make is what type of finish to apply to the wood. This will affect not only the look of your garage but also its durability and longevity. There are several different finishes available, each with their own advantages and disadvantages. Here we take a look at some of the most popular options so you can make an informed decision about which one is best for your project.
One option is to apply a clear sealer. This will protect the wood from moisture and weathering while also allowing it to retain its natural color and texture. The downside is that it won’t provide any additional protection from UV rays or insects, so you may need to reapply it more often if your garage is exposed to direct sunlight for extended periods of time.
Another popular choice is to use a stain-and-sealer combination product. These products provide both color and protection in one step, so they are a great choice if you want an easy way to add color without having to apply multiple coats of sealer afterwards. Keep in mind that these products typically don’t offer as much protection as a clear sealer, so you may need to reapply them more frequently if your garage is exposed to harsh weather conditions.
Finally, there are oil-based finishes such as tung oil or linseed oil. These are great choices if you want an easy-to-apply finish that provides both protection and color in one step. The downside is that these products tend to darken with age, so they might not be ideal if you want a light colored finish that won’t change over time. Additionally, oil-based finishes can take longer to dry than other types of finishes.
No matter which type of finish you choose for your DIY garage kit wood, make sure you follow the manufacturer’s instructions carefully for best results and maximum durability. If done correctly, the right finish can help your garage look great while also protecting it from damage caused by weathering or insects over time.
Gather the Required Materials
Before beginning your DIY garage kit wood project, you need to make sure that you have all the materials and tools that you will need. You will need wood, screws, nails, a saw, a drill, a hammer, and other tools depending on the design of your project. You should also plan ahead and get any additional materials you may need in advance. Once you have all the materials and tools ready to go, you are ready to start your project.
Measure and Cut Your Wood
Once you have your materials gathered together, it’s time to measure and cut the wood pieces according to the design of your project. It is important to measure accurately as this will ensure that all pieces fit together properly. If necessary, use a jigsaw or other cutting tool to cut the pieces according to your measurements. Make sure that each piece is cut properly before moving on.
Assemble Your Wood Pieces
Now it’s time to assemble your wood pieces into the shape of your desired project. Start by laying out all of the pieces on a flat surface such as a table or floor. Use screws or nails to attach each piece together securely. You may also want to use wood glue or other adhesives for extra strength. Take your time as this step is essential for having a strong finished product.
Sand and Paint Your Project
Once all of your pieces are assembled, it’s time to sand them down and give them a smooth finish. This will help protect them from weathering over time. After sanding is complete, you can then paint or stain them in whatever color or finish that you desire. If painting, make sure that any brush strokes are consistent so that there are no visible lines on the finished product.
Finish Your DIY Garage Kit Wood Project
Finally, once everything is painted or stained and dry it’s time for final assembly and installation into place if needed. Depending on what type of project you made this could be very simple or require more complex steps such as installing hardware for doors/windows etc… Once finished with installation double check everything before calling it done!

Choosing the Right Materials
When it comes to DIY garage kits, there are many different materials to choose from. It is important to choose the right material for your project in order to ensure a professional finish. Plywood, particle board, and MDF are all popular choices for garage kit wood projects. Plywood is the most popular choice because it is strong and durable, but it can be expensive. Particle board is cheaper but not as strong as plywood, while MDF is more affordable but not as durable. When selecting a material for your project, consider the type of finish that you want and the amount of time you have to invest in completing the project.
Preparing Your Materials
Once you have chosen the right material for your project, it’s time to prepare it for construction. Before you begin cutting or assembling any pieces, you will need to sand down all of the surfaces with some coarse grit sandpaper or an orbital sander. This will help smooth out any rough edges and give your finished product a professional look. You may also want to use a primer or sealant on your wood before painting or staining it to protect it from moisture and wear-and-tear.
Assembling Your Kit
Assembling a DIY garage kit requires patience and attention to detail. It’s important that all of your pieces fit together properly in order for them to hold up over time. Start by laying out all of your pieces on a flat surface that has been covered with newspaper or drop cloths. Carefully follow the instructions provided with your kit and make sure each piece fits together correctly before securing them together with nails or screws.
Adding Finishing Touches
Once you have assembled your kit, you can add some finishing touches such as paint or stain. Painting or staining your garage kit can give it a unique look that will make it stand out from other projects in your home. When applying paint or stain, make sure that you use even strokes and wipe away any excess with a cloth before it has time to dry completely.
Conclusion
DIY garage kits can be an exciting way to add additional storage space or create an attractive outdoor living area without spending too much money. With these simple tips and tricks you can ensure that your project turns out looking professionally finished when completed. Make sure that you take into consideration all of the steps involved when planning out any DIY project so that everything goes smoothly and looks great when finished!
Safety Tips When Working With DIY Garage Kit Wood Projects
Working with wood can be a fun and rewarding experience, but it is important to remember that it is also a potentially dangerous activity. There are a few safety tips to keep in mind when working on DIY garage kit wood projects.
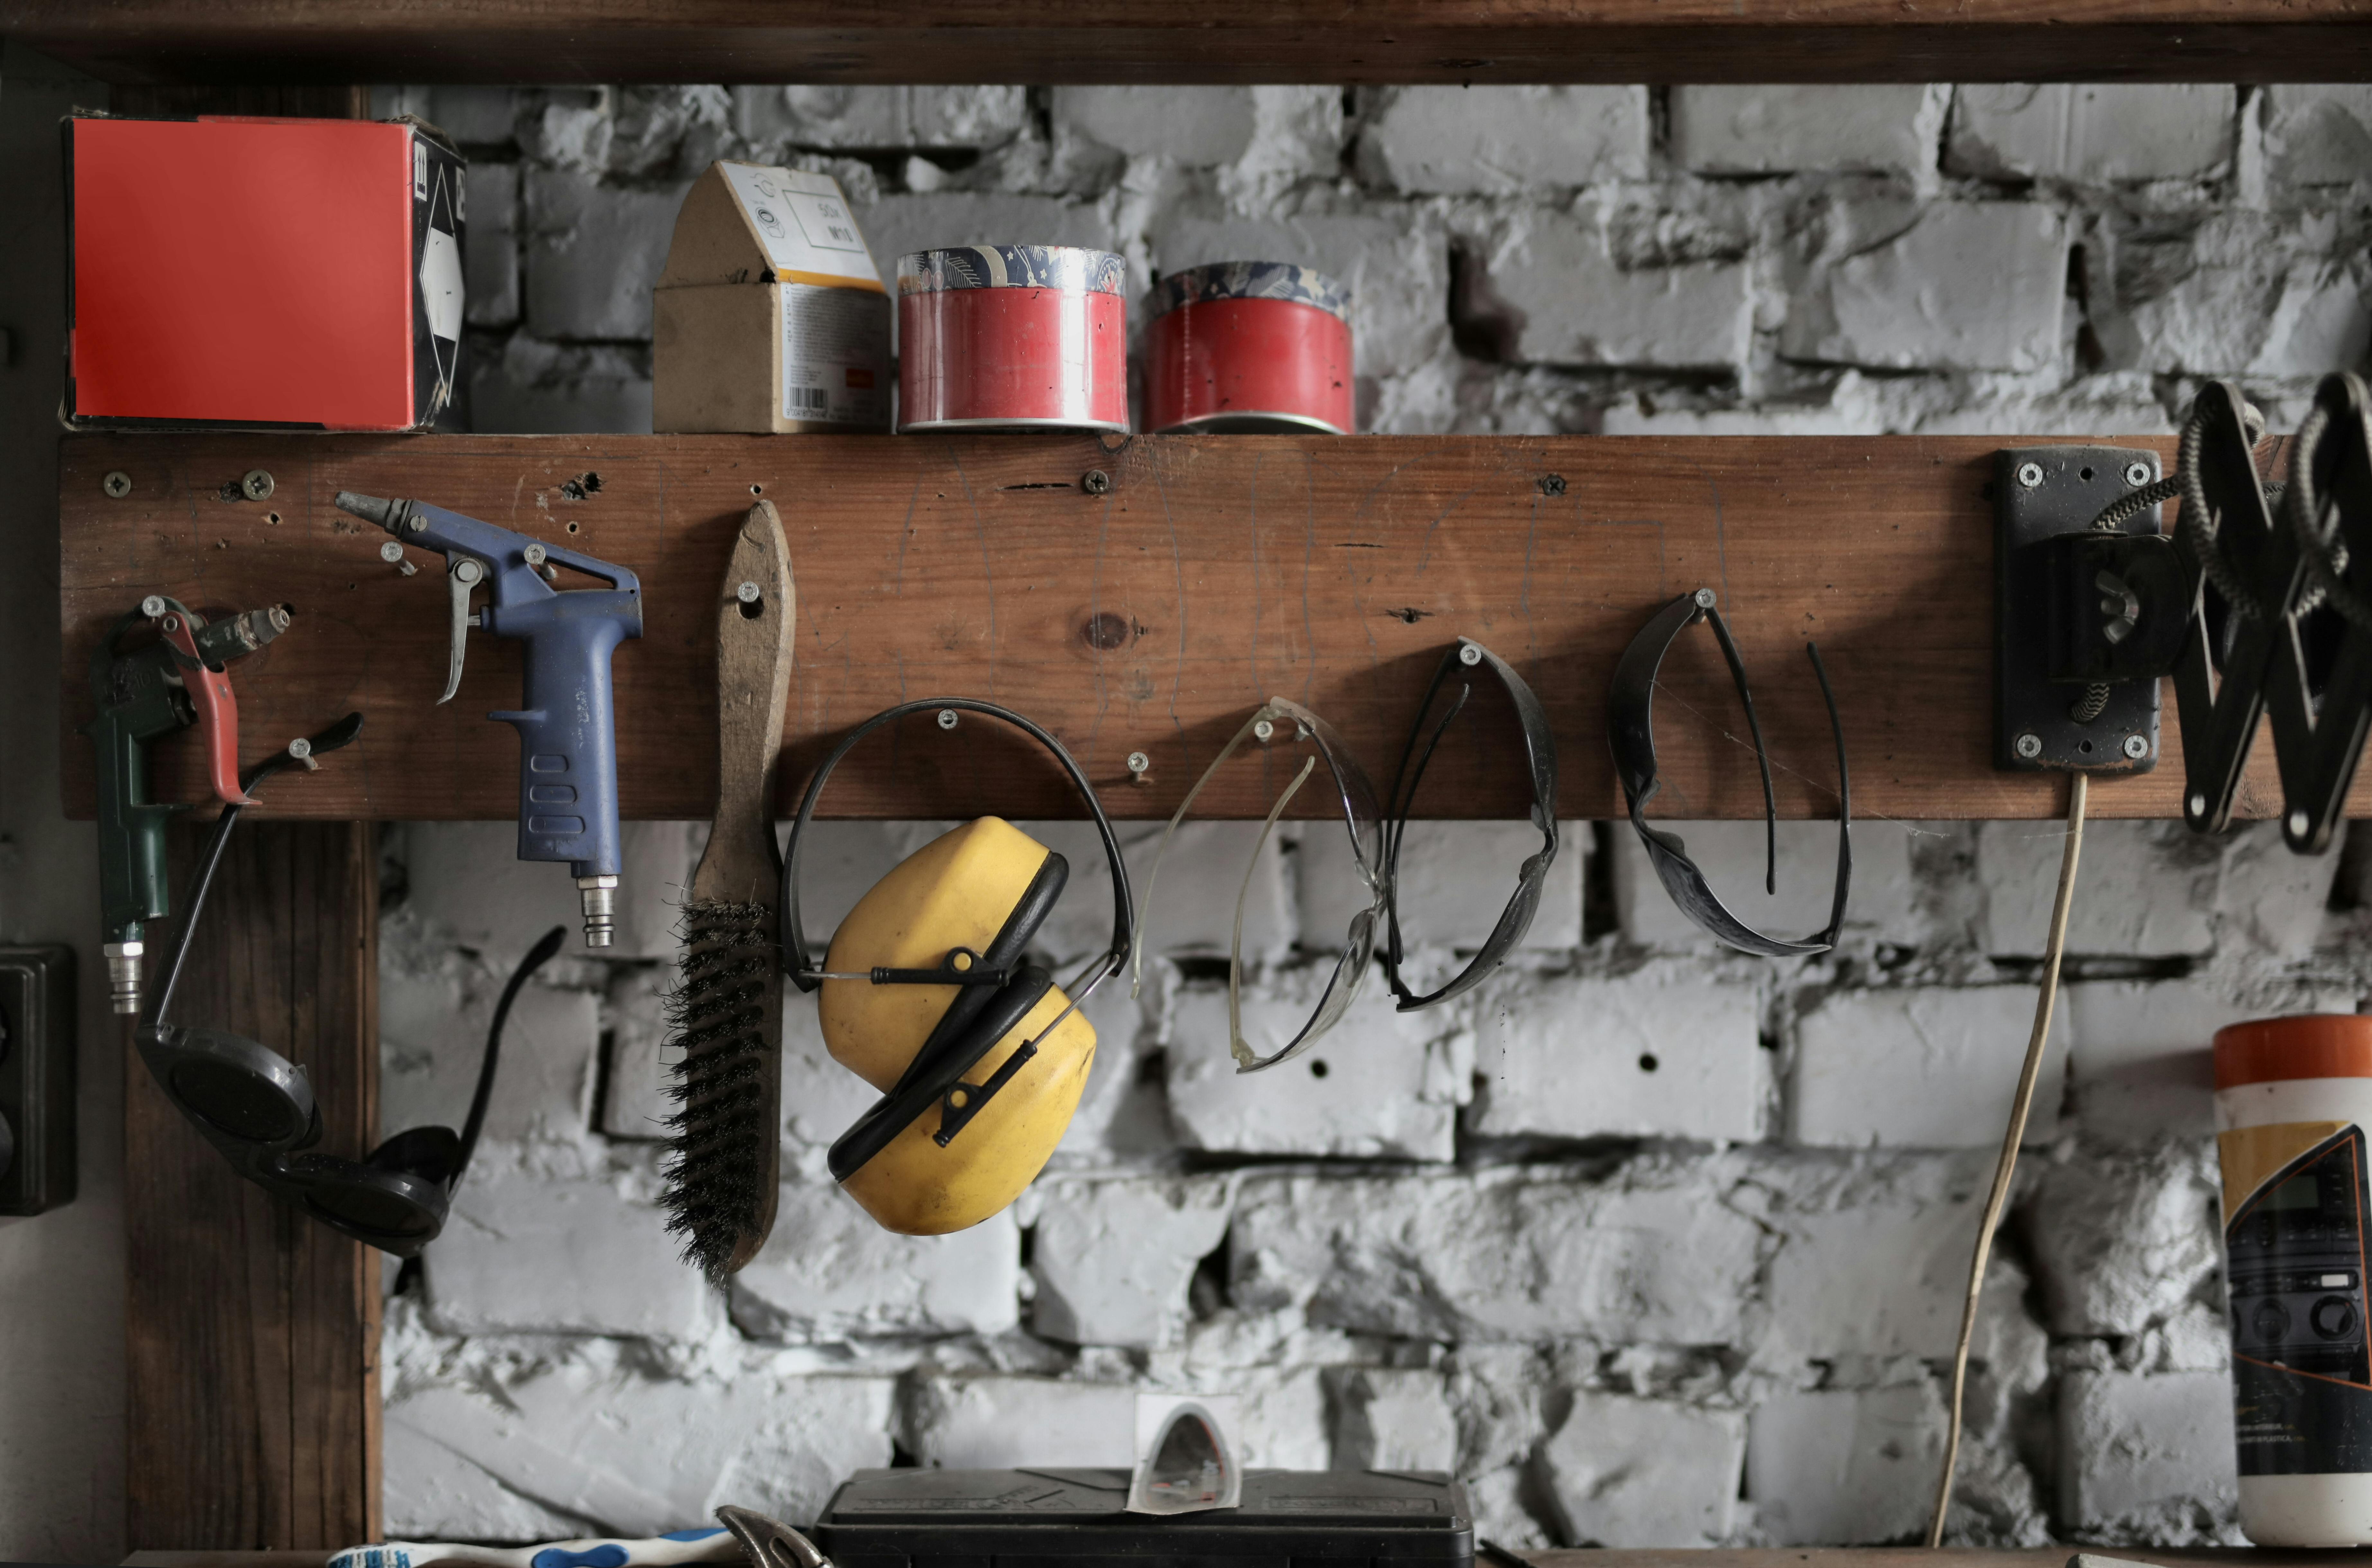
One of the most important safety tips is to always wear protective eyewear when working with wood. While many people may think that eye protection is not necessary for small projects, the truth is that even small pieces of wood can cause serious injuries if they come into contact with your eyes. It is also important to wear gloves when handling sharp tools and pieces of wood to protect your hands from splinters and cuts.
When working with power tools, it is essential to read and follow all safety instructions provided by the manufacturer. Make sure that you are familiar with how the tool works and all of its safety features before you use it. Additionally, always make sure that any tool that you use has been tested by a qualified technician and inspected for any signs of wear or damage before each use.
Another important tip is to only use tools in areas where there are no distractions or other people around. This ensures that you do not get distracted while using the tools, which could lead to an accident or injury. Additionally, never leave tools unattended while they are in use. This can be dangerous if someone else comes into contact with them while they are running or plugged in.
Finally, make sure that you store your tools in a secure place when not in use so they cannot be accessed by children or pets who may not understand how dangerous they can be if mishandled. If possible, invest in a secure tool cabinet or box so you can store your tools safely away after each use.
Overall, following these safety tips will help ensure that your DIY garage kit wood projects remain safe and enjoyable experiences for all involved. Always take the time to read through safety instructions provided by manufacturers and take proper precautions when using power tools so you don’t put yourself at risk of injury while working on your project.
Cleaning
The first step to maintaining a DIY garage kit wood project is to keep it clean. Cleaning can be done using a soft cloth and warm water with a mild detergent. If the project contains special finishes or coatings, be sure to use the appropriate cleaning agent. It is also important to check for any damage that may have occurred over time and make any necessary repairs before cleaning. After cleaning, make sure all surfaces are dry before applying any protective coatings or finishes.
Maintenance
Regular maintenance of a DIY garage kit wood project is essential for ensuring its longevity and overall appearance. This includes checking for signs of wear, such as cracks, chips, splitting wood, or other damages. If any problems are detected, they should be addressed immediately to avoid further damage. Additionally, wood projects should be checked regularly for loose nails or screws, which should be tightened if necessary. Other maintenance tasks include applying protective coatings such as wax or sealer to help resist moisture and heat damage.
Finally, it is important to store your DIY garage kit wood project properly in a dry area away from direct sunlight when not in use. This will help ensure that your project stays in good condition for many years to come!
Conclusion
Do it yourself garage kits made of wood are a great way to keep your car and tools organized. They provide a secure and reliable way to store and organize items, while allowing you to customize the look of your garage. By investing in a do-it-yourself garage kit, you can save money on labor costs and add value to your home. With the right materials and supplies, you can build a quality garage kit at an affordable price. With careful planning, you can create a beautiful and functional space that will last for years to come.
If you are thinking of building a do it yourself garage kit made of wood, take the time to research the different types of materials available and decide which one is best for you and your budget. Consider the size of your space and think about how many shelves or drawers you need to keep everything organized. Make sure that whatever type of wood you choose is durable enough to withstand the elements. Finally, prepare for any challenges that may arise during the construction process by having all necessary tools on hand before beginning any project.