Do it yourself (DIY) overhead garage storage is a great way to make use of wasted space in your garage. With some basic tools, materials and a bit of time and effort you can create an attractive, secure and organized storage solution for your garage. You can store items such as power tools, camping gear, seasonal decorations, holiday decorations and more. With DIY overhead garage storage, you can save floor space while ensuring that belongings are secure and easily accessed when needed.Building your own DIY overhead garage storage is a great way to maximize the use of your space and create more storage options. To build your own overhead garage storage, you will need a few basic tools and materials.
First, you’ll need some sturdy 2x4s in the size and length that you need for your project. Measure the space where you’ll be installing the shelves and make sure you have enough boards to cover the area. You may also want to use wall anchors if you plan on mounting your shelves on drywall instead of wood or concrete walls.
Next, cut the 2x4s to size and assemble them in a frame using screws or nails. Secure each corner with at least two screws for extra stability. Once your frame is assembled, attach it securely to the ceiling with heavy-duty lag bolts or eye bolts.
Now it’s time to add your shelves! Measure each shelf opening, cut boards to size, then attach them to the sides of the frame with screws or nails. For added stability, consider attaching shelf brackets underneath each shelf board. Finally, add any decorative trim pieces if desired and mount a couple of light fixtures above the shelves for visibility when needed.
Now that you’ve built your own DIY overhead garage storage system, you can start stocking it with items that need a home!
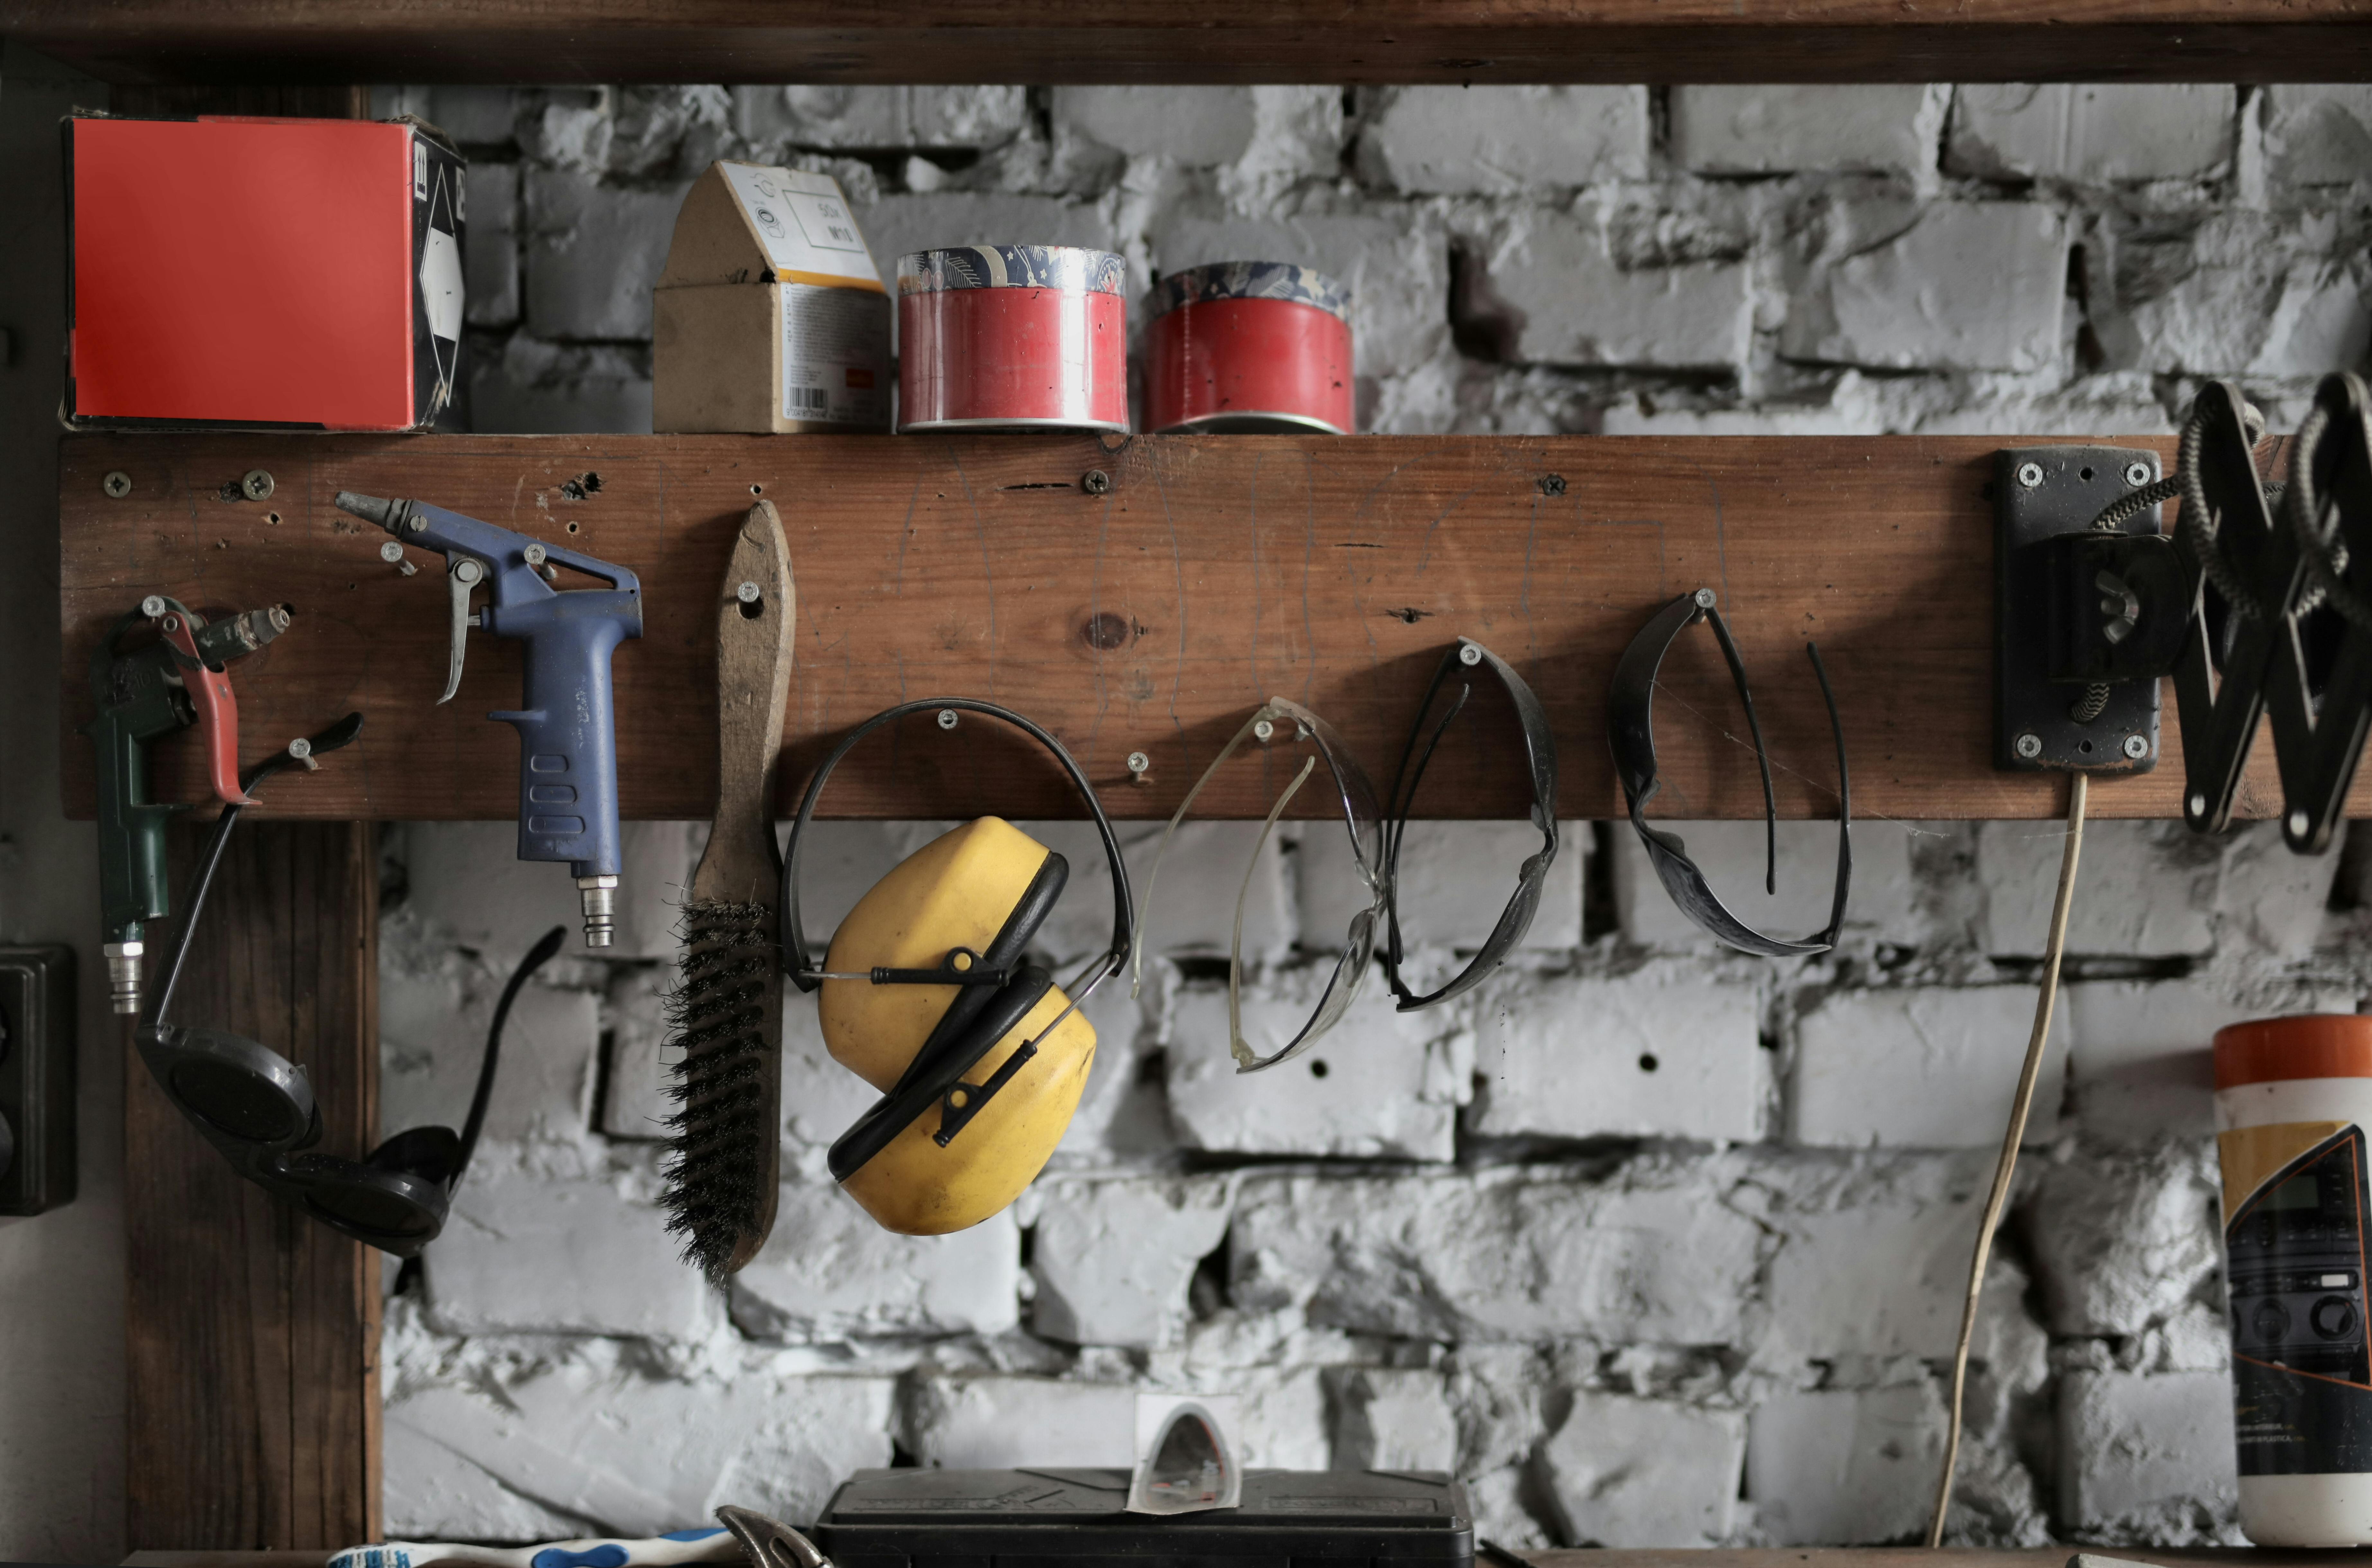
Overhead Garage Storage
Creating an overhead garage storage system is an easy and effective way to maximize your space, while also providing an efficient way to store items. The materials needed for an overhead garage storage system vary depending on the size and weight of the items you plan to store. However, most systems will require some form of shelving, brackets, and hardware. Here is a list of materials that may be needed when creating an overhead garage storage system:
• Shelving: Shelving comes in many different shapes, sizes, and materials. Depending on your needs, you may want to choose wood, metal, or plastic shelving. For heavier items such as tools or equipment, metal shelving is usually the best option.
• Brackets: Brackets are used to attach the shelves to the wall or ceiling. They come in various sizes and styles depending on how much weight they need to hold. Make sure you purchase brackets that are strong enough for your needs.
• Hardware: You will need some type of hardware such as screws or bolts in order to secure the brackets and shelves together. Make sure you purchase hardware that is rated for your particular application.
• Fasteners: Fasteners are used to secure the brackets into the wall or ceiling studs. Common fasteners include nails, screws, lag bolts, and toggle bolts.
• Lumber: Depending on your needs, you may need additional lumber such as 2x4s or 2x6s for support. Make sure you purchase lumber that is rated for outdoor use if you plan to store items outside.
These are just a few of the materials that may be needed when creating an overhead garage storage system. Be sure to research all of your options before purchasing any materials so that you can find the best solution for your particular situation.
Measuring the Space for Overhead Garage Storage
Measuring the space you have available for your overhead garage storage solution is the first step in creating an effective setup. Measure the length, width, and height of your garage interior, and determine the amount of weight that can be supported by your ceiling joists. Depending on what type of material you will be using for your storage solution, you may need to account for additional weight as well. Assemble all necessary supplies before beginning installation so that you can quickly complete the project.
Installing Wall Tracks
The wall tracks are the foundation of your overhead garage storage system and should be installed first. Mark off wall studs with a pencil or marker at 16-inch intervals so that you can easily locate them when installing wall tracks. Use a level to ensure that each wall track is installed at a perfect 90-degree angle to each other. Secure each track with screws into each wall stud marked off earlier.
Attaching Hanging Brackets
Once the wall tracks have been securely fastened to the walls, attach hanging brackets to them in order to support heavier items such as boxes or bins. Make sure that they are evenly spaced out along each track and securely fastened with screws or bolts, depending on what type of bracket is being used.
Installing Shelves
Once all of the necessary hardware has been securely attached to the walls, it’s time to install shelves or other items such as hooks or baskets. Measure out where each shelf will go before drilling pilot holes into each wall stud for mounting screws. Make sure that all shelves are level before securing them with screws.
Finishing Touches
The final step in creating an effective overhead garage storage system is ensuring everything is secure and adding any finishing touches you desire. Add labels or tags to bins and boxes so that it’s easier to find items without having to search through everything each time. For added convenience, use cordless drills or screwdrivers when possible so that there’s no need to worry about tangled cords while working on projects.
Benefits of DIY Overhead Garage Storage
The garage is often the last place in the home to get attention. As a result, it can become cluttered and disorganized over time. DIY overhead garage storage is an easy and effective way to create extra storage space in your garage without taking up valuable floor space. With the right tools and materials, you can easily create a customized and secure storage system for your items. Here are some of the benefits of DIY overhead garage storage:
Convenience
DIY overhead garage storage allows you to customize your storage system to fit your needs. You can choose from a variety of shelving units or create your own custom design that will fit perfectly in your space. This makes it easy to store items that may not fit on traditional shelving units, such as large sports equipment or seasonal decorations.
Cost-Effective
Do-it-yourself overhead storage systems are often much more cost-effective than purchasing pre-made units. By building your own system, you can save money on materials while still creating a secure and organized solution for all your items.
Durability
DIY overhead storage systems are built with durable materials such as steel or wood, so they can withstand the test of time. This makes them ideal for storing heavy items in an area of the garage where they won’t be damaged by moisture or other elements.
Safety
DIY overhead garage storage systems provide an extra layer of security for your items by keeping them off the ground and out of reach from potential thieves. This added level of protection will give you peace of mind knowing that your belongings are safe and secure.
Overall, DIY overhead garage storage is an excellent way to maximize space in your garage without breaking the bank or compromising safety. With a few simple tools and some basic supplies, you can easily create a customized system that will help keep everything organized and out of harm’s way.
Design Considerations for DIY Overhead Garage Storage
Installing overhead storage in your garage is an excellent way to free up floor space and make your garage more organized. However, when it comes to designing the system, there are several key considerations to take into account.
Weight Capacity
One of the most important aspects of designing an overhead storage system is determining the weight capacity of the system. This will depend on a variety of factors, such as the type of material used and whether or not it is mounted directly to ceiling joists or wall studs. When calculating the weight capacity, be sure to include the weight of all items that will be stored on the shelf as well as any additional items that may be placed on top of it.
Height
When designing an overhead storage system, it is important to consider how high off the ground you want it to be. This will allow you to store items at different heights depending on their size and shape. For example, if you plan on storing long objects like skis or kayaks, then you may want a higher shelf so that they can fit comfortably underneath without hitting any other objects.
Accessibility
When designing an overhead storage system, accessibility should also be taken into consideration. If you plan on using a ladder or step stool to access your items, then make sure that they are easy to reach and can support your weight safely. Additionally, consider installing additional supports or shelves at lower heights so that smaller items can be accessed without having to climb up a ladder or step stool.
Security
When designing an overhead storage system for your garage, it is important to consider security measures as well. In particular, make sure that any locks are securely fastened and cannot easily be broken into by intruders. Additionally, consider adding a security camera if possible so that you can monitor who comes in and out of your garage at all times.

Create a Plan
Creating a plan is essential when installing overhead garage storage. Think through what items you’ll be storing and consider if the items will fit the space you have available. This will help you determine which type of overhead storage solution to purchase. If you’re unsure, measure the amount of space available and bring it with you when purchasing materials.
Purchase the Right Tools
You’ll need to have the right tools for your overhead storage installation project. This may include a drill, screws, stud finder, level, and saws. Make sure to double check that all of your tools are in working order before beginning your project.
Install Wall Brackets
Once you’ve purchased the materials needed for your overhead storage installation, begin by installing wall brackets along the walls where they’re needed. Make sure to use a stud finder to locate where the studs are in your walls before drilling any holes in them. Additionally, make sure that any brackets are aligned correctly and level before tightening them into place.
Add Beams and Hang Rails
After all of the wall brackets have been installed, add beams between them and attach hang rails on either side. Hang rails are designed to hold shelves or other items that will be stored on top of them. Make sure that all of these components are securely fastened into place before moving on.
Add Hooks for Hanging Items
If desired, add hooks along the hang rails for hanging items such as bikes or garden tools from them. These hooks can help keep things off of the floor and make it easier to find what you need when they’re hung up neatly in one place.
Install Shelves or Bins
Finally, add shelves or bins onto your hang rails depending on what type of storage solution you purchased. Make sure that everything is securely fastened into place so that it won’t fall down when loaded with items. Additionally, make sure that any shelving units are level before adding any items to them.
Overall, installing overhead garage storage can be a great way to maximize space in your garage and keep it organized at all times! With some careful planning and proper installation techniques, you can easily create an effective storage solution for your home!
Tools Needed for Installing DIY Overhead Garage Storage
Installing overhead garage storage is a great way to get organized and maximize the space in your garage. The key to a successful installation is having the right equipment on hand. Here are some of the tools needed for installing DIY overhead garage storage:
A drill with a variety of drill bits is essential for drilling holes into drywall or other mounting surfaces. You will also need an adjustable wrench, screwdriver, level, and tape measure to ensure that all components are securely attached and level. If you are installing a heavier system, it is also recommended that you have a ladder and stud finder available to assist in the installation process.
Safety should be your top priority when working with any type of power tool or heavy object. Always wear protective gear such as goggles, gloves, and steel-toed boots while working on any project involving tools or heavy objects. Additionally, make sure to read all instructions before starting any project in order to avoid any potential hazards.
Having the right tools on hand will help ensure that your DIY overhead garage storage installation goes smoothly and efficiently. With these items at your disposal, you can enjoy the extra storage space created by an overhead system without worrying about running out of time or supplies during installation.
Pros of DIY Overhead Garage Storage
DIY overhead garage storage is a great way to maximize space and store items that otherwise would take up valuable floor space. The most obvious benefit is the extra storage space. It is also relatively easy to install and customize, allowing you to adjust shelves and racks as needed. Additionally, DIY overhead garage storage can be made from a variety of materials including wood, metal, and plastic, giving you a range of options to fit your needs. Finally, it is an affordable option compared to other forms of storage solutions.
Cons of DIY Overhead Garage Storage
One potential disadvantage of DIY overhead garage storage is the amount of time it takes to assemble and install properly. If not done correctly or with enough care, items may become damaged or fall off the shelves due to improper construction or installation. Additionally, if not properly secured to the ceiling joists or walls in the garage, these shelves can become unstable due to weight and movement over time. Lastly, DIY overhead garage storage may require frequent maintenance as components may need replacing after extended use.
Conclusion
DIY overhead garage storage is an excellent way to make the most of your space. It gives you the ability to store items safely and securely, while also leaving plenty of room for other uses. With a few tools and some basic instructions, you can easily build a custom overhead garage storage system that fits your needs. The best part is that it can be done relatively quickly and affordably, making it a great option for anyone looking to improve their garage storage solution.
Overall, installing DIY overhead garage storage can be a great way to get organized with minimal effort and cost. Whether you are looking to store seasonal items or keep your tools organized, DIY overhead garage storage provides an ideal solution that can help you reduce clutter and maximize your space. With the right materials and some patience, you too can gain the benefits of having an organized and efficient overhead garage storage system.